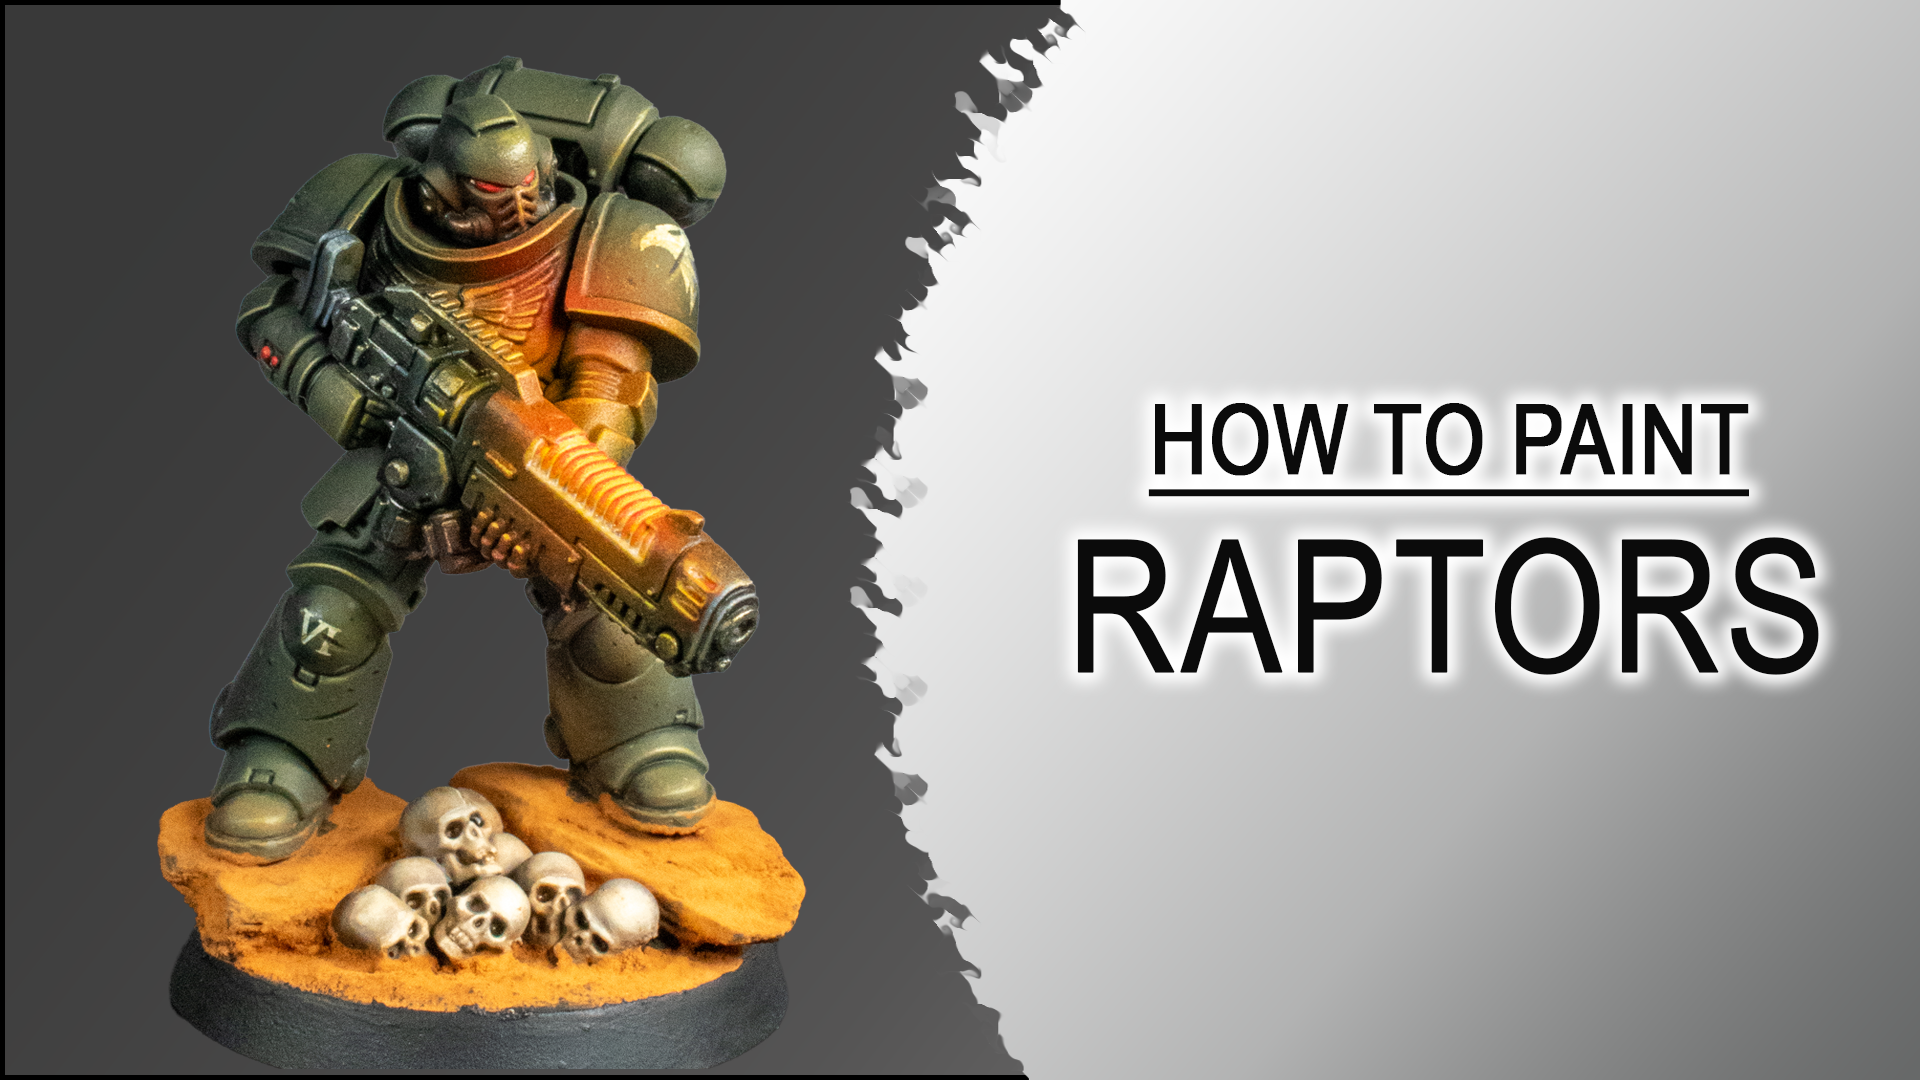
How to Paint Raptors Chapter Power Armor

In this step-by-step Raptors Chapter painting tutorial, I’ll show you how to paint a high-contrast Raptors Space Marine power armor scheme starting from a black primer. The method combines airbrush volumetric highlights, controlled edge highlighting, dark recess shading, metallics, decals, scratches, and battle damage to create the distinctive muted grey and black appearance of the Raptors Chapter.

The key to this Raptors Chapter power armor painting guide is establishing the lighting from the very beginning. Using a simple lighting reference, we’ll build the armor highlights layer by layer, then push the contrast with selective edge highlights and bright reflection points. Finally, we’ll add metallic highlights, integrate the decals, and finish the armor with scratches and chipping for a worn battlefield look.

Whether you’re looking for a Raptors Space Marine painting tutorial or want to improve your volumetric highlighting, edge highlighting, and miniature weathering, this guide covers the complete painting process from black primer to the finished model.

BrandName
Artis OpusSeries D – Brush Set, Series S – Brush Set
GET 5% Discount on Artis Opus Brushes !
Discount Code: PLAGUENARR
CitadelAbaddon Black, Black Templar, Ogryn Camo
VallejoGunmetal Grey, Pale Grey Blue, Basalt Grey, Neutral Grey, Heavy Grey, Airbrush Thinner
Monument Hobbies Pro Acryl
Pro Acryl Base Set, Pro Acryl Expansion Set Metallics
GET 5% Discount on Monument Hobbies products!
Discount Code: PLAGUENARR
GaahleriPremium Series GHPM-Mobius 0.2mm Airbrush
GET 10% Discount on Gaahleri products!
Discount Code: Plaguenarr

Brush Alternative

The same general process can also be completed with a brush instead of an airbrush. When adapting the technique for brushwork, use approximately twice as much Water as the amount of Airbrush Thinner used in the airbrush mixes.

For Steps 1 and 2, use the colors and mixes specified in this guide. If you prefer to apply these highlights with a brush instead of an airbrush, use the Raven Guard painting guide as a reference for the brush technique.

Step 1 – Black Primer and First Volumetric Highlights

Start with the miniature primed black.

Before applying the highlights, take a photograph of the miniature under your painting lamp and use it to simulate the light source from the angle you prefer. Keep this reference image open on a tablet throughout the painting process.

Use the reference to determine exactly where each highlight should fall and how strong it should be. Build the transition gradually between the black primer and Heavy Grey by using multiple short bursts rather than applying large amounts of paint at once.

For the first volumetric highlight layer, use a 1:1 mix of Vallejo Game Color – Heavy Grey and Airbrush Thinner. Thin the paint to a very fluid consistency and apply it with an airbrush using short, controlled bursts.

Repeat the same process on the rear of the miniature, but keep the highlights slightly darker than those on the front.

Step 2 – Second Volumetric Highlight

For the second volumetric highlight, use a 1:1:1 mix of Vallejo Game Color – Heavy Grey, Citadel – Ogryn Camo and Airbrush Thinner.

Apply this highlight more selectively than the previous layer. Concentrate the paint only on the areas where the light is strongest according to your reference image.

This second layer should reinforce the existing volumetric highlights rather than covering them completely. Keep the darker Heavy Grey transitions visible so the armor maintains a strong gradient from black through grey into the brighter highlight areas.

Step 3 – Black Base Coats

Once the volumetric highlights are complete, set the airbrush aside and move to a brush.

Base coat the following areas with a 1:1 mix of Citadel – Abaddon Black and Water:

  • Weapon casing
  • Sub-suit
  • Waist bags

Apply the black carefully and maintain clean boundaries around the highlighted power armor.

Step 4 – Metallic Base Coat

Base coat all metallic areas with pure Vallejo – Gunmetal Grey.

Apply the metallic paint to the relevant metal components while keeping the surrounding armor clean.

The silver metallic areas provide an important contrast against the otherwise dark and muted armor scheme, particularly on the chest eagle.

Step 5 – Metallic and Recess Shading

Shade the metallic areas and add recessed shadows to the armor using Citadel – Black Templar Contrast thinned with 2 parts Water.

Use the mixture to darken the metallic surfaces while also reinforcing the recesses between armor panels.

Work carefully during this stage and aim for clean, controlled shadows. The dark shading helps separate individual armor panels and strengthens the contrast between the black armor, grey highlights, and metallic details.

Step 6 – Apply the Decals

Apply the decals before beginning the main edge-highlighting stages.

Cover the area where the decal will be placed with Micro Sol, then position the decal on top of the solution.

Once the decal is positioned, apply another coat of Micro Sol over the top.

Allow the Micro Sol to almost completely dry. As the decal softens, gently dab the surface so the decal conforms to the shape of the armor.

This helps the decal follow curved and irregular surfaces instead of appearing completely flat on top of the miniature.

Step 7 – First Armor Edge Highlight

For the first edge-highlight stage, use a 1:1 mix of Vallejo Game Color – Heavy Grey and Water.

Highlight essentially all of the armor edges, including edges located in the darker areas and on the rear of the miniature.

At this stage, do not be overly selective. The purpose of the first edge highlight is to establish a strong overall contrast across the entire armor of the model.

Make sure to highlight all armor edges, including those in the darkest areas and on the backside of the miniature. This broad coverage is essential for pushing the overall contrast and creating the distinctive high-contrast appearance of the Raptors Chapter armor scheme.

Step 8 – Armor Variation and Chipping

Continue using the 1:1 mix of Vallejo Game Color – Heavy Grey and Water to add variation to the darker armor areas.

Use the paint to create small areas of armor chipping and surface variation. Keep the marks irregular rather than making every panel look identical.

These additional marks begin to break up the large dark armor surfaces and introduce more visual variation before the brighter highlights are added.

Step 9 – Second Armor Edge Highlight

For the second edge highlight, use a 1:1:1 mix of Vallejo Game Color – Heavy Grey, Citadel – Ogryn Camo and Water.

For the second edge highlight, become more selective and focus only on the light-facing edges indicated by your reference image. At this stage, stop highlighting edges in the shadowed areas. This selective highlight placement increases the contrast between the illuminated and shadowed areas while reinforcing the direction of the light across the armor.

Step 10 – Additional Scratches and Chipping

Use the same 1:1:1 mix of Vallejo Game Color – Heavy Grey, Citadel – Ogryn Camo and Water to add additional scratches, variation, and armor chipping.

Use the brighter highlight mix to add a few extra scratches, chips, and little bits of wear to the armor. Keep the damage fairly random and concentrate it in selected areas rather than putting the same amount of chipping on every panel. Make sure the placement still follows the direction of your light source so the weathering works with the highlights rather than fighting against them.

Step 11 – Refine the Shadows

Return to the Citadel – Black Templar Contrast mix and use it to define a few soft shadows across the armor.

Use the Black Templar mix to reinforce a few of the deeper shadows and recesses. Apply it selectively to deepen the areas that need more definition, while leaving your existing highlights untouched.

Step 12 – Integrate the Decals

Use the Citadel – Black Templar Contrast mix to glaze over the decals and blend them more naturally into the surrounding shadows.

You can also use the highlight color over selected parts of the decals to tie them into the volumetric highlights and make them feel more like part of the armor.

Step 13 – Black Scratches and Battle Damage

Before the final highlight stages, use pure Citadel – Abaddon Black to add additional scratches and chips across the armor panels.

Feel free to paint some of the damage over the decals as well, which helps tie them into the weathered armor. Vary the size and placement of the scratches and chips to keep the damage looking natural and avoid a repetitive pattern.

Step 14 – Reflection Highlights

Add the next level of reflection highlights using a 1:1 mix of Citadel – Ogryn Camo and Water.

Return to the lighting reference and identify the armor edges that receive the strongest reflected light.

Apply the Ogryn Camo selectively to these areas rather than treating every edge equally. The strongest reflection highlights should remain concentrated around the areas indicated by the lighting reference.

Step 15 – Add Depth to the Armor Damage

Use Citadel – Ogryn Camo to add small highlights underneath the Abaddon Black scratches and chips.

Place these small marks directly beneath selected areas of dark damage. This creates additional depth and helps the scratches and chips read as part of the three-dimensional armor surface rather than as flat black lines.

Keep these highlights small and controlled so they remain secondary to the main armor highlights.

Step 16 – Sub-Suit Highlights

Move on to the sub-suit using a 1:1 mix of Basalt Grey and Water.

Apply the mixture to all raised areas of the sub-suit, following the sculpted forms and folds.

The transcript does not specify a manufacturer for Basalt Grey, so no manufacturer is assigned here.

Step 17 – Refine the Sub-Suit

Apply a smaller and more selective version of the previous highlight using a 1:1 mix of Neutral Grey and Water.

Concentrate the Neutral Grey on the more prominent raised areas of the sub-suit, leaving the previous Basalt Grey layer visible around the transitions.

This creates a second level of contrast without flattening the texture.

Step 18 – Final Sub-Suit Reflections

Finish the sub-suit with small reflection highlights using a 1:1 mix of Pale Grey Blue and Water.

Apply these highlights selectively to the areas catching the strongest light. Keep the marks small so they function as final reflections rather than another broad layer of coverage.

Step 19 – Final Metallic Highlights

Highlight the metallic areas with a 1:1 mix of Monument Hobbies Pro Acryl – Silver and Airbrush Thinner.

Focus the brightest silver on the raised metal surfaces, sharp edges, and bolts.

Concentrating the silver on these areas creates stronger reflective contrast while leaving the darker Gunmetal Grey and Black Templar shading visible underneath.

Step 20 – Final Details

Finish the miniature by painting the eye lenses and completing the remaining details.

Final Result

The finished Raptors Chapter scheme combines a predominantly black armor foundation with controlled grey volumetric highlights, selective grey-green edge highlights, strong metallic contrast, and layered battle damage.

The most important part of the process is maintaining a consistent lighting direction. Use the reference image throughout the painting process to determine where the volumetric highlights, selective edge highlights, reflection highlights, and final surface details should be placed.

The result is a muted but highly contrasted power armor scheme with strong definition across both the armor panels and metallic details.
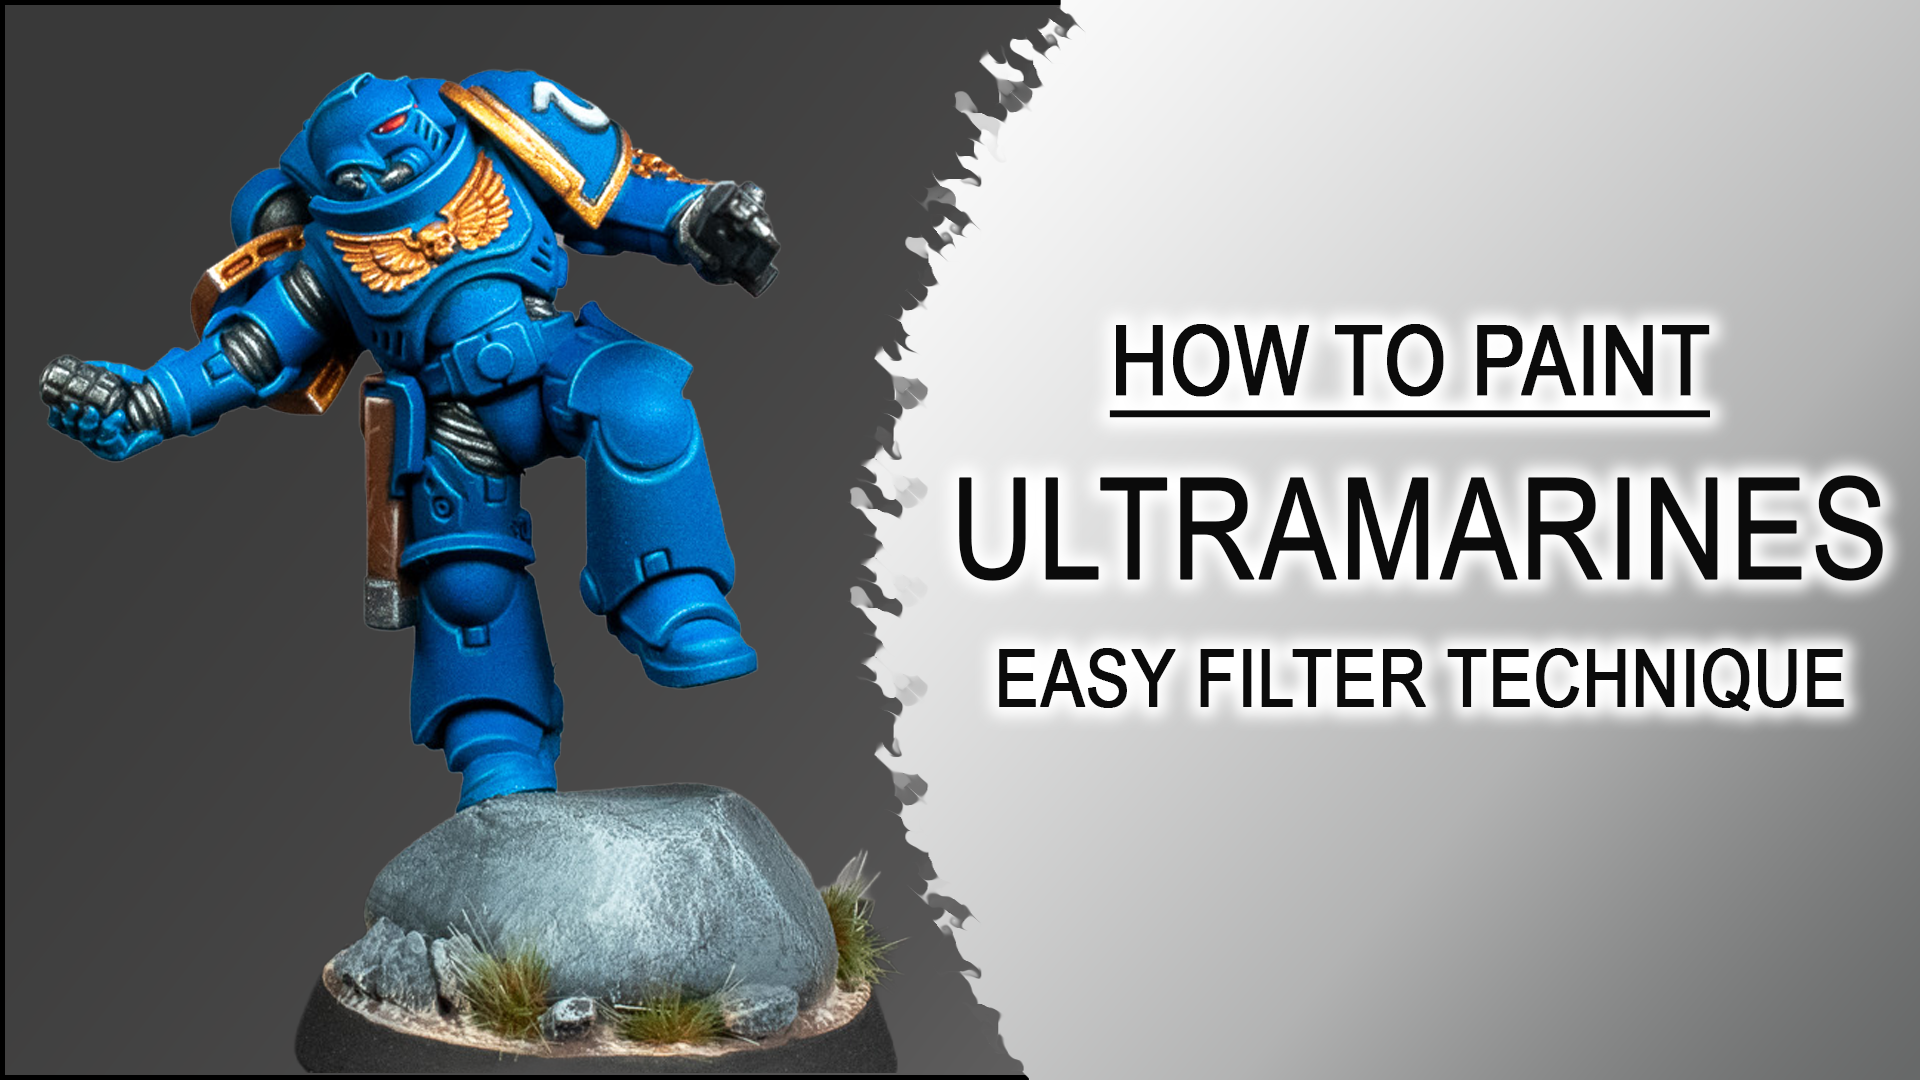
Painting Ultramarines – Airbrush Filter Techniques

Creating vibrant Ultramarine armor is one of the most popular goals for Warhammer 40K painters, yet achieving smooth transitions, rich color depth, and clean highlights can often feel time‑consuming. In this step‑by‑step Ultramarine painting guide, I demonstrate a fast and efficient airbrush filtering technique that produces intense blue armor with professional results. This method is ideal for anyone looking to improve their airbrush skills, enhance color modulation, or speed up their Space Marine painting workflow.

This tutorial revisits my very first Ultramarine from 2020 – a miniature that originally took over forty hours to complete (Lack of skill and practice!). With six years of additional experience, refined techniques, and a more optimized workflow, I set myself the challenge of recreating the same model in just four hours. The result is a highly saturated, smooth, and visually striking Ultramarine armor finish that can be replicated on any Space Marine or power‑armored miniature.

BrandName
Artis OpusSeries D – Brush Set, Series S – Brush Set
GET 5% Discount on Artis Opus Brushes !
Discount Code: PLAGUENARR
CitadelGuilliman Flesh, Caledor Sky, Teclis Blue, Mephiston Red, Black Templar
Monument Hobbies Pro AcrylPro Acryl Base Set, Pro Acryl Expansion Set Metallics, Pro Acryl Expansion Set Transparents
GET 5% Discount on Monument Hobbies products!
Discount Code: PLAGUENARR
VallejoGunmetal GreyPale Grey Blue, Basalt Grey
P3Morrow White
GaahleriPremium Series GHPM-Mobius 0.2mm Airbrush
GET 10% Discount on Gaahleri products!
Discount Code: Plaguenarr

Step 1 – Black Primer

Prime the entire miniature with Citadel Chaos Black or Green Stuff World Matt Surface Primer Black. A smooth black primer provides the perfect foundation for the filtering technique and creates maximum depth in the finished shadows.


Step 2 – Zenithal Underpainting

Mix 1 part Monument Hobbies Pro Acryl Bold Titanium White with 2 parts Airbrush Thinner and apply a large zenithal highlight with the airbrush. Use short, controlled bursts to avoid pooling and gradually build up the opacity. Aim for bright white on the upward-facing surfaces while leaving the shadow side in a medium grey. This high-contrast underpainting determines the final lighting of the model.


Step 3 – Transparent Green Filter

Mix 1 part Monument Hobbies Pro Acryl Transparent Green with 1 part Airbrush Thinner. Spray several thin coats, beginning in the shadowed areas before gradually working upward into the highlights. This creates a deep turquoise foundation that gives the final blue significantly more richness than painting blue directly over white.


Step 4 – Second Zenithal Highlight

Using the same 1:2 mix of Bold Titanium White and Airbrush Thinner, reinforce only the surfaces facing the light. Leave the lower portions of the armor slightly turquoise, even on the illuminated side, to preserve the color variation created by the previous filter.


Step 5 – Transparent Blue Filter

Mix 1 part Monument Hobbies Pro Acryl Transparent Blue with 1 part Airbrush Thinner. Apply multiple thin filter coats over the entire armor, again working from the shadows toward the highlights. Allow each coat to dry before applying the next until the armor reaches a rich Ultramarines blue while maintaining smooth transitions and deep blue shadows.


Step 6 – Silver Metallic Basecoat

Basecoat all silver metallic areas with Vallejo Model Air Gunmetal Grey 77.720. Apply two thin coats where necessary to achieve an even metallic finish without obscuring detail.


Step 7 – Gold Metallic Basecoat

Mix 1 part Monument Hobbies Pro Acryl Rich Gold with 1 part Airbrush Thinner and basecoat all gold trim, ornaments, and decorative details. Thin metallic layers produce a much smoother finish than a single heavy application.


Step 8 – Black Details

Basecoat the chainsword casing and the Ultramarines chapter icon with Monument Hobbies Pro Acryl Coal Black, thinned slightly with water. Apply smooth, controlled coats to create a solid foundation for later highlights.


Step 9 – Red Details

Basecoat the eye lenses and squad markings with Citadel Mephiston Red, thinned 1:1 with Water. Apply two to three thin coats until the colour is fully opaque while preserving all sculpted detail.


Step 10 – Gold Shading

Mix 1 part Citadel Guilliman Flesh with 1 part Water and shade all gold metallic areas. Allow the wash to collect naturally in recesses while keeping raised surfaces brighter. The warm reddish shadows create a strong complementary contrast against the cool blue armor.


Step 11 – Silver Shading

Mix 1 part Citadel Black Templar Contrast with 1 part Water and apply it over every silver metallic surface. This deepens the recesses while preserving the reflective metallic finish.


Step 12 – Blue Recess Shading

Create a recess shade using Monument Hobbies Pro Acryl Transparent Blue, Glaze & Wash Medium, and a small amount of Water to improve flow. Carefully run the mixture into all armor panel lines and deeper recesses. On larger armor plates, lightly glaze the mixture into selected shadow areas to increase depth without creating harsh transitions.


Step 13 – First Armor Edge Highlights

Using Citadel Caledor Sky thinned slightly with water, apply broad edge highlights across every armor panel. Focus particularly on edges within the darker shadow areas, as these thicker highlights help define the armor and clean up any imperfections left from the recess shading.


Step 14 – Second Armor Edge Highlights

Using Citadel Teclis Blue, paint thinner, sharper highlights inside the previous Caledor Sky highlights. Restrict these highlights to the most exposed edges and corners to create significantly higher contrast and a crisp, clean finish.


Step 15 – Gold Highlights

Mix Monument Hobbies Pro Acryl Rich Gold with Airbrush Thinner in a 1:1 ratio and apply bright highlights to the raised edges and light-facing surfaces of every gold detail. Leave the Guilliman Flesh shading visible within the recesses to preserve the warm shadow tone and maximise contrast.

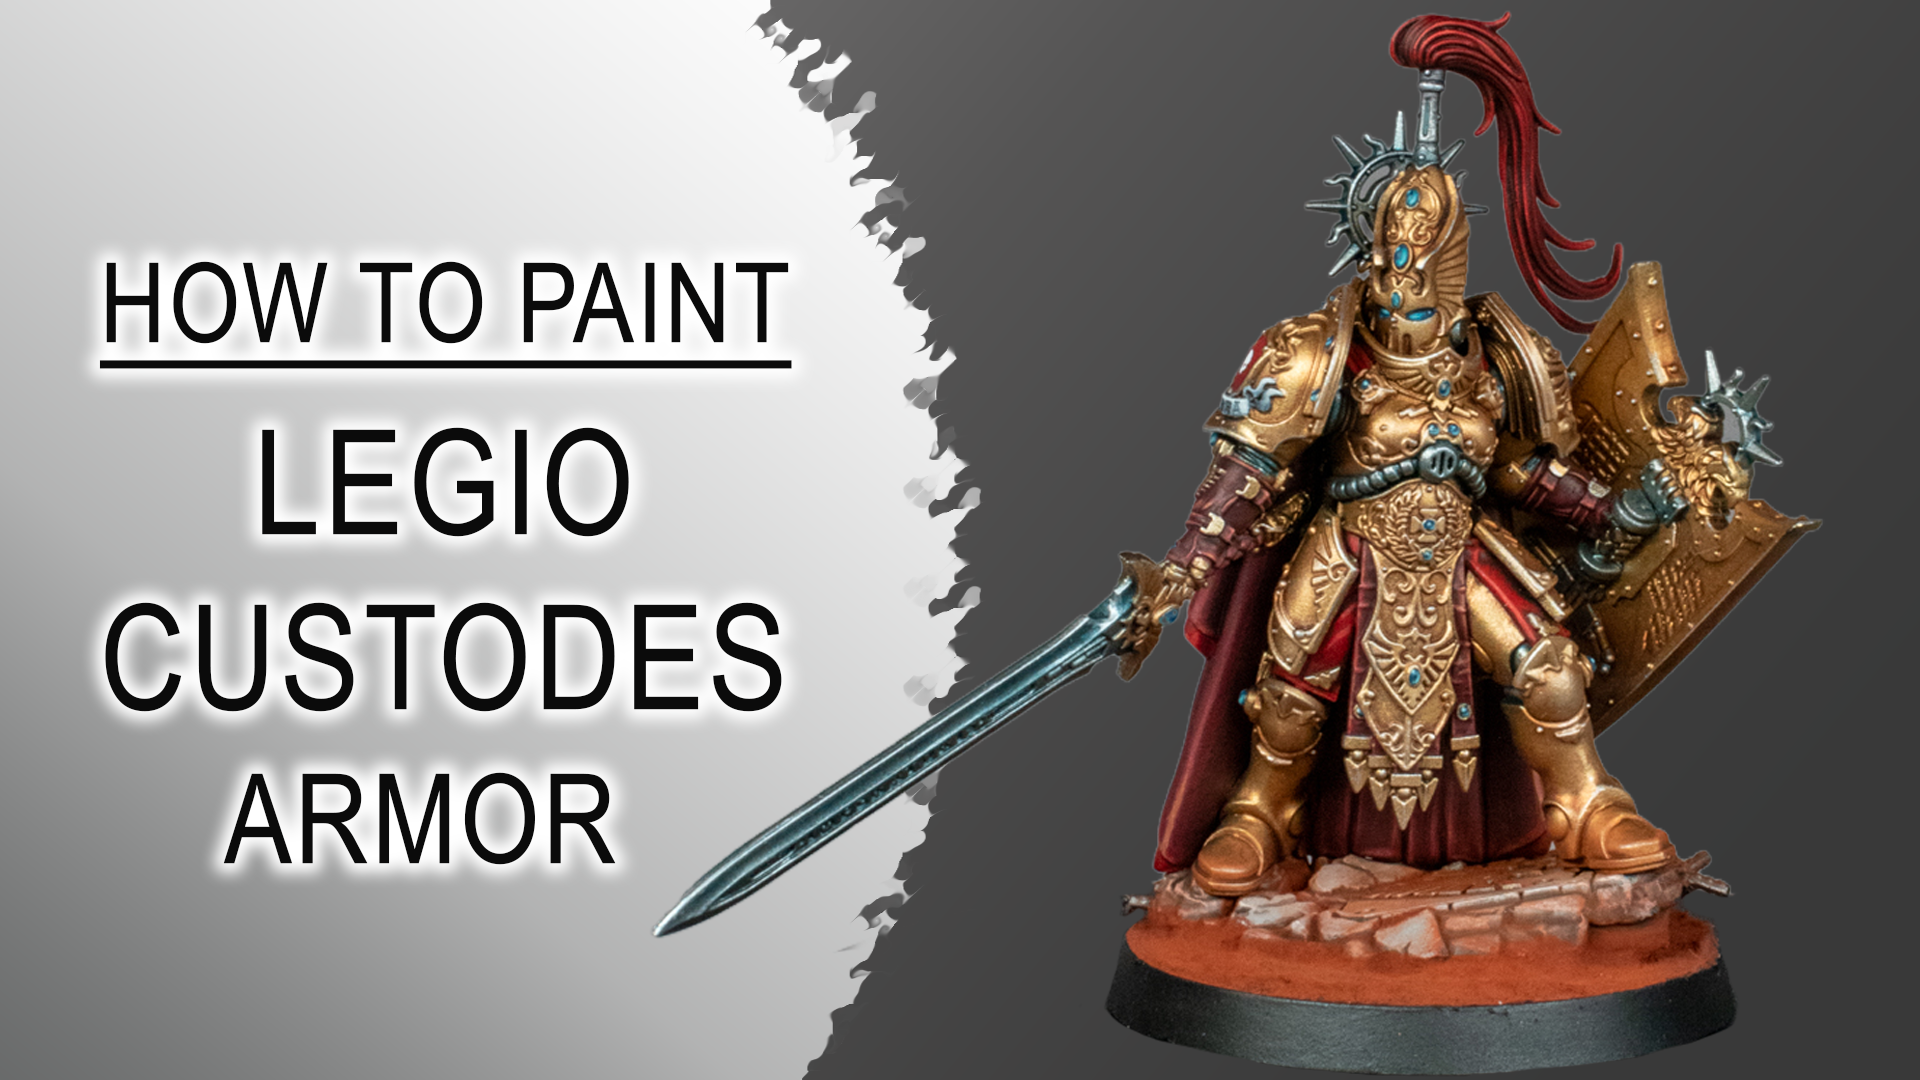
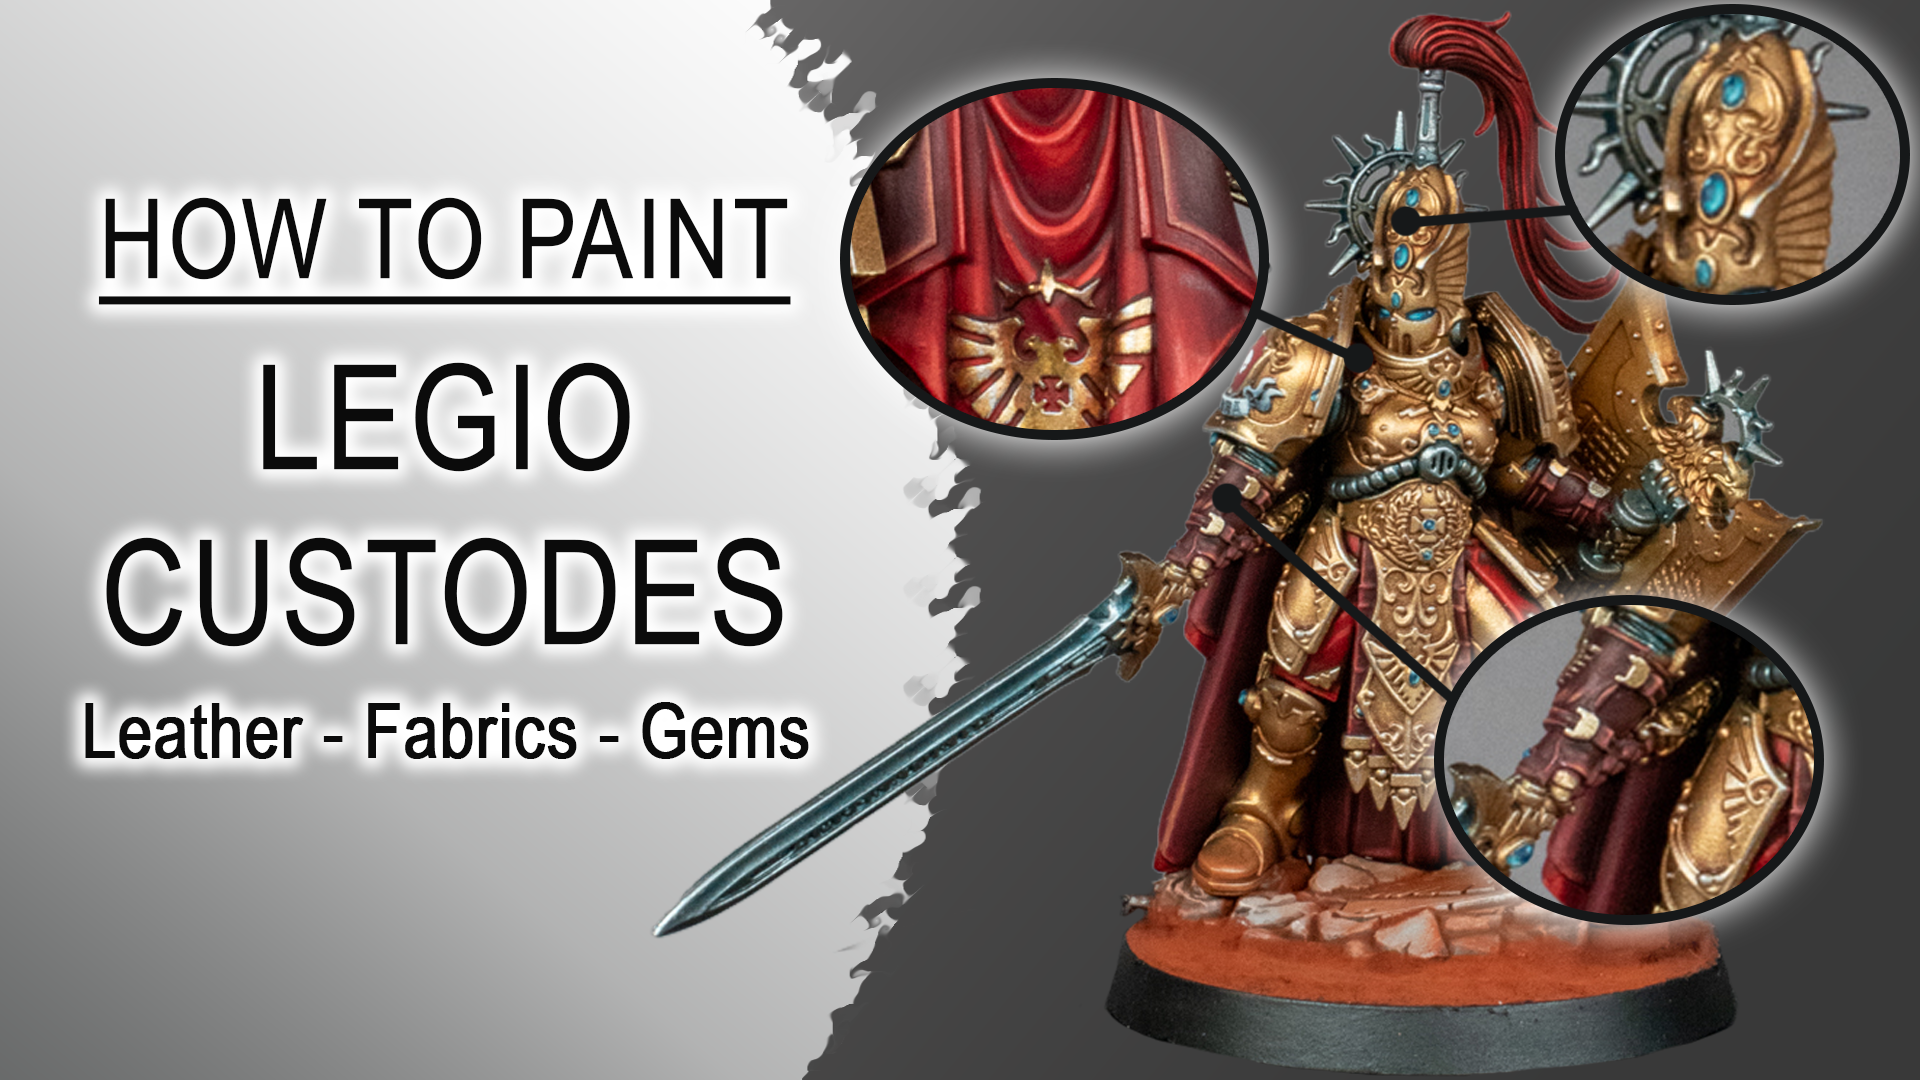
Legio Custodes – Leather, Fabrics and Gemstones

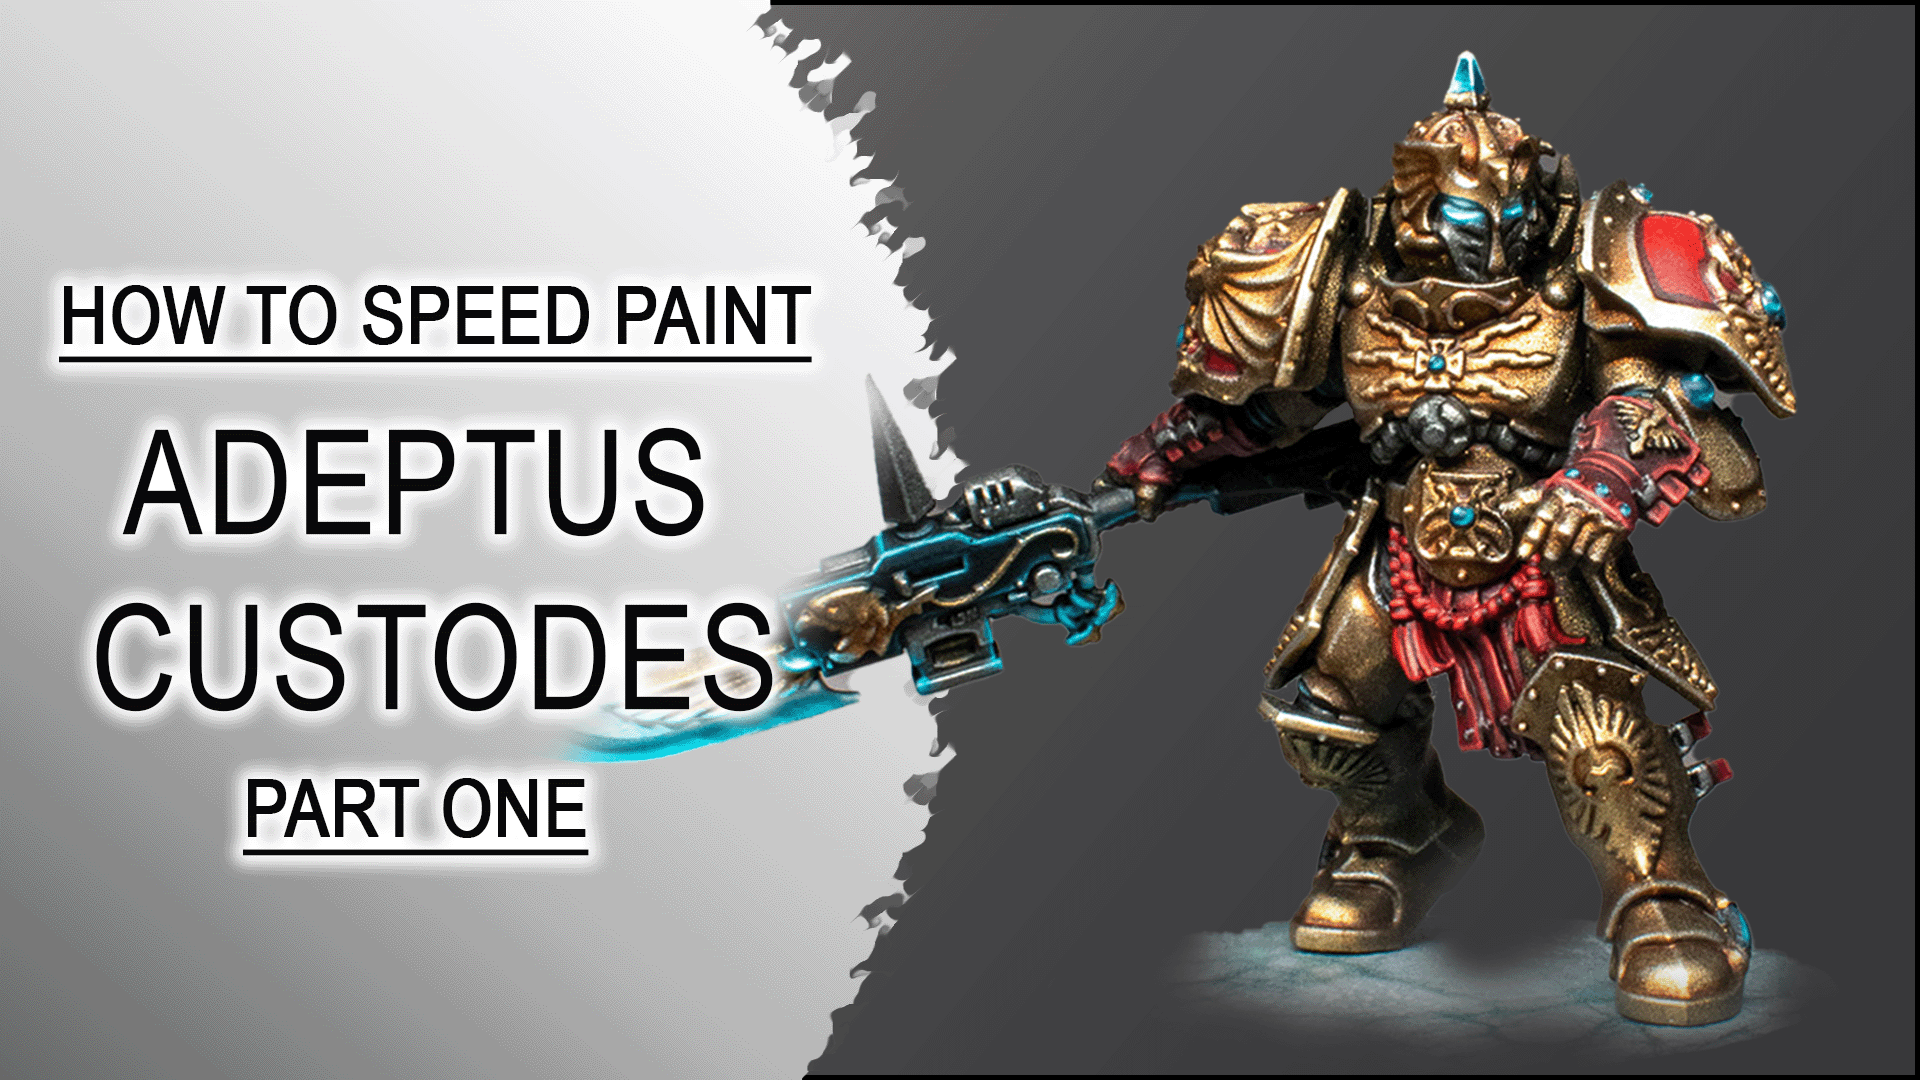
The rich red fabrics, deep leather tones, and bright gemstones are what give Adeptus Custodes their visual hierarchy and character. In Part One of this guide, we established a clean metallic foundation using thin films, low‑tension washes, and controlled volumetric highlights. This second part builds on that base by developing the contrasting materials that frame the armor: the cloak, leather straps, unit markings, and gemstones.

The goal is the same—smooth transitions, crisp definition, and strong material separation—using a repeatable workflow that keeps the miniature readable at arm’s length while still rewarding close inspection. All steps shown here were demonstrated on the same Shield‑Captain used in Part One, ensuring full continuity between both guides.

BrandName
Artis OpusSeries D – Brush Set, Series S – Brush Set
GET 5% Discount on Artis Opus Brushes !
Discount Code: PLAGUENARR
CitadelMephiston Red, Khorne Red, Evil Sunz Scarlet, Wild Rider Red, Squig Orange, Jokaero Orange, Abaddon Black, Kantor Blue, Thousand Sons Blue, Sybarite Green
P3 Morrow White

Step 1 – Leather & Leg Fabric Basecoat

Basecoat all leather parts and the fabric sections on the legs with a 3:1 mix of Khorne Red and Abaddon Black. These leg fabrics sit at awkward angles, so starting darker makes the later highlight stages cleaner and more controlled. Use thin, even layers to avoid texture buildup. Brush: Artis Opus Series S (Size 0).

Step 2 – Main Fabric Basecoat

Basecoat all cloak fabrics, the helm plume, and unit markings with Mephiston Red thinned 1:1 with water. This mix requires around three coats for full coverage but preserves all sculpted detail. Brush: Artis Opus Series S (Size 0).

Step 3 – Leather Recess Shading

Shade all leather recesses with a 1:1:1 mix of Mephiston Red, Abaddon Black, and Water. Apply this selectively into folds, undercuts, and deep lines to establish structure. Brush: Artis Opus Series S (Size 0).

Step 4 – Leather Highlights (Khorne Red)

Using pure Khorne Red, begin highlighting all leather areas. Use volumetric highlights on raised, light‑facing surfaces and add sharper edge highlights to corners for definition. Brush: Artis Opus Series S (Size 00). Optional: A gel pen can help refine micro‑edges.

Step 5 – Leather Highlights (Khorne Red + Squig Orange)

Mix 1:1 Khorne Red and Squig Orange and repeat the previous highlight pattern. Reduce the size of both volumetric and edge highlights by roughly one third to build a clean transition. Brush: Artis Opus Series S (Size 00).

Step 6 – Final Leather Highlights (Squig Orange)

Finish the leather with pure Squig Orange. Add small, bright reflections on raised areas and crisp edge highlights on corners to create a polished finish. Brush: Artis Opus Series S (Size 00).

Step 7 – First Fabric Highlights (Mephiston Red Glaze)

Create a 1:3 mix of Mephiston Red and Water and apply volumetric glaze highlights across the cloak and leg fabrics. Push the highlights toward the upper, light‑facing areas while keeping lower sections darker for natural shadowing.

Step 8 – Soft Cloak Shadows (Khorne Red Glaze)

Mix 1 part Khorne Red with 2 parts Water and glaze soft shadows into the lower folds and recesses of the cloak. Apply 2–3 thin layers to build smooth transitions.

Step 9 – Deep Cloak Shadows (Khorne Red + Abaddon Black)

Mix 2 parts Khorne Red, 1 part Abaddon Black, and 3 parts Water to create a deep shadow glaze. Use it in two ways:

  • As a recess shade: load the brush and place it directly into panel lines and edges.
  • As a glaze: wipe most paint off and glaze into the deepest folds for rich shadow depth.

Step 10 – Midtone Restoration (Mephiston Red)

Use a 1:1 mix of Mephiston Red and Water to restore midtones, smooth transitions, and add highlights to raised areas that may have been dulled during shading. Brush: Artis Opus Series S (Size 1).

Step 11 – Intense Highlights (Evil Sunz Scarlet)

Mix 1 part Evil Sunz Scarlet with 1 part Water and apply intense highlights to raised fabric areas. Blend softly into the layers below to maintain smooth transitions. Add small reflection points on areas that should visually pop. Also apply these highlights to the leg fabrics.

Step 12 – Final Fabric Highlights (Wild Rider Red)

Mix 1 part Wild Rider Red with 1 part Water and add thin edge highlights to all fabric edges and corners. Place small, bright reflection dots on raised areas to increase overall contrast. Repeat this on the leg fabrics as well.

Step 13 – Gemstone Basecoat

Basecoat all gemstones with a 1:1 mix of Kantor Blue and Water. Apply one smooth, even layer.

Step 14 – Gemstone Midtone Highlight

Mix 1:1:1 Thousand Sons Blue, Sybarite Green, and Water. Paint a highlight covering roughly one third of the gemstone, placed on the shadowed side to create depth.

Add a small dot highlight on the opposite side to simulate a light reflection.

Step 15 – Bright Gemstone Highlight

Add one part P3 Morrow White to the previous gemstone mix and repeat the highlight pattern with a smaller shape. This increases contrast and curvature.

Step 16 – Final Gemstone Reflections

Use pure P3 Morrow White to:

Place a crisp white dot at the center of the previous highlight for maximum brilliance

Add a thin reflection line in the shadowed area

Intensify the upper reflection dot

Legio Custodes – Easy True Metallic Gold Armor

Thin, believable metallics are one of the hardest things to get right on Adeptus Custodes. In this first part of my Custodes TMM guide, I break down a complete armor and metallics workflow built around ultra‑thin metallic films, low‑surface‑tension washes, and controlled drybrushing. The goal is a repeatable process that keeps the gold rich, the silver cool and sharp, and the overall read clean—without using any masking.

This article covers every step I used on a Custodes Shield‑Captain, from the first black prime to the final micro‑highlights on the armor. Part two will focus on the cloak, leather and gems, and how they tie into this metallic foundation.

BrandName
Artis OpusSeries D – Brush Set, Series S – Brush Set
GET 5% Discount on Artis Opus Brushes !
Discount Code: PLAGUENARR
CitadelBasilicanum Grey, Lahmian Medium, Guilliman Flesh, Talassar Blue
Monument Hobbies Pro AcrylPro Acryl Expansion Set Metallics
GET 5% Discount on Monument Hobbies products!
Discount Code: PLAGUENARR
Gaahleri12 Metal Colors Set
GET 10% Discount on Gaahleri products!
Discount Code: Plaguenarr
VallejoPigment FX, Burnt Sienna, Airbrush Thinner, Airbrush Flow Improver, Dark Aluminium

Step 1 – Prime and preparation

Prime the miniature black. I work in sub‑assemblies so I can reach awkward angles and covered details without building up unnecessary paint thickness. A clean black prime gives strong shadow definition and makes it easier to judge the transparency of the metallic layers.

Step 2 – Gold basecoat with thin metallic film

For the gold armor, I use Gaahleri Kaleido Acrylics – Champagne Gold. The key idea here is film thickness: I want a very thin metallic layer that doesn’t obscure detail or look “chunky”. With an airbrush, apply multiple ultra‑thin passes until you reach an even coverage. If you’re using a brush, work with several very thin coats instead of one heavy layer. The paint’s fluidity and fine pigment help keep the surface smooth.

Step 3 – Low‑surface‑tension wash for gold shading

To establish initial shading without shifting the gold too far in color, I mix a custom low‑surface‑tension wash:

  • 5 drops Guilliman Flesh
  • 3 drops Lahmian Medium
  • 2 drops Airbrush Thinner
  • 1 drop Flow Improver

The medium and thinner reduce surface tension so the wash flows into recesses instead of staining flat areas. Apply this panel by panel over the gold armor, letting it settle into lines and undercuts. This creates warm red‑brown shadows while preserving the main Champagne Gold tone.

Step 4 – Rebuilding gold midtones with drybrushing

After the wash, the gold can look slightly dulled. To bring the midtones back and start building volume, I drybrush Gaahleri – Champagne Gold again. I use an Artis Opus Series D (Size M+) with a texture palette and dampening pad. Load the brush, work most of the paint out, then use circular motions over the armor. This technique rebuilds the gold on raised areas while leaving the shaded recesses intact, creating soft volumetric highlights.

Step 5 – Bright gold volumetric highlights

Next, I push the highlights with Pro‑Acryl – Bright Gold. This paint has very fine, strong pigments and a fluid consistency, which makes it ideal for thin, bright layers. Using the same Series D (Size M+) brush, I drybrush in circular motions again, but now I focus on upper and forward‑facing surfaces: chest, shoulders, helmet crest, and other areas that would catch the most light. This step establishes a clear light direction and a brighter gold read without losing the underlying tone.

Step 6 – Silver basecoat

Before finishing the gold, I block in all silver metallics with Vallejo – Dark Aluminium. This includes the sword, crown, power cables, subsuit, helmet details and shield elements. Doing this at this stage lets me handle later drybrushing and highlighting across all metallics more efficiently, instead of treating gold and silver completely separately.

Step 7 – Cool low‑tension wash for silver

For the silver shading, I want a cooler, slightly blue recess tone to contrast the warm gold. I mix another low‑surface‑tension wash:

  • 5 drops Basilicanum Grey
  • 2 drops Talassar Blue
  • 6 drops Lahmian Medium
  • 6 drops airbrush thinner
  • 1 drop flow improver

Apply this mix panel by panel over the silver areas. The Basilicanum Grey and Talassar Blue combination creates a blue‑grey shade that settles into recesses and grooves, giving the silver a cool, slightly Grey Knights‑inspired feel that plays nicely against the red‑tinted gold shadows.

Step 8 – Muting the blue with a silver drybrush

After the wash, the silver can look a bit too blue. To balance it, I lightly drybrush Vallejo – Dark Aluminium again. Here I switch to an Artis Opus Series D (Size XS+) for better control on small details. With minimal paint on the brush, gently pass over raised areas to reintroduce neutral metallic midtones while keeping the cool recesses intact.

Step 9 – Sharp silver edge highlights

With the silver balanced, I add sharp highlights using Pro‑Acryl – Silver. Using an Artis Opus Series D (Size S+), I apply precise edge strikes to armor trim, bolts, weapon edges and other hard lines. The goal is to increase perceived sharpness and material definition without overwhelming the gold or turning the whole scheme too silver. Keep the highlights selective and controlled.

Step 10 – Deep silver recess glazes

To push depth in specific areas, I mix a glaze on the wet palette:

  • 2 parts Basilicanum Grey
  • 1 part Talassar Blue

With an Artis Opus Series S (Size 1), I wipe most of the paint off and glaze this mix into the deepest recesses of the silver—sword grooves, undercuts, and shadowed mechanical details. For very deep recesses, you can load the brush a bit more and carefully flood the area. This adds a final layer of depth without creating harsh transitions.

Step 11 – Gold armor glazes

Now I return to the gold to unify the tones. I thin Guilliman Flesh with water to a glazing consistency and apply it with an Artis Opus Series S (Size 1). Glaze into panel lines, undercuts and shadowed areas of the gold armor. This step reintroduces warmth into the shadows and ties the Champagne Gold and Bright Gold layers together into a cohesive surface.

Step 12 – Final edge and spot highlights

The last step for the metallics is micro‑highlighting. With an Artis Opus Series S (Size 1) and Pro‑Acryl – Silver (or a similar bright metallic), I place tiny spot highlights and edge lines on the sharpest armor edges, bolts and weapon tips—both on gold and silver areas. These small, high‑value points are what make the metal look crisp and finished when viewed at arm’s length.

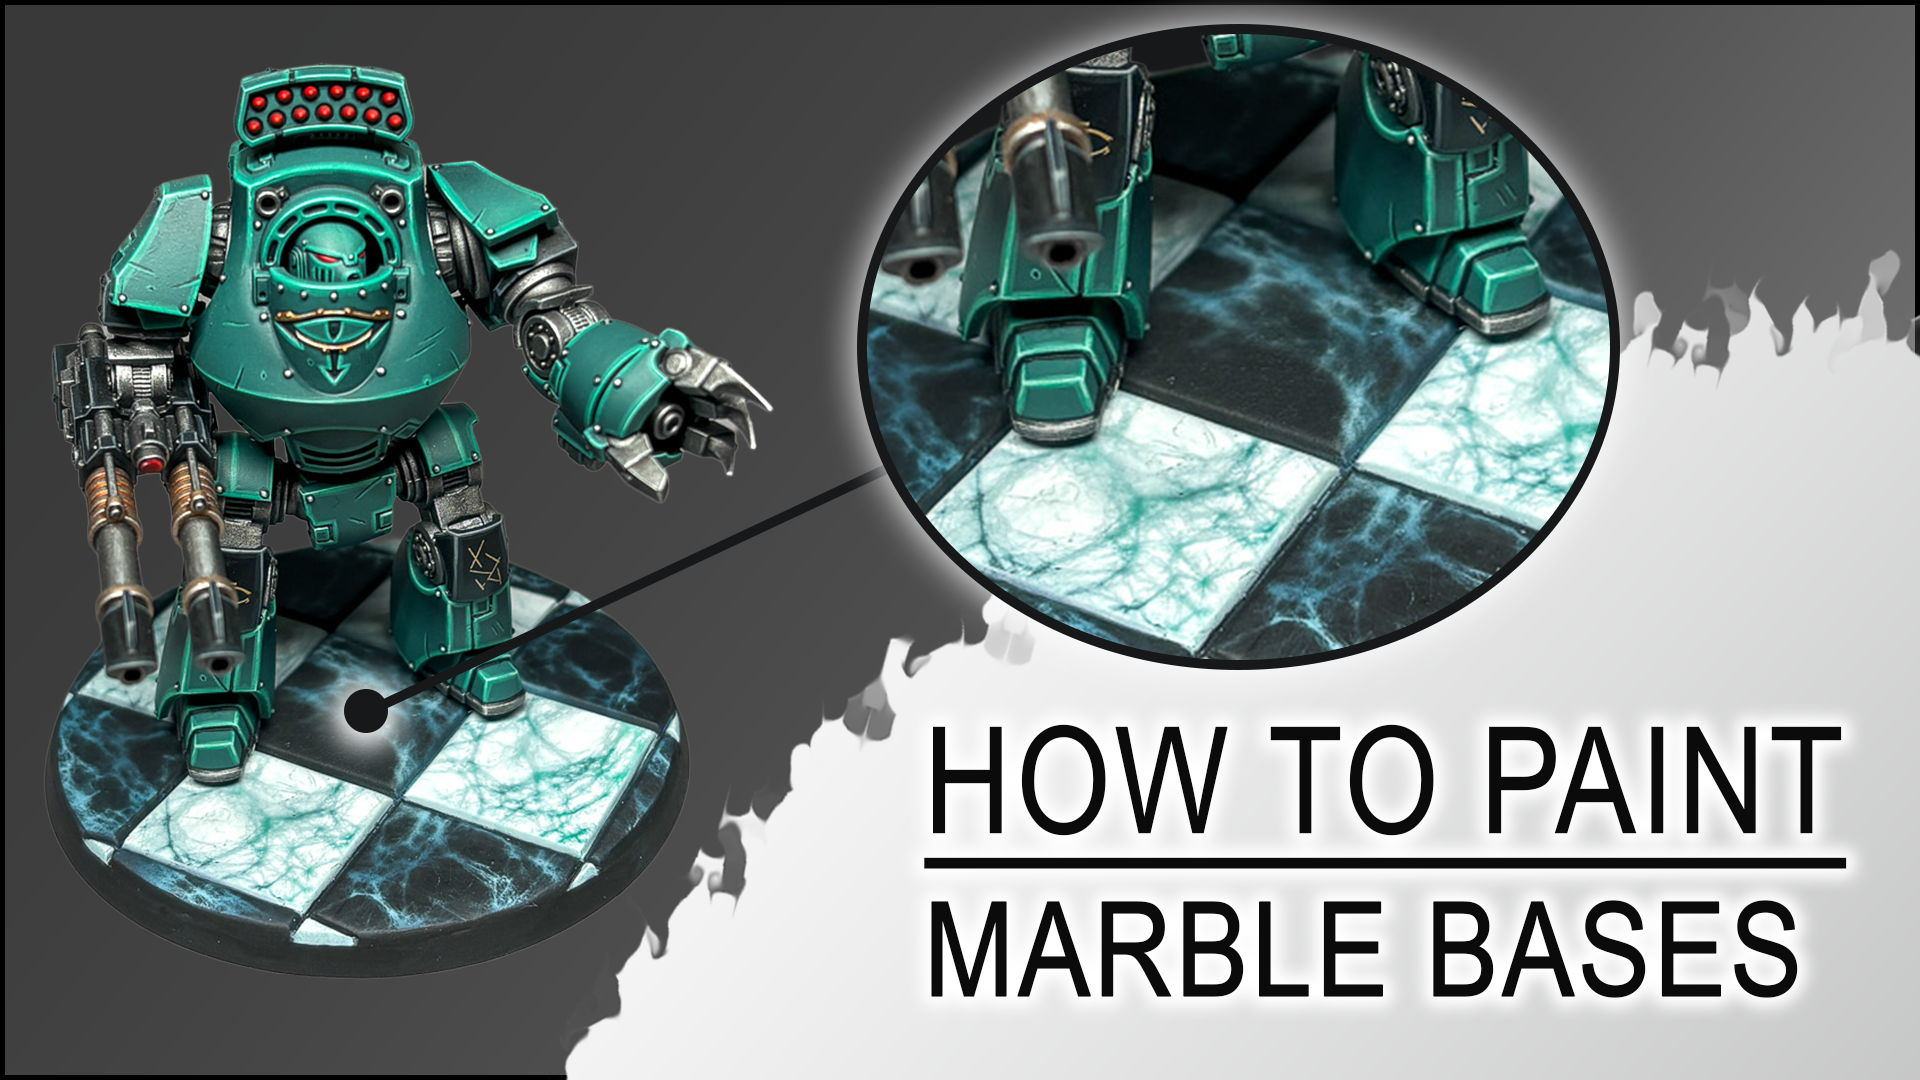
How to Paint Marble Bases

This is a full step‑by‑step painting tutorial showing how I paint marble chessboard bases for Warhammer Horus Heresy and 40K. In this guide, I cover the complete painting process used on my Golden Demon Vampire Blood Bowl entry, including smooth marble veining, color variation, and optional weathering for a more battle‑worn look.

The miniature featured here is from my Sons of Horus AOP 2023 entry, and this base style will return soon for a III Legion project. If you want a separate sculpting guide for the tiles themselves, let me know in the comments.

BrandName
Artis OpusSeries D – Brush Set, Series S – Brush Set
GET 5% Discount on Artis Opus Brushes !
Discount Code: PLAGUENARR
CitadelAbaddon Black, Sons of Horus Green, Sybarite Green, Gauss Blaster Green, Stegadon Scale Green
P3Morrow White
VallejoPremium Satin, Pale Grey Blue
GaahleriPremium Series GHPM-Mobius 0.2mm Airbrush
GET 10% Discount on Gaahleri products!
Discount Code: Plaguenarr

Iron Warriors Vehicle painting guide – Grimdark

Quick painting tutorial for a Warhammer Horus Heresy Iron Warriors Contemptor Dreadnought Armor. Features true metallic metal armor techniques and a step-by-step guide for three different methods how to paint hazard stripes. A big thanks to Taschengelddieb who provided the model and decals to be finally able to create a vehicle guide!

BrandName
Artis OpusSeries D – Brush Set, Series S – Brush Set
GET 5% Discount on Artis Opus Brushes !
Discount Code: PLAGUENARR
CitadelNuln Oil, Contrast Medium, Darkoath Flesh Contrast, Mephiston Red, Wild Rider Red, Evil Sunz Scarlet, Fire Dragon Bright, Flash Gitz Yellow, Yriell Yellow
Monument Hobbies Pro AcrylPro Acryl Expansion Set Metallics
GET 5% Discount on Monument Hobbies products!
Discount Code: PLAGUENARR
VallejoPremium Gloss Varnish, Premium Satin Varnish, Pigment FX, Natural Sienna
MicroscaleMicro Sol

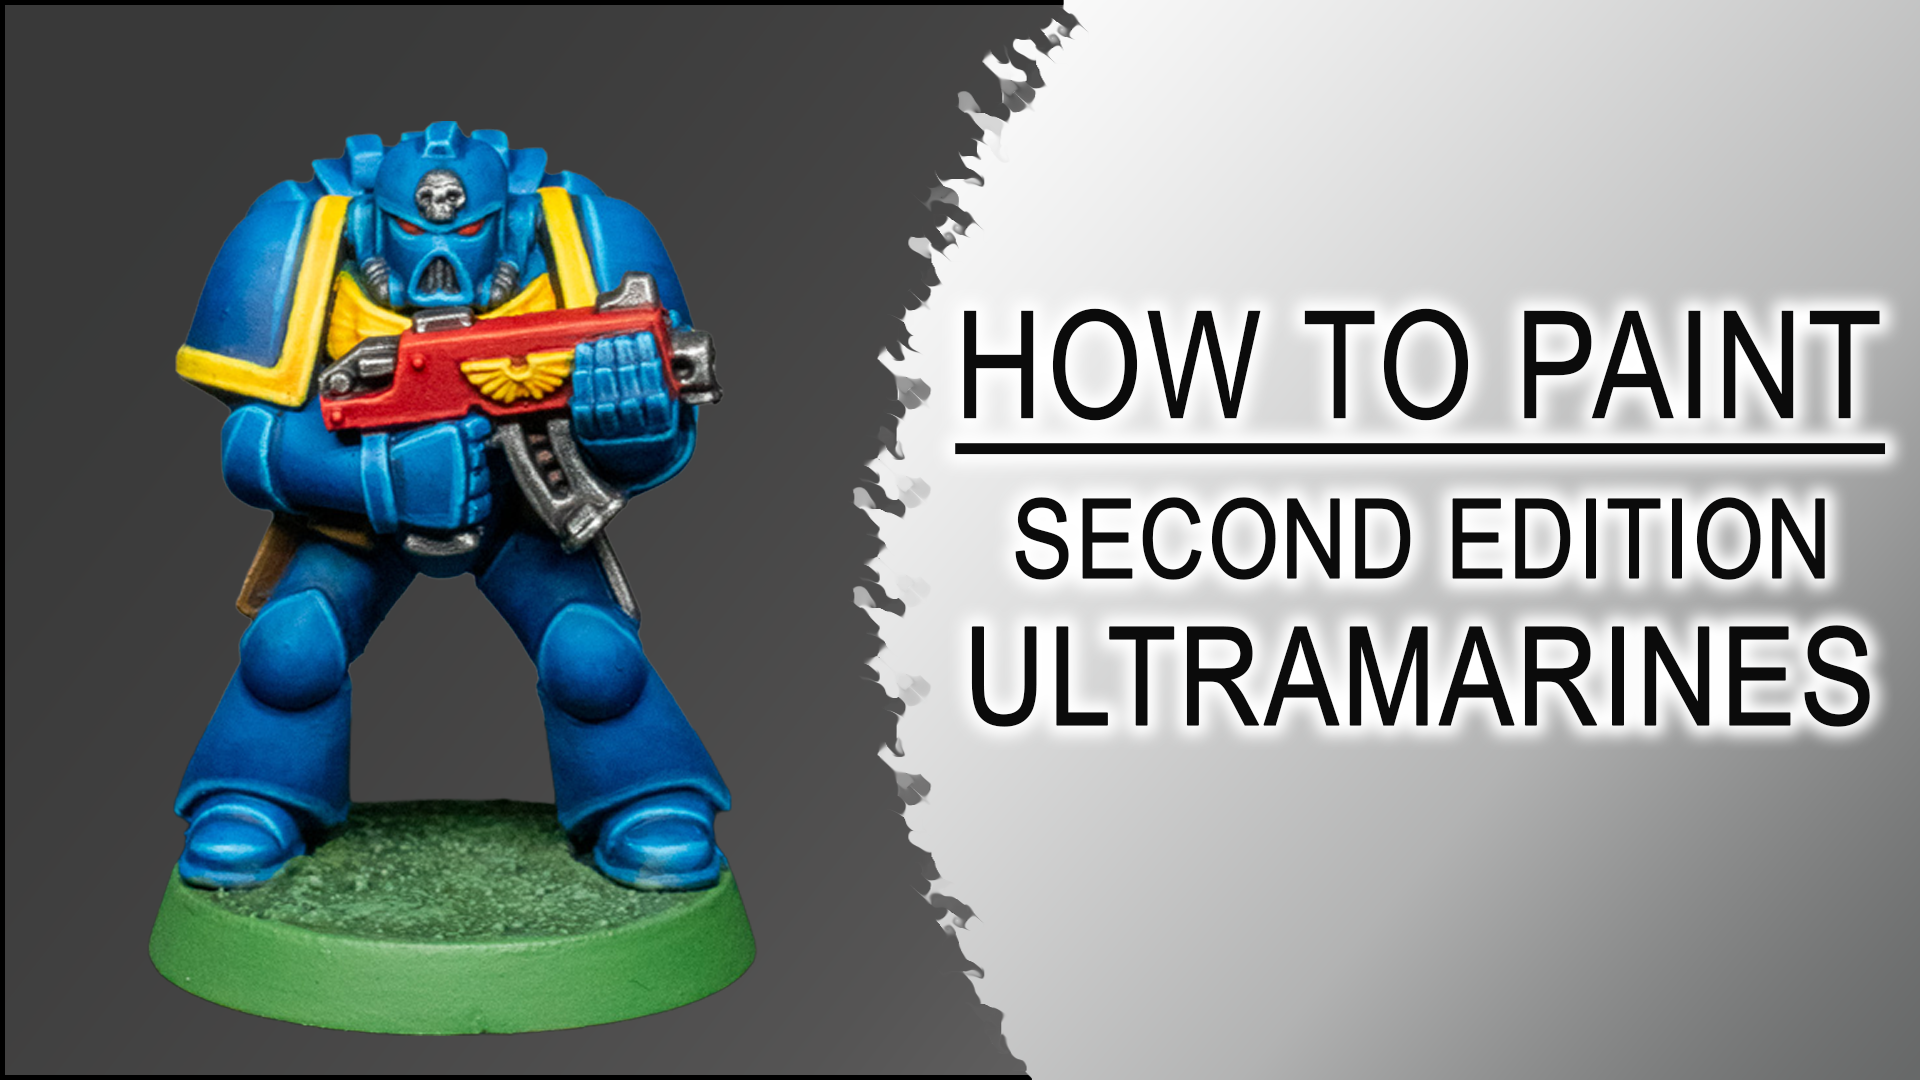
Second Edition Ultramarines Painting Guide

This is a step-by-step painting tutorial showing how I recreated the classic Eavy Metal Second Edition Space Marines style. In this guide, I’ll walk you through the iconic bright armor colors, crisp highlights, and bold details that defined the 1990s Warhammer 40K aesthetic. Perfect for hobbyists who want to capture that nostalgic look or learn the fundamentals of clean, competition-level miniature painting.

BrandName
Artis OpusSeries D – Brush Set, Series S – Brush Set
GET 5% Discount on Artis Opus Brushes !
Discount Code: PLAGUENARR
CitadelFlash Gitz Yellow, Wild Rider Red, Evil Sunz Scarlet, Ironbreaker, Caledor Sky, Contrast Medium, XV-88, Warplock Bronze, Basilicanum Grey, Iyanden Yellow, Flesh Tearers Red, Snakebite Leather, Blood Angels Red, Ultramarines Blue, Teclis Blue, Lothern Blue, Trollslayer Orange, Balor Brown, Warboss Green, Straken Green
Vallejo Premium Satin Varnish
Army PainterMoon Dust, Military Shader

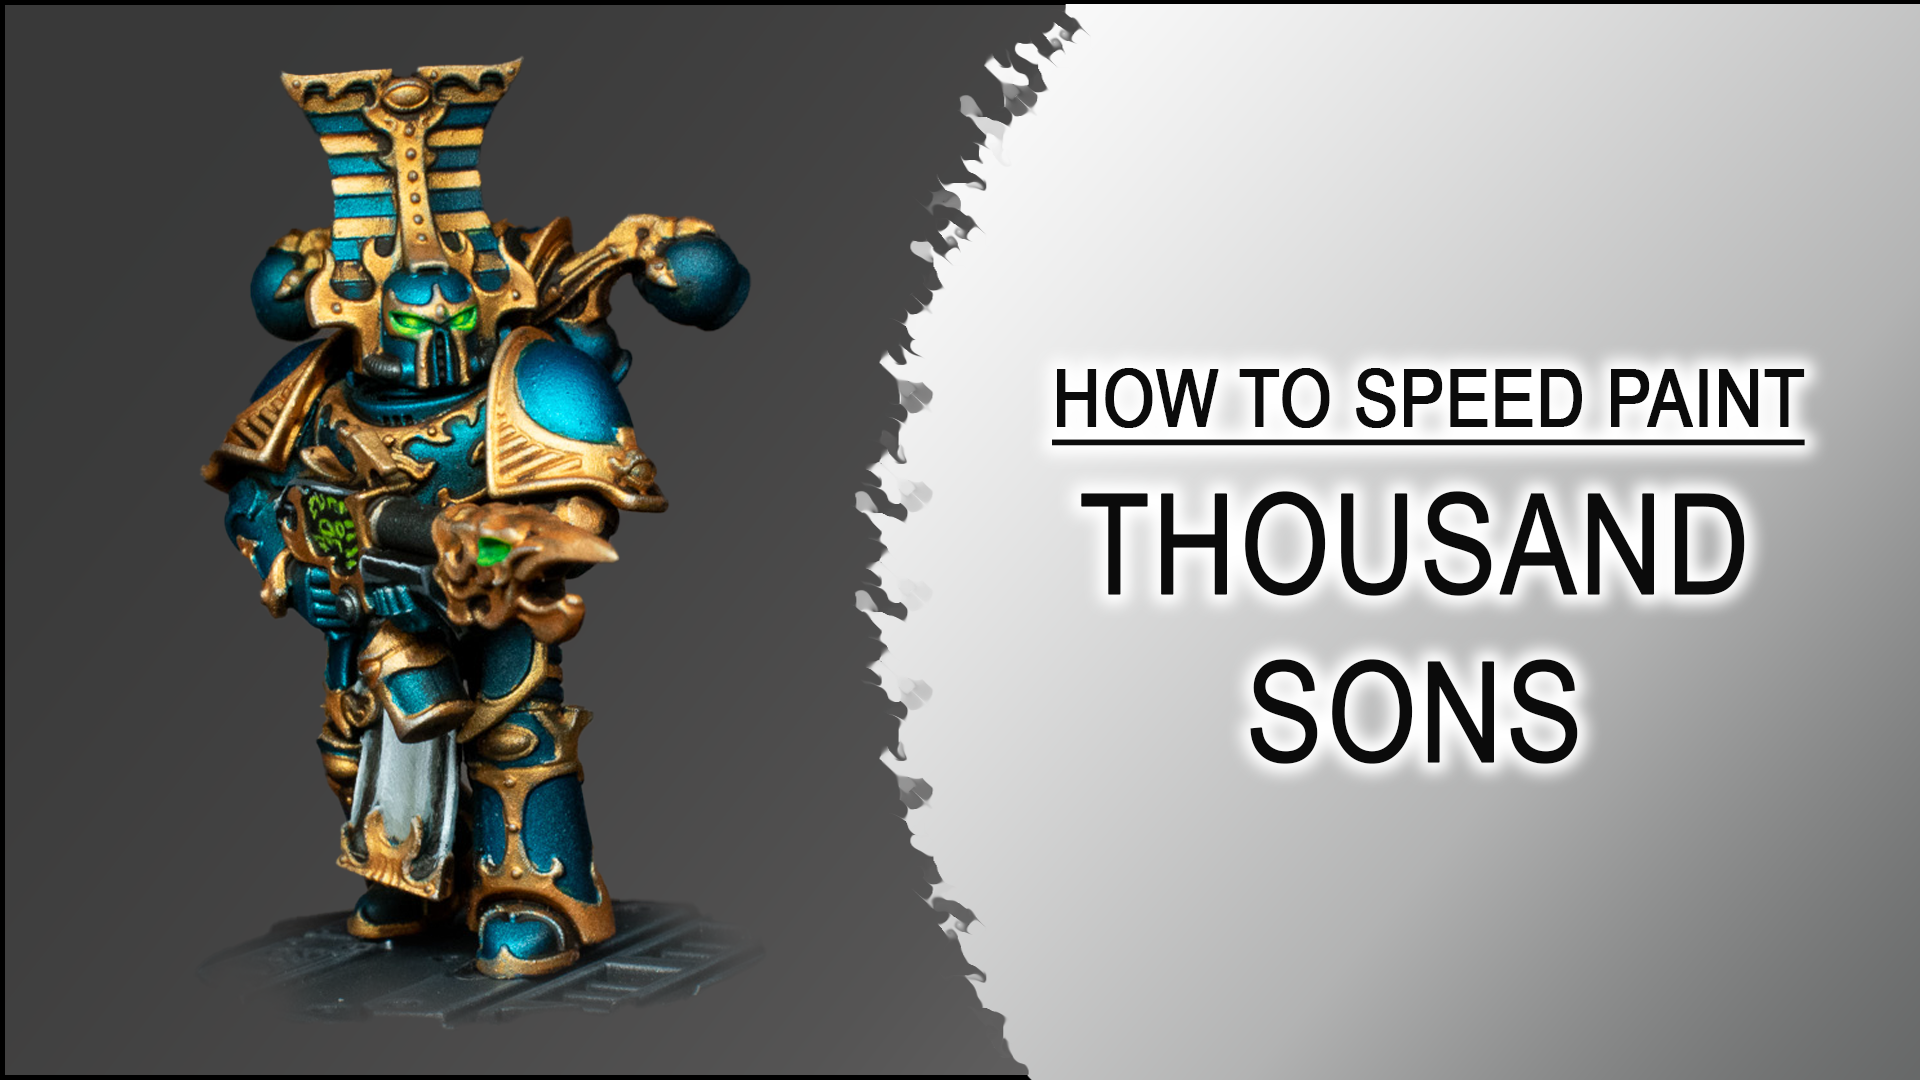
Thousand Sons 40k speed painting guide

This is a detailed video speed painting guide how i have painted a Warhammer 40k Thousand Sons Rubric Marine. The Color Scheme is inspired by the Space Marine 2 Video Game.
One of the most time consuming parts are the trims. I came up with a nice idea to save some time while applying highlights.
This guide also includes a step by step guide how i have painted the green glowing eyes.

BrandName
Artis OpusSeries D – Brush Set, Series S – Brush Set
GET 5% OFF on ALL Artis Opus products and Brushes !
Link: SHOP NOW
Discount Code: PLAGUENARR
GaahleriPremium Series GHPM-Mobius 0.2mm Airbrush
GET 10% Discount on Gaahleri products!
Discount Code: Plaguenarr
CitadelBlack Templar
VallejoGunmetal Grey, Premium Gloss Varnish, Premium Satin Varnish, Silver
Schminckeburnt Sienna, ivory black
MicroscaleMicro Sol
Monument Hobbies Pro AcrylPro Acryl Base Set, Pro Acryl Expansion Set Metallics, Pro Acryl Expansion Set Transparents
GET 5% Discount on Monument Hobbies products!
Discount Code: PLAGUENARR

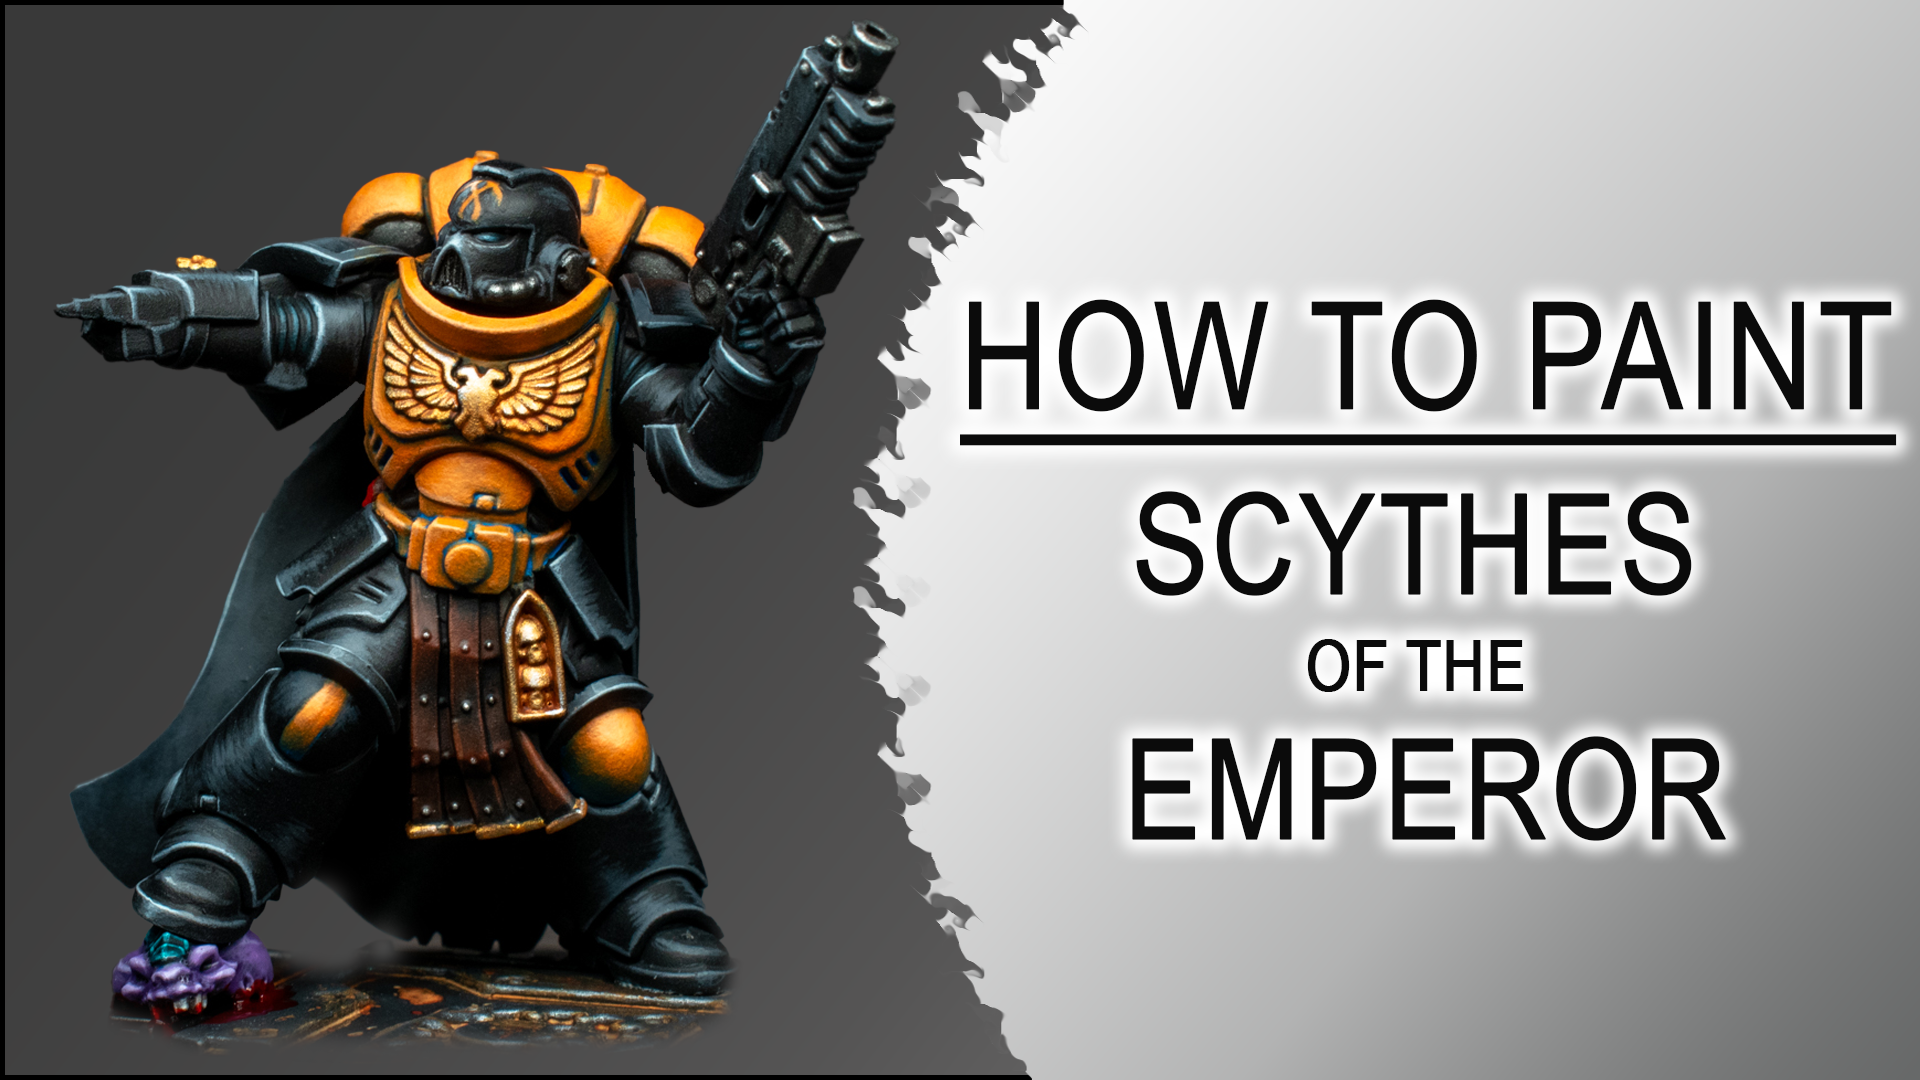
Scythes of the Emperor Painting Guide Inspired by Astartes II

his is a detailed guide how i have painted a Warhammer 40k Scythes of the Emperor Space Marine. The Color Scheme is inspired by the Astartes II trailer.

BrandName
Artis OpusSeries D – Brush Set, Series S – Brush Set
GET 5% Discount on Artis Opus Brushes !
Discount Code: PLAGUENARR
CitadelGuilliman Flesh, Ironbreaker, Black Templar, Incubi Darkness, Thunderhawk Blue, Doombull Brown
VallejoGunmetal Grey, Premium Gloss Varnish, Premium Satin Varnish, Neutral Grey, Basalt Grey, Pale Grey Blue, German Grey,
Monument Hobbies Pro AcrylPro Acryl Base Set, Pro Acryl Expansion Set Metallics, Pro Acryl Expansion Set Transparents
GET 5% Discount on Monument Hobbies products!
Discount Code: PLAGUENARR

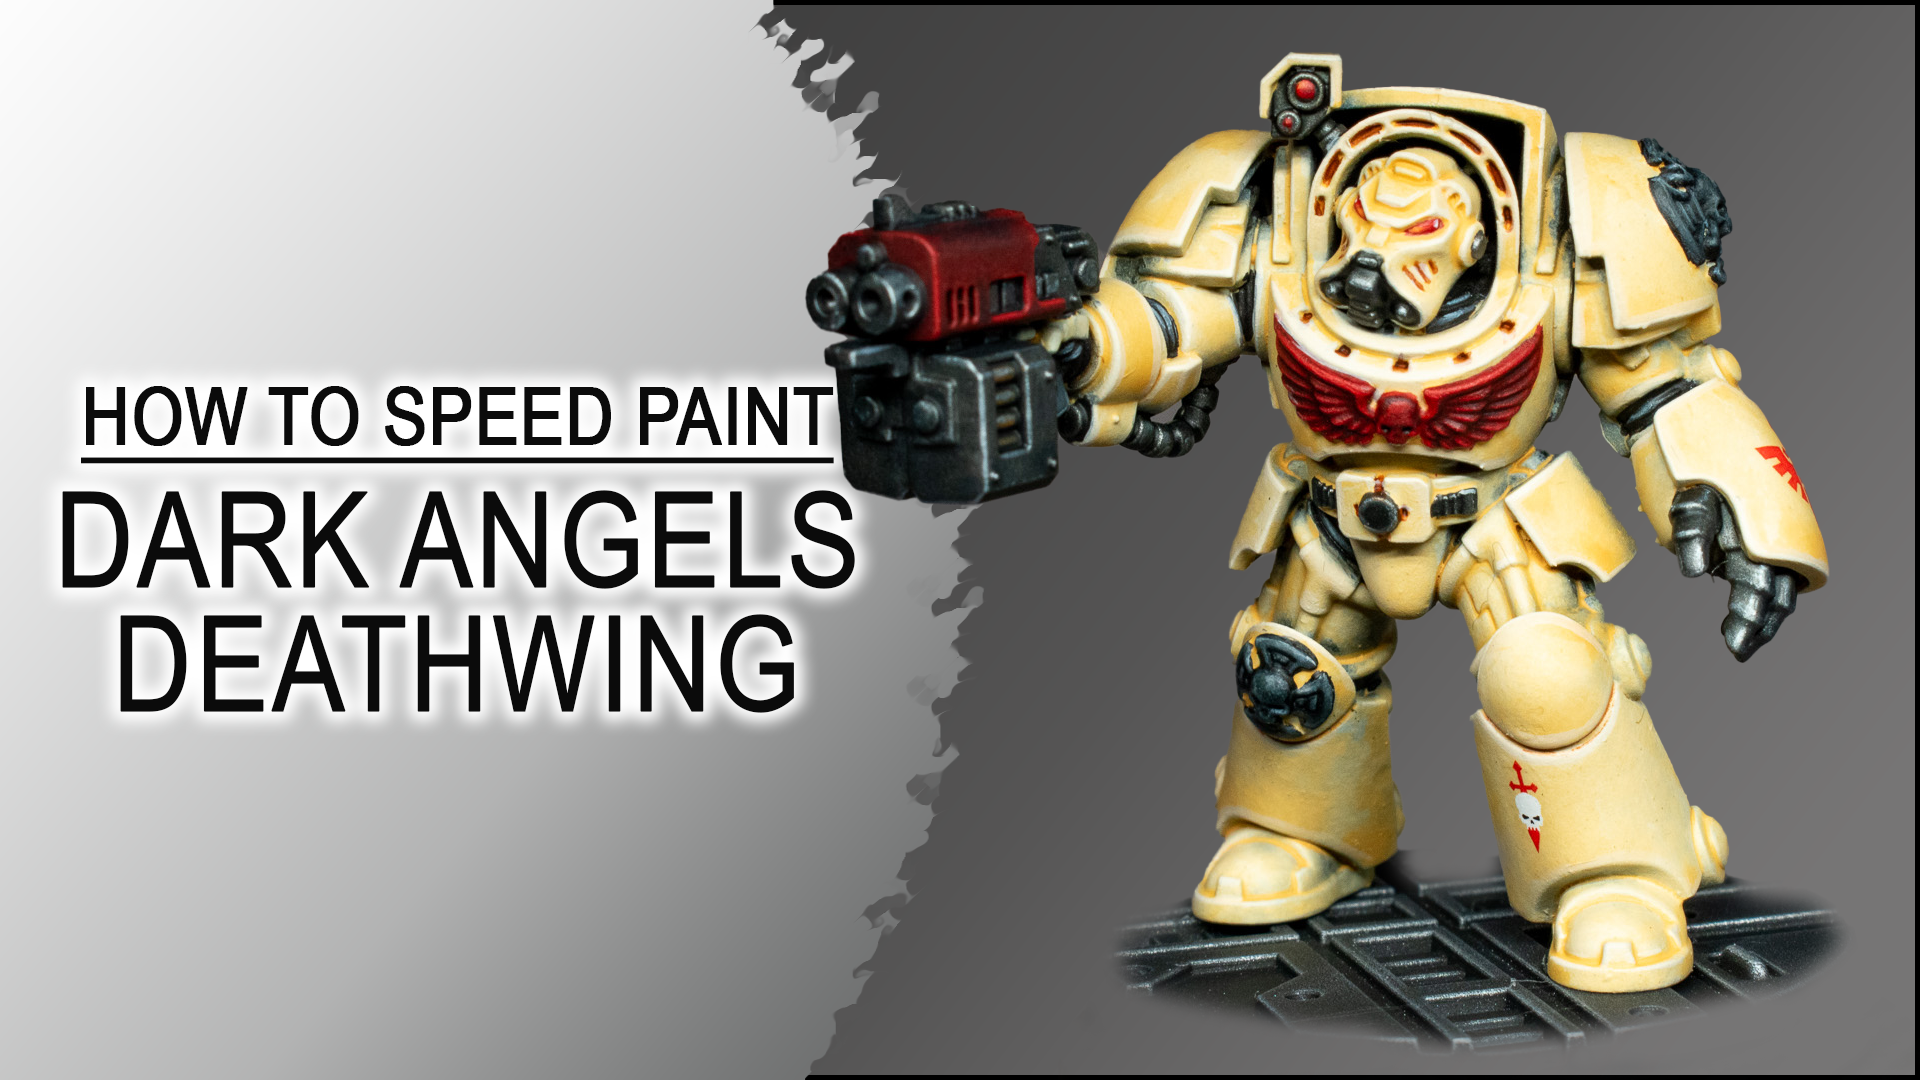
Dark Angels Deathwing 40k speed painting guide

This video is a quick overview of how I paint a Warhammer 40k Space Marine Deathwing Terminator of the Dark Angels Chapter.

This is another of the guides where i tried to create a more Eavy Metal styled guide, by still maintaining time efficiency while painting.

For the whole mini including the base the process took around 3.0 hours.

BrandName
Artis OpusSeries D – Brush Set, Series S – Brush Set
GET 5% Discount on Artis Opus Brushes !
Discount Code: PLAGUENARR
CitadelMephiston Red, Evil Sunz Scarlet, Contrast Medium, Black Templar, Screaming Skull, Fire Dragon Bright, Gore Grunta Fur
VallejoGunmetal Grey, Premium Gloss Varnish, Premium Satin Varnish, Basalt Grey, Neutral Grey, Pale Grey Blue
Monument Hobbies Pro AcrylPro Acryl Base Set
GET 5% Discount on Monument Hobbies products!
Discount Code: PLAGUENARR
MicroscaleMicro Sol

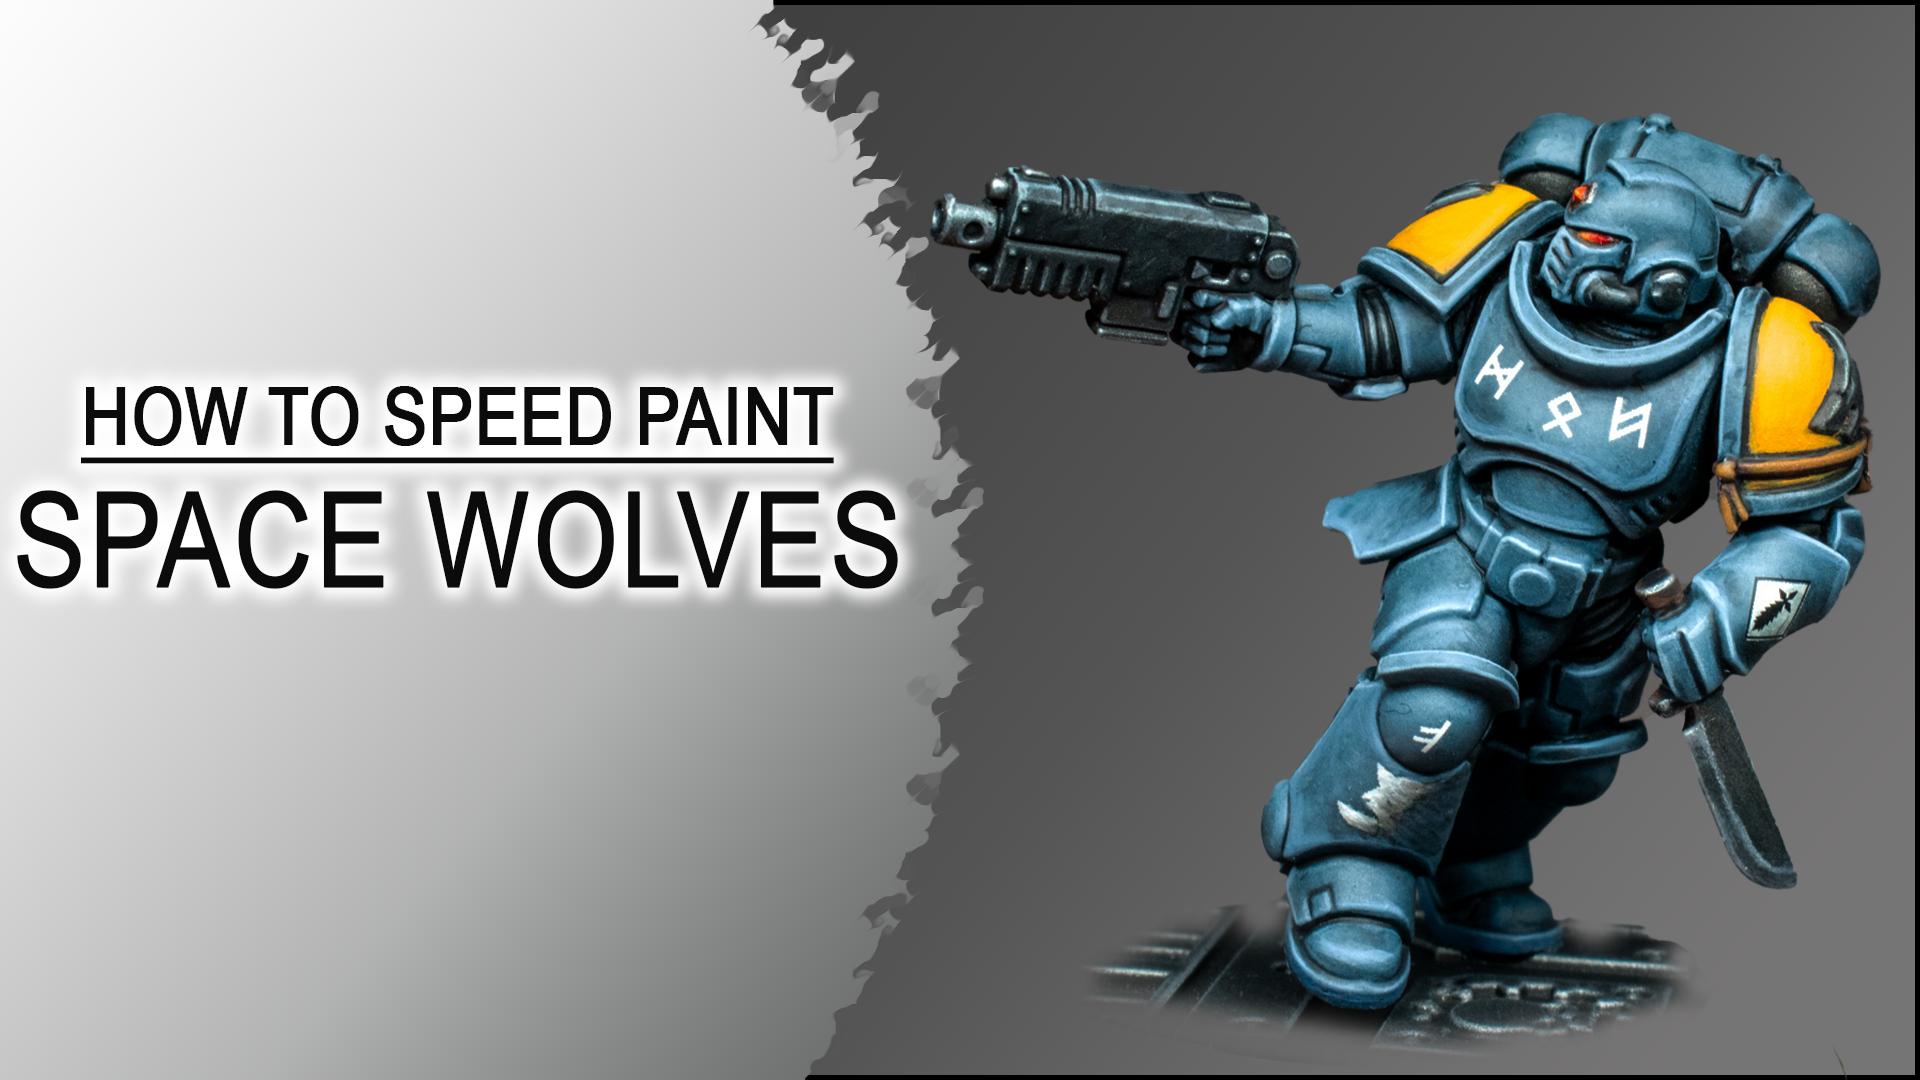
Space Wolves 40k speed painting guide

This video is a quick overview of how I paint a Warhammer 40k Primaris Assault intercessor Space Wolve in Mark X Armor.

For the whole mini including the base the process took around 3.0 hours.

BrandName
Artis OpusSeries D – Brush Set, Series S – Brush Set
GET 5% Discount on Artis Opus Brushes !
Discount Code: PLAGUENARR
CitadelMephiston Red, Evil Sunz Scarlet, Contrast Medium, Black Templar, Ultramarines Blue, Fire Dragon Bright, Doombull Brown, Yriell Yellow, Yriell Yellow
VallejoGunmetal Grey, Premium Gloss Varnish, Premium Satin Varnish, Dark Grey, Neutral Grey, Pale Grey Blue
Monument Hobbies Pro AcrylPro Acryl Base Set
GET 5% Discount on Monument Hobbies products!
Discount Code: PLAGUENARR
MicroscaleMicro Sol

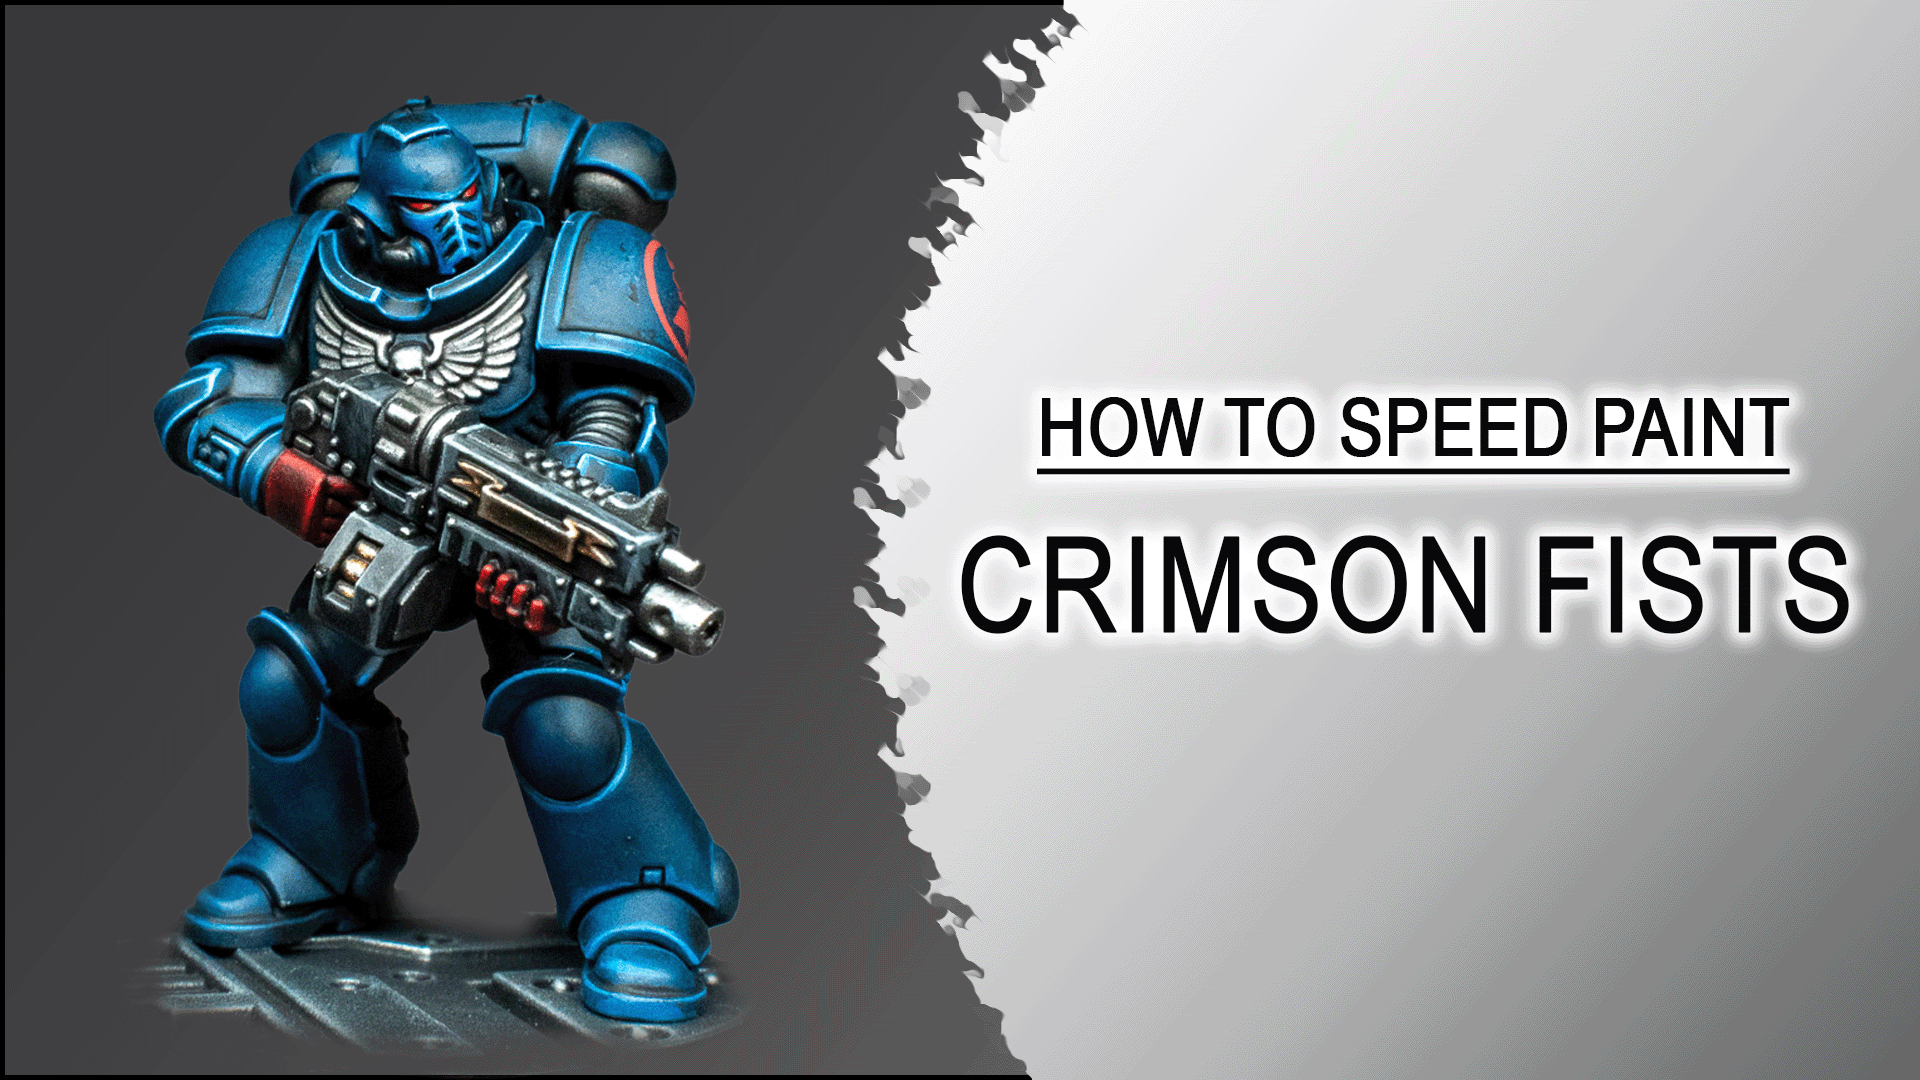
Crimson Fists Easy Eavy Metal Color scheme

This video is a quick overview of how I paint a Warhammer 40k Primaris intercessor Crimson Fists Space Marine in Mark X Armor.


The idea behind this paint job was to narrow down the Eavy Metal painting style to its basics, and provide you ways how to achieve a Eavy metal look with speed painting patterns.

Let me know if you like this kind of painting style and guide and we will make a series out of this!


For the whole mini including the base the process took around 2.5 hours.

BrandName
Artis OpusSeries D – Brush Set, Series S – Brush Set
GET 5% Discount on Artis Opus Brushes !
Discount Code: PLAGUENARR
CitadelAbaddon Black, Kantor Blue, Caledor Sky, Mephiston Red, Evil Sunz Scarlet, Contrast Medium, Black Legion, Fire Dragon Bright
VallejoGunmetal Grey, Premium Gloss Varnish, Premium Satin Varnish
Monument Hobbies Pro AcrylPro Acryl Base Set
GET 5% Discount on Monument Hobbies products!
Discount Code: PLAGUENARR
MicroscaleMicro Sol

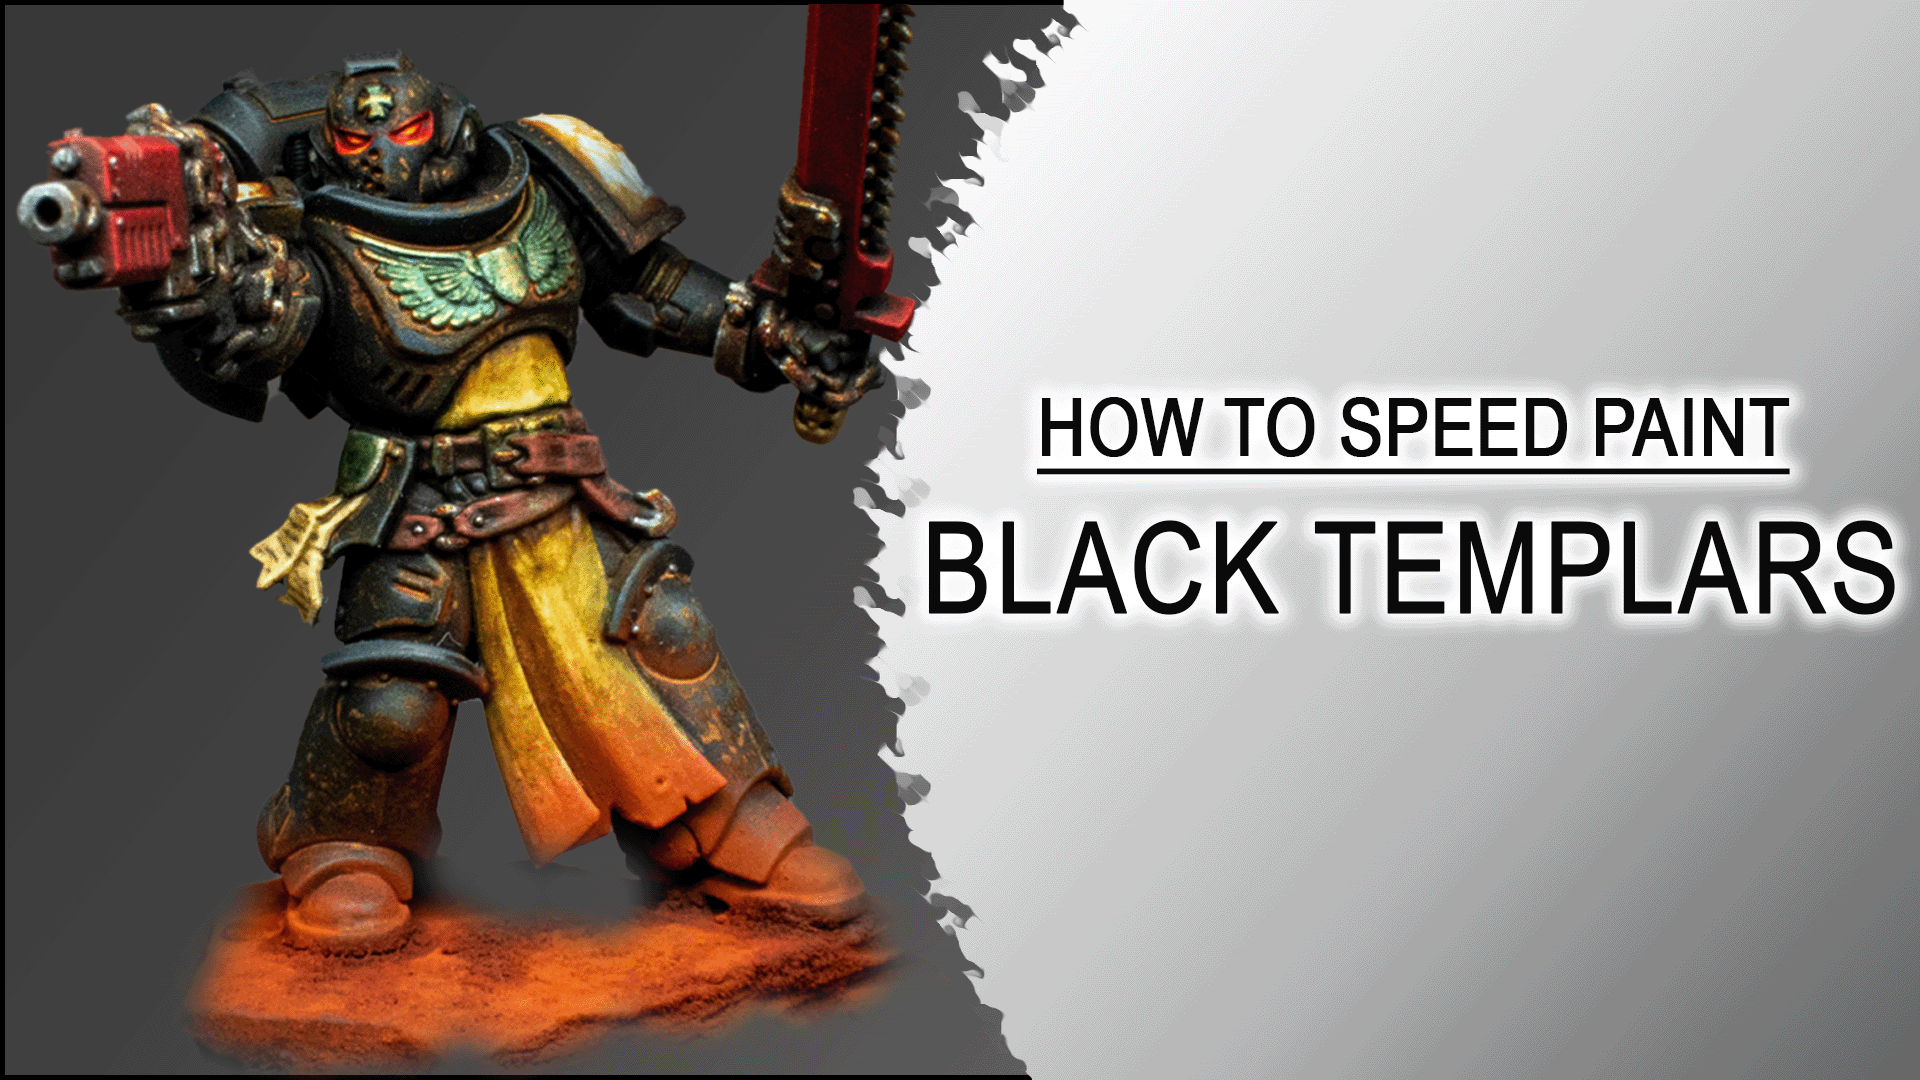
Black Templars Grimdark color scheme

This video is a full guide that shows how to paint a Black Templar Primaris Space Marine in a weathered Grimdark style

The whole painting process including basing took around 4h.

BrandName
Artis OpusSeries D – Brush Set, Series S – Brush Set
GET 5% Discount on Artis Opus Brushes !
Discount Code: PLAGUENARR
CitadelSkeleton Horde, Morghast Bone, Screaming Skull
VallejoGunmetal Grey, Premium Satin Varnish, Airbrush thinner
Dirty DownRust, Verdigris, Moss
Monument Hobbies Pro AcrylPro Acryl Base Set, Pro Acryl Expansion Set Metallics
GET 5% Discount on Monument Hobbies products!
Discount Code: PLAGUENARR

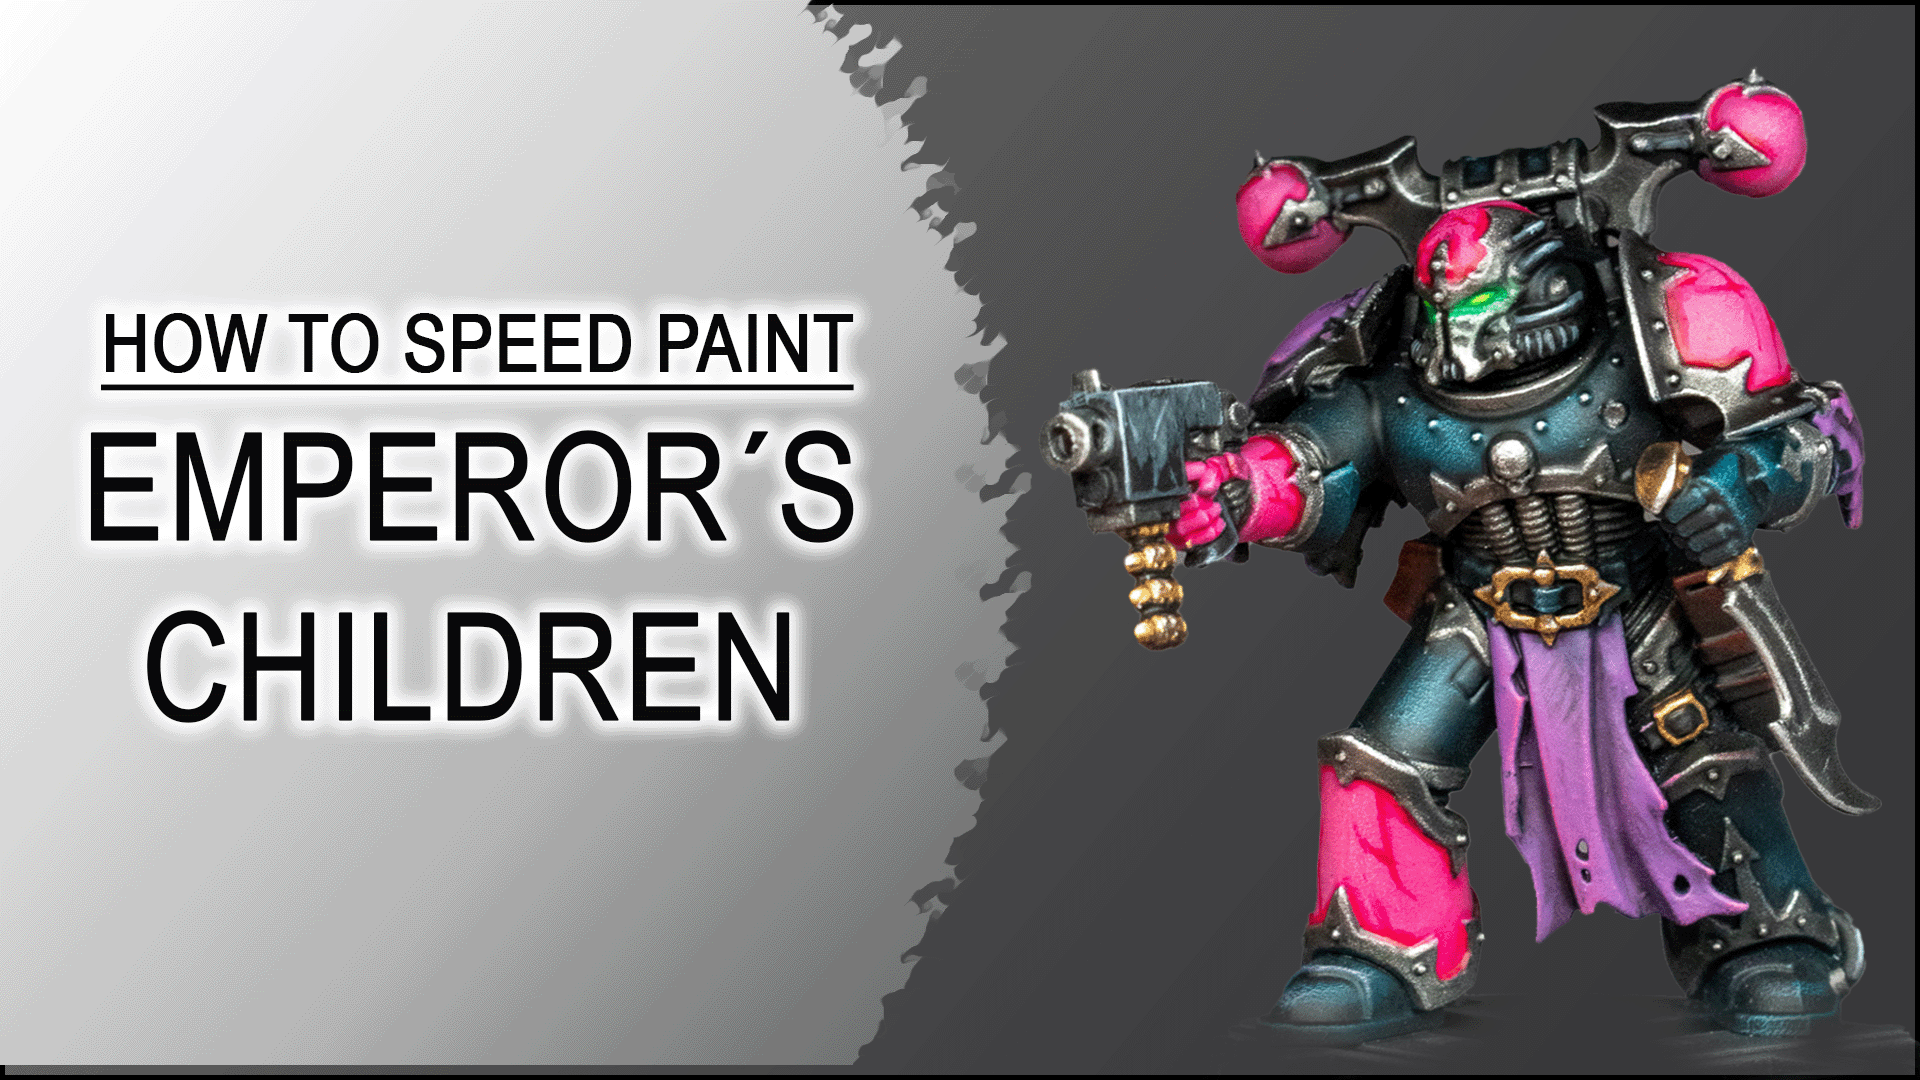
Emperor´s Children Chaos Space Marine painting guide

This video is a quick overview of how I paint a Warhammer 40k Emperor’s Children Chaos Space Marine Armor from. It includes a green glowing eyes tutorial.
For the whole mini including the base the process took 3.5 hours.

BrandName
Artis OpusSeries D – Brush Set, Series S – Brush Set
GET 5% Discount on Artis Opus Brushes !
Discount Code: PLAGUENARR
CitadelIronbreaker, Incubi Darkness, Thunderhawk Blue, Thunderhawk Blue, Terradon Turquoise
VallejoGunmetal Grey, Premium Satin Varnish,Neutral Grey, Basalt Grey
Monument Hobbies Pro AcrylPro Acryl Base Set, Pro Acryl Expansion Set Metallics, Pro Acryl Expansion Set Transparents
GET 5% Discount on Monument Hobbies products!
Discount Code: PLAGUENARR

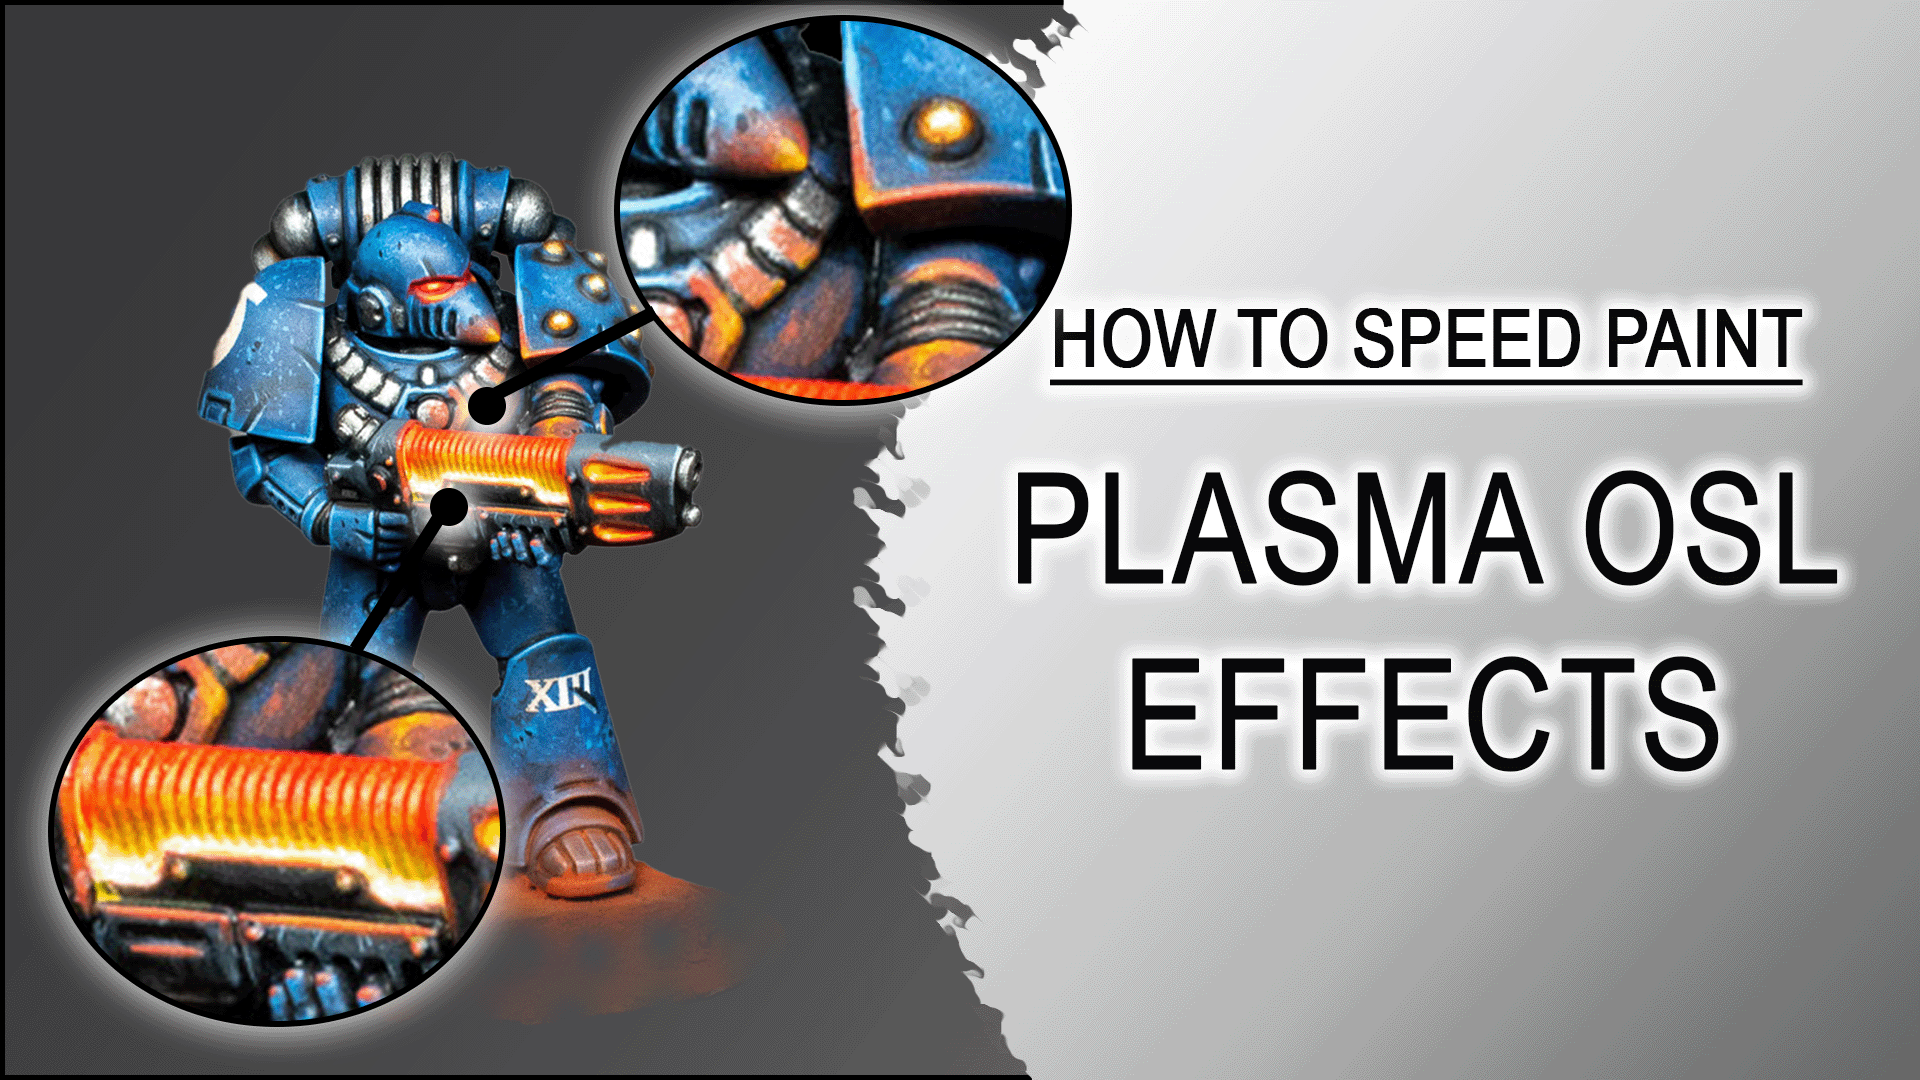
Space Marines Glowing Plasma Gun OSL

This video shows how i paint the Gun casing and glowing plasma on my Warhammer 40k / Horus Heresy models

BrandName
Artis OpusSeries D – Brush Set, Series S – Brush Set
GET 5% OFF on ALL Artis Opus products and Brushes !
Link: SHOP NOW
Discount Code: PLAGUENARR
PK-PROGET 5% OFF on selected products
Link: SHOP NOW
Discount Code: Plague2025
Monument Hobbies Pro AcrylPro Acryl Base Set, Pro Acryl Expansion Set Metallics, Pro Acryl Expansion Set Transparents
GET 5% Discount on Monument Hobbies products!
Discount Code: PLAGUENARR

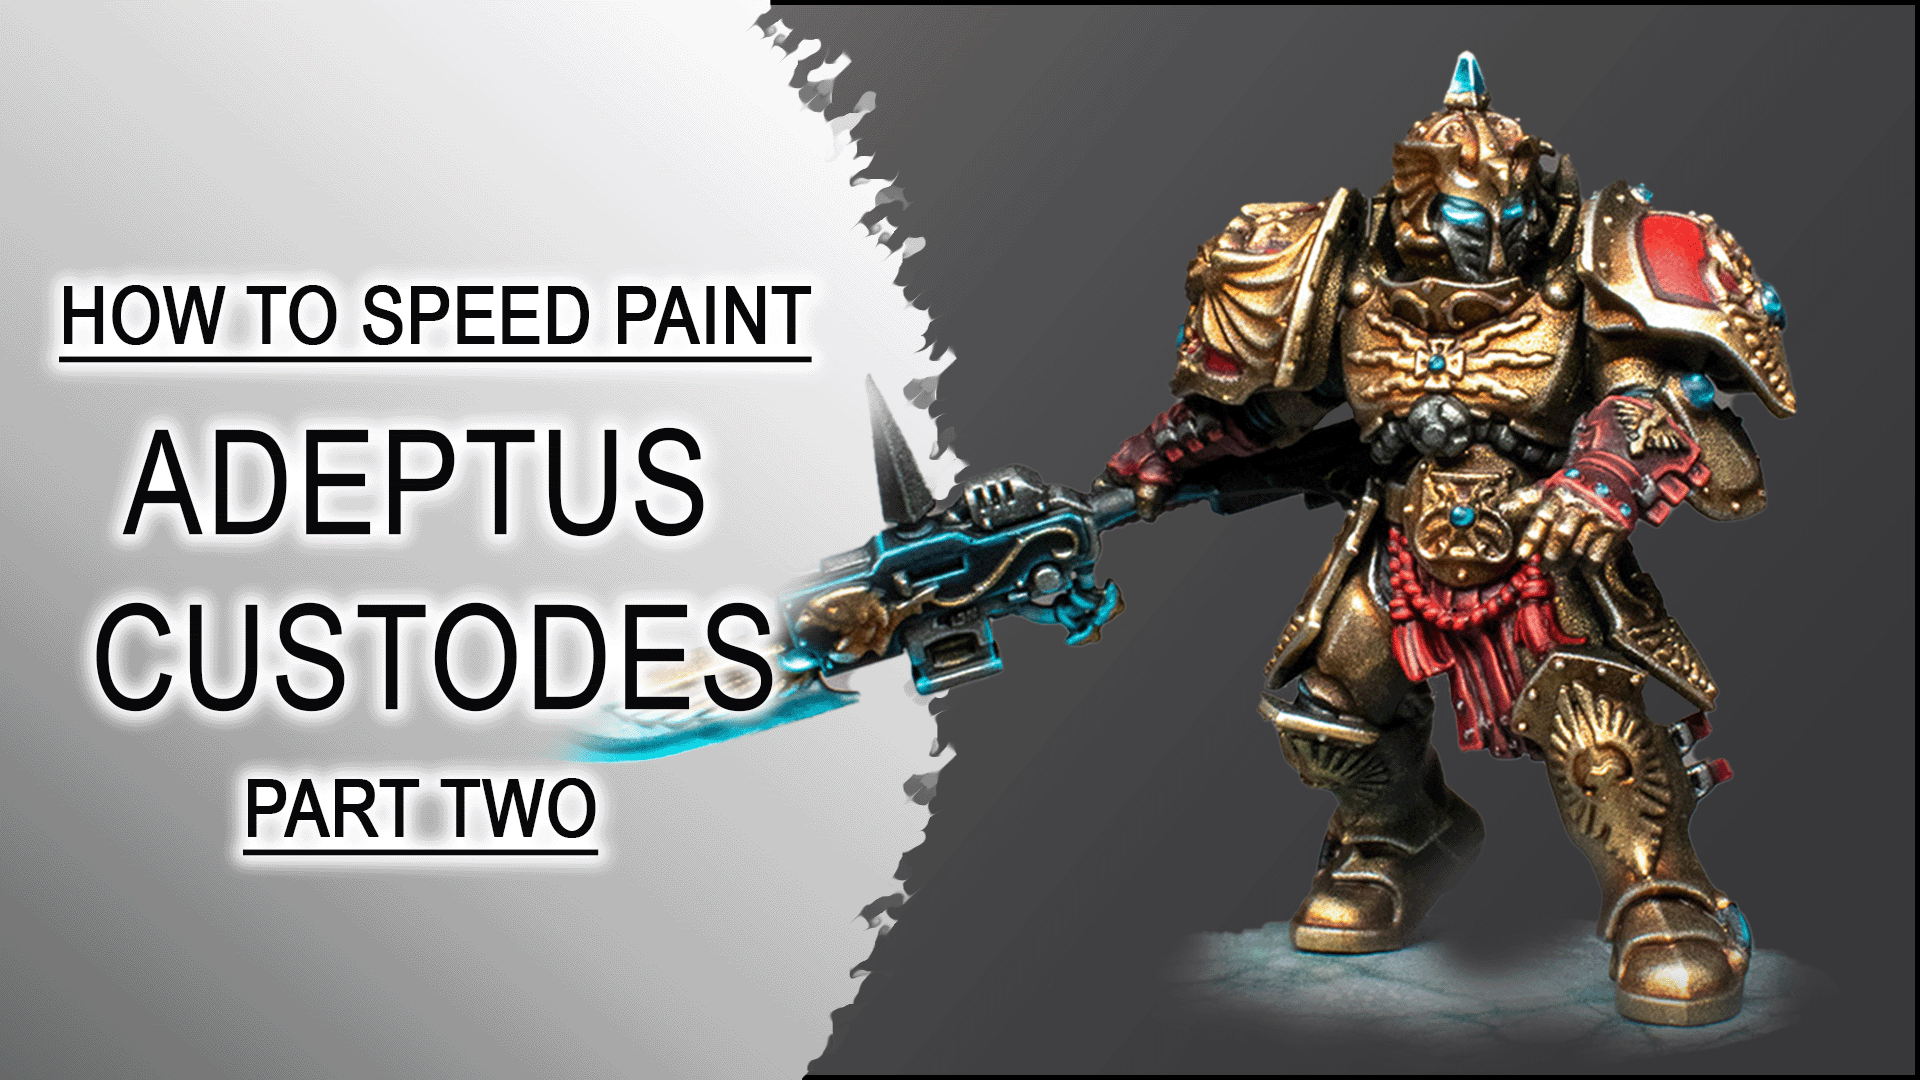
Adeptus Custodes Shoulders, Ropes and Gems

This video is a quick tutorial where I show you how i painted the details on my Legio Custodes Armor.
This is part 2 of 2 and covers the whole process of painting Shoulder pads, Ropes, Leather and Gemstones.

Colors and materials Used in this Guide

BrandName
Artis OpusSeries D – Brush Set, Series S – Brush Set
GET 5% Discount on Artis Opus Brushes !
Discount Code: PLAGUENARR
CitadelMephiston Red, Khorne Red, Evil Sunz Scarlet, Wild Rider Red, Squig Orange, Jokaero Orange, Abaddon Black, Kantor Blue, Thousand Sons Blue, Sybarite Green
P3Morrow White

Adeptus Custodes TMM Gold Armor

This video is a quick tutorial where I show you how I painted my true metallic metal Warhammer 40k Adeptus Custodes armor.
This video is part 1 of 2 parts and covers the whole process of painting gold armor. The second part will cover the leather, gems and ropes.

Parrt02: Shoulders, Ropes, Leather and Gems

I use this true metallic metal dry brushing process to paint all my Legio Custodes minis for my Armies on Parade 2024 Horus Heresy entry.

Colors Used in this Guide

Brand Name
Artis OpusSeries D – Brush Set, Series S – Brush Set
GET 5% Discount on Artis Opus Brushes !
Discount Code: PLAGUENARR
PK-PROLIQUID MASK, Masking Tape
GoldenIridescent Gold Deep (Fine), Iridescent Gold (Fine)
VellejoAirbrush Thinner, Gunmetal Grey, Premium Satin Varnish
CitadelBlack Legion Contrast, Contrast Medium, Darkoath Flesh Contrast, Stormhost Silver, Nuln Oil, Ironbreaker, Gore-Grunta Fur

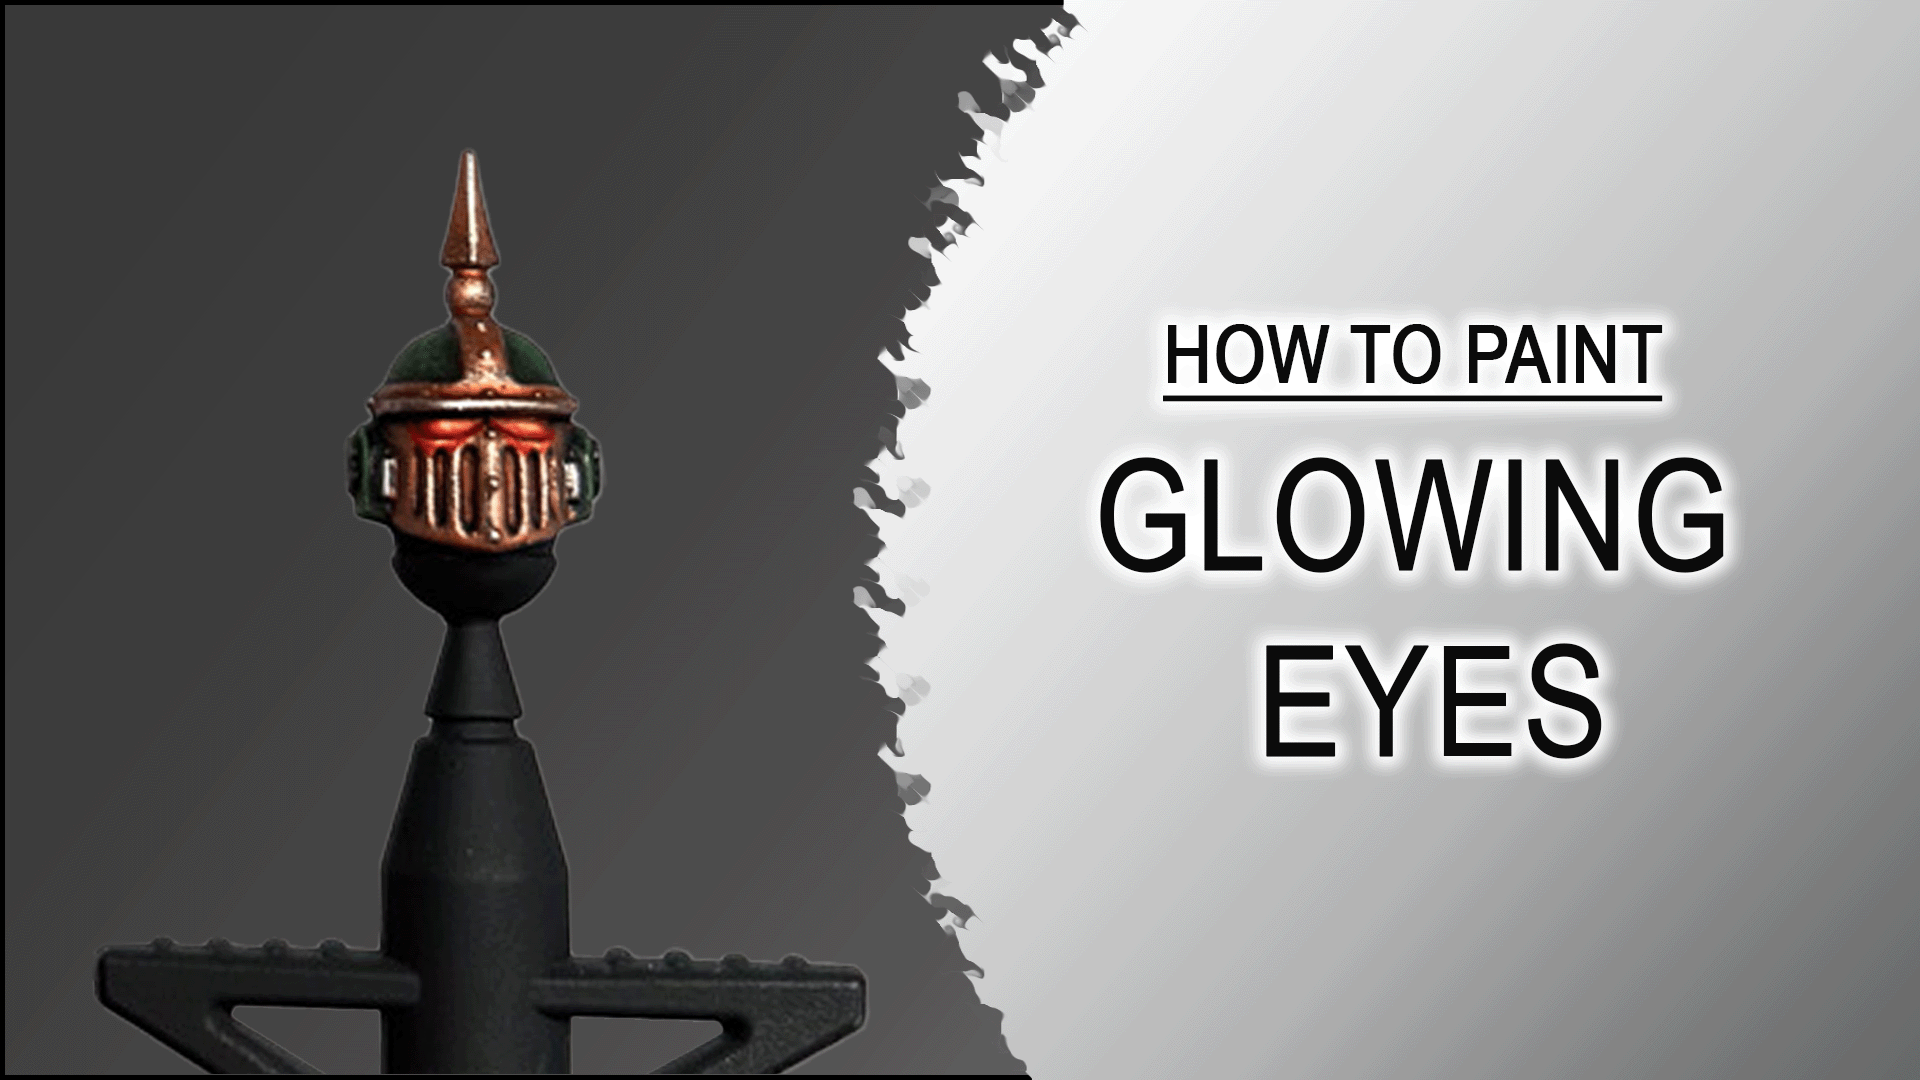
Glowing Eyes

A quick painting guide, how I painted glowing eyes on a Salamanders Horus Heresy MK VI Space Marine.

The process to paint this outstanding eyes takes 5-10 min.

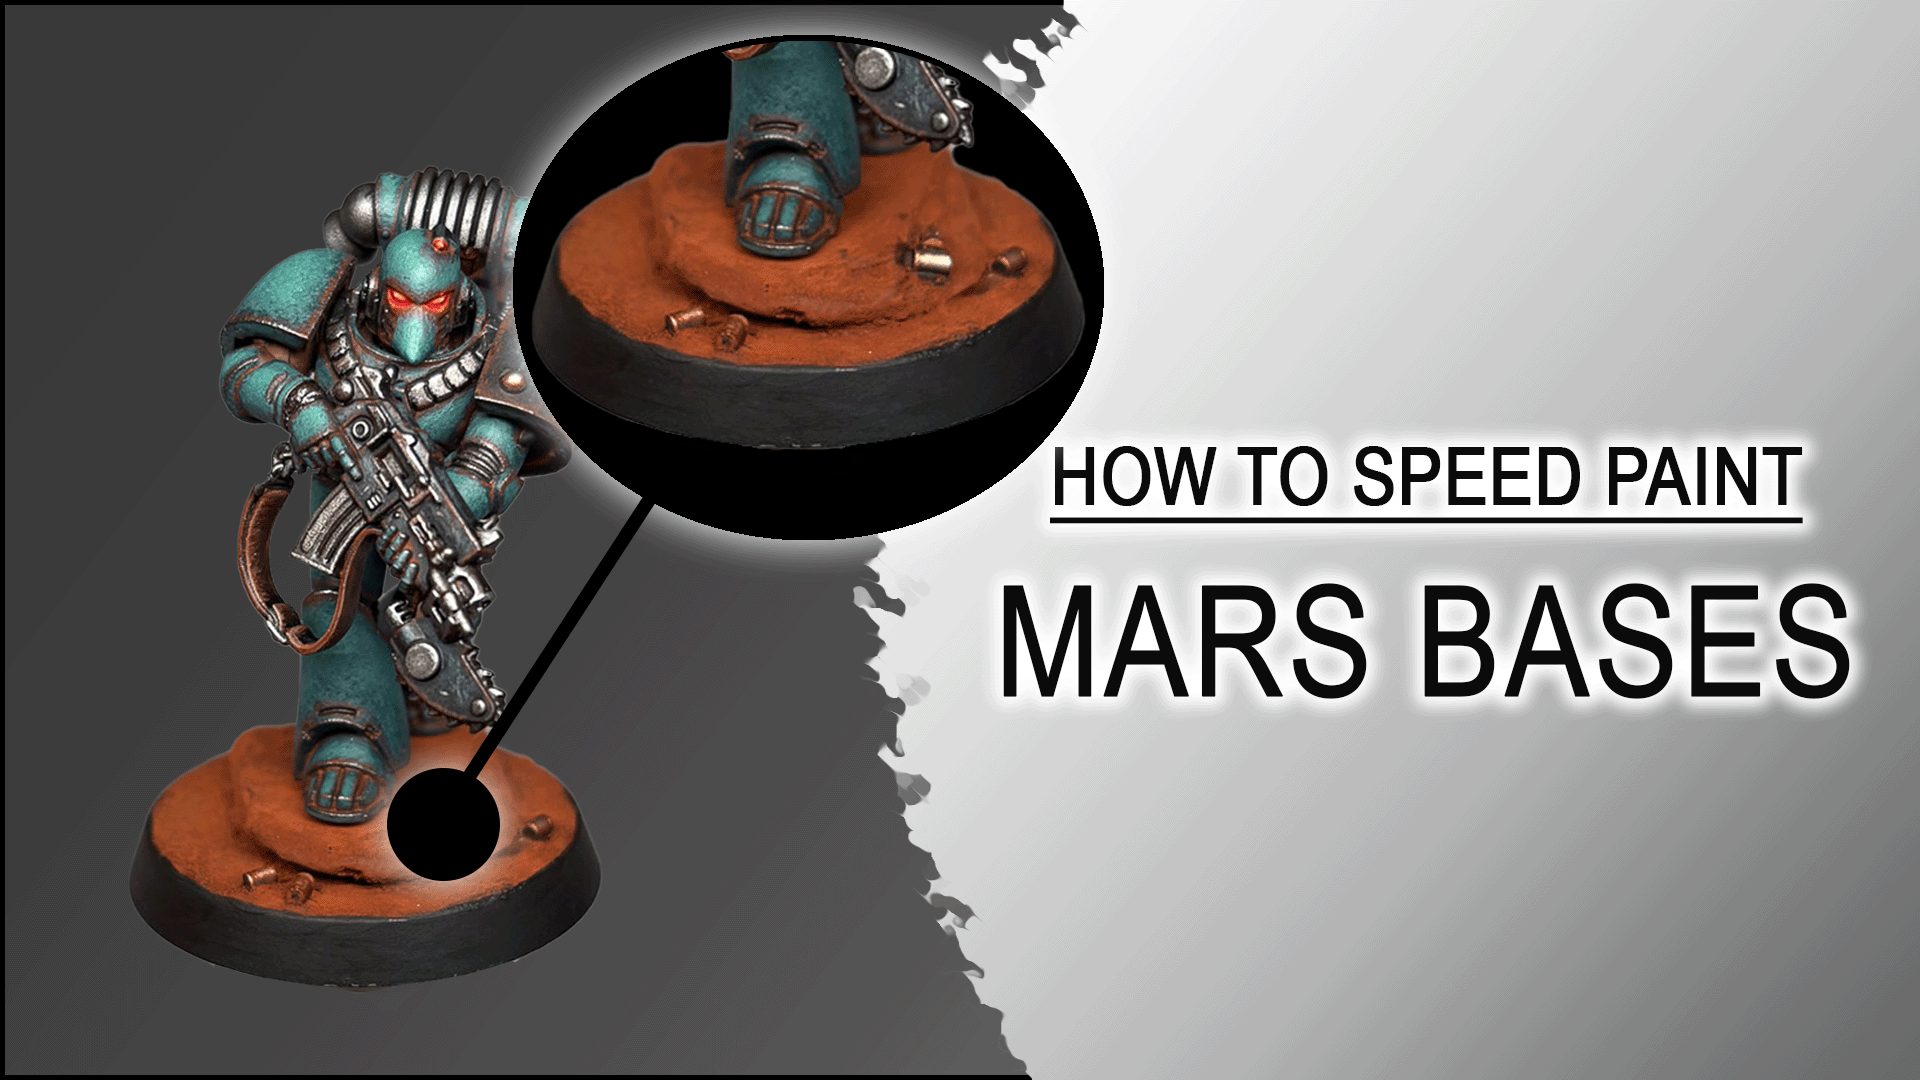
Simple epic Mars Base Guide

Here a quick Video how i create my simple buts still epic Mars Bases.

I used this Bases on several Projects. The biggest one was my Armies on Parade 2023 Sons of Horus entry.

I also use them on the ongoing Time vs. Result category where i started to paint every Horus Heresy Legion by mixing multiple speed painting techniques.

BrandName
Artis OpusSeries D – Brush Set, Series S – Brush Set
GET 5% OFF on ALL Artis Opus products and Brushes !
Link: SHOP NOW
Discount Code: PLAGUENARR
PK-PROGET 5% OFF on selected products
Link: SHOP NOW
Discount Code: Plague2025
Monument Hobbies Pro AcrylPro Acryl Base Set, Pro Acryl Expansion Set Metallics, Pro Acryl Expansion Set Transparents
GET 5% Discount on Monument Hobbies products!
Discount Code: PLAGUENARR
Consent Management Platform by Real Cookie Banner