Looking for a working Artis Opus discount code? Use the exclusive Artis Opus promo code PLAGUENARR and enjoy 5% off your entire order at Artis Opus.
Whether you’re a miniature painter, Warhammer hobbyist, tabletop gamer, scale model enthusiast, or a beginner looking for professional-quality tools, this discount helps you save on some of the finest painting equipment available today.
Active Artis Opus Discount Code
Promo Code:PLAGUENARR
Discount:5% Off Sitewide
Simply enter the code during checkout to receive an instant discount on your purchase.
How to Use the Artis Opus Promo Code
Redeeming your Artis Opus voucher code is quick and easy:
Browse and add your favorite products to your cart.
Enter the discount code PLAGUENARR at checkout.
Receive 5% off your order instantly.
Eligible Products
Your Artis Opus discount applies to a wide range of premium hobby products, including:
Series S Brush Sets
Drybrush Sets
Brush Care & Cleaning Products
Wet Palettes & Painting Accessories
Hobby Storage Cases
Miniature Painting Tools
Artis Opus Merchandise and Accessories
Why Buy Artis Opus Brushes?
Artis Opus is widely regarded as one of the leading brands in the miniature painting industry. Their handcrafted brushes, innovative drybrushing systems, and professional-grade accessories are trusted by painters worldwide.
Whether you’re painting Warhammer miniatures, tabletop gaming figures, display models, or historical miniatures, Artis Opus tools help achieve exceptional results with greater precision and control.
Benefits of Artis Opus Products
Premium-quality handcrafted brushes
Professional drybrushing systems
Durable and long-lasting materials
Trusted by award-winning miniature painters
Ideal for Warhammer, D&D, scale models, and tabletop games
Support My Work While Saving Money
By using the Artis Opus coupon code PLAGUENARR, you’ll not only save money on your hobby purchases but also support my work as an artist and content creator.
Your support helps fund:
Miniature painting tutorials
Product reviews and comparisons
Hobby guides and educational content
Community-focused painting resources
Final Thoughts
If you’re planning to upgrade your painting setup, now is the perfect time to save. Use the Artis Opus discount code PLAGUENARR to get 5% off premium brushes, drybrush sets, painting accessories, and hobby supplies.
Don’t miss out—shop today and elevate your miniature painting experience with Artis Opus.
In November 2022 in the middle of a visit in my local Warhammer store i decided by fun to join the miniature of the month painting competiotion with the Lumineth Realm-Lords Archer.
I was verry surprised that i won and got motivated by former Golden Daemon Winner Mattias Winter to try more competition painting.
This brings me to a story addicted to my short About Me first Warhammer journey. In all those years off from the hobby. There was always this one story in the Warhammer universe i could never forget about.
Horus vs. Emperor of Mankind
As i discovered on my return to the hobby that there is now a whole game about this Warhammer era called “The Horus Heresy” i was so fascinated that i decided i need a Sons of Horus Army with the Warmaster himself.
What brings me back to 2022…
As Games Workshoup in March 2022 annouced a new Horus Heresy Version even with new models i decided this is the time to start a Sons of Horus Project!
With this in mind and the motivation of Mattias Winter the project for Armies on Parade 2023 was figured out…
This Post will be the diary of the whole project and will track my progress of thinking, building, painting, struggeling, hopes and also fears…
The Offical Schedule
January – February: New Year New Army
March – April: Supreme Command
May – June: Gods of War
July – August: Magicans and Machines
September – October: Battlefront
November: The Grand Finale
The Project
So the basic idea of the wohl proect is a Sons of Horus Army thats full Eavy Metal level painted.
It was always one of my dreams to have atleast one full display army. The Army Will contain arround 4k Points including the new Horus the Ascenden Model
These are the Current models the project will include:
HQ
Horus Lupercal the Ascended
Maloghurst the Twisted
Ezekyle Abaddon
Core
Legion Tactical Squad MK IV
Legoin Drop Pod
Legion Tactical Squad MK IV
Legion Rhino
Elite
Contemptor-Dreadnought
Legion Dreadnought Drop Pod
Contemptor-Dreadnought
Contemptor-Dreadnought
Justaerin Terminators
Support
Legion Land Raider Spartan
Legion Kratos Heavy Assault Tank
The assembling process
First things first…
So as the offical schedule proposes i started a new army…
So i decided to assemble all the minis nefore i start to drop any paint on a mini.
I started the assembling process in the holidays of chrismas and my goal was to finish all of them at new year’s eve exept for horus and the Justaerin Terminators… Horus wasent even available to this time. And the Justaerin just came up as i started to plan the scenery….
The be honest… i fnished the assembling process on February the 10th… The good news is that Horus and the Justaerin where also ordered and finished at this time.
If you dont kitbash assembling in my opinion is one of the most boring parts in the hobby… i thought until i was finished with lets say 75%. After this marker i gopt so motivated by the pile i allready finished, that i really enjoyed even the assembly process at this point.
Im really sure that for future projects like this i have a new point of view to the whole building process and can much more enjoy it!
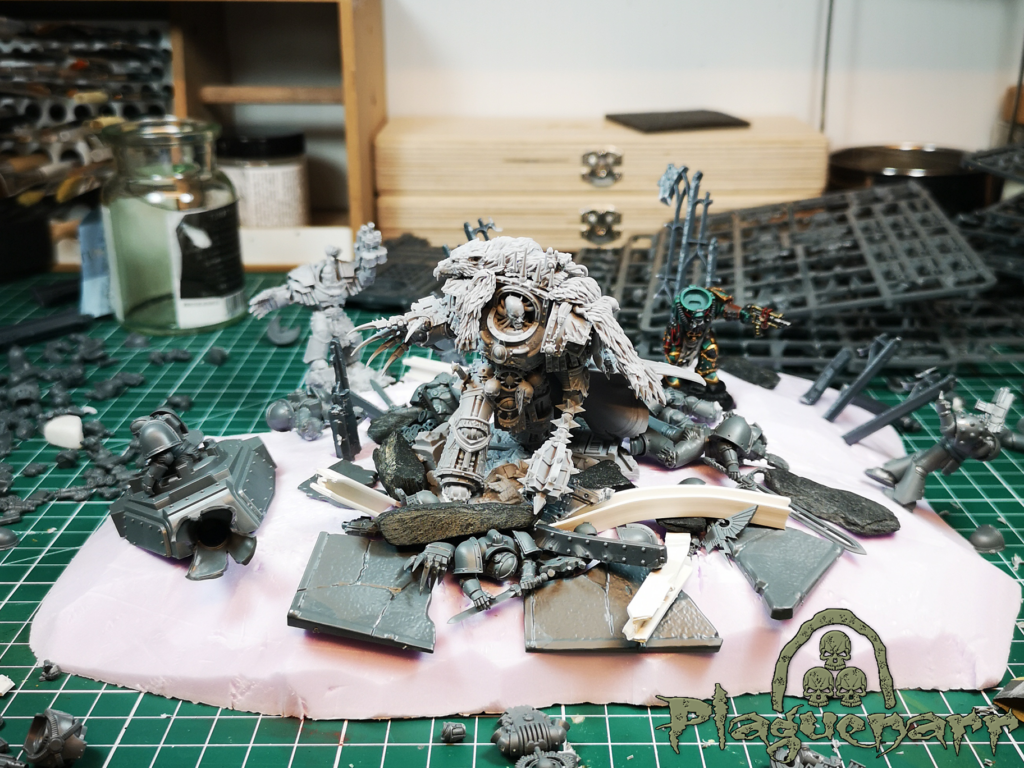
Building the HQ And It´s scenery
With the concept in mind to build an environment based on the heresy 2.0 trailer i started to think about how to build a scenery that will achiev the first real goal on the official schedule.
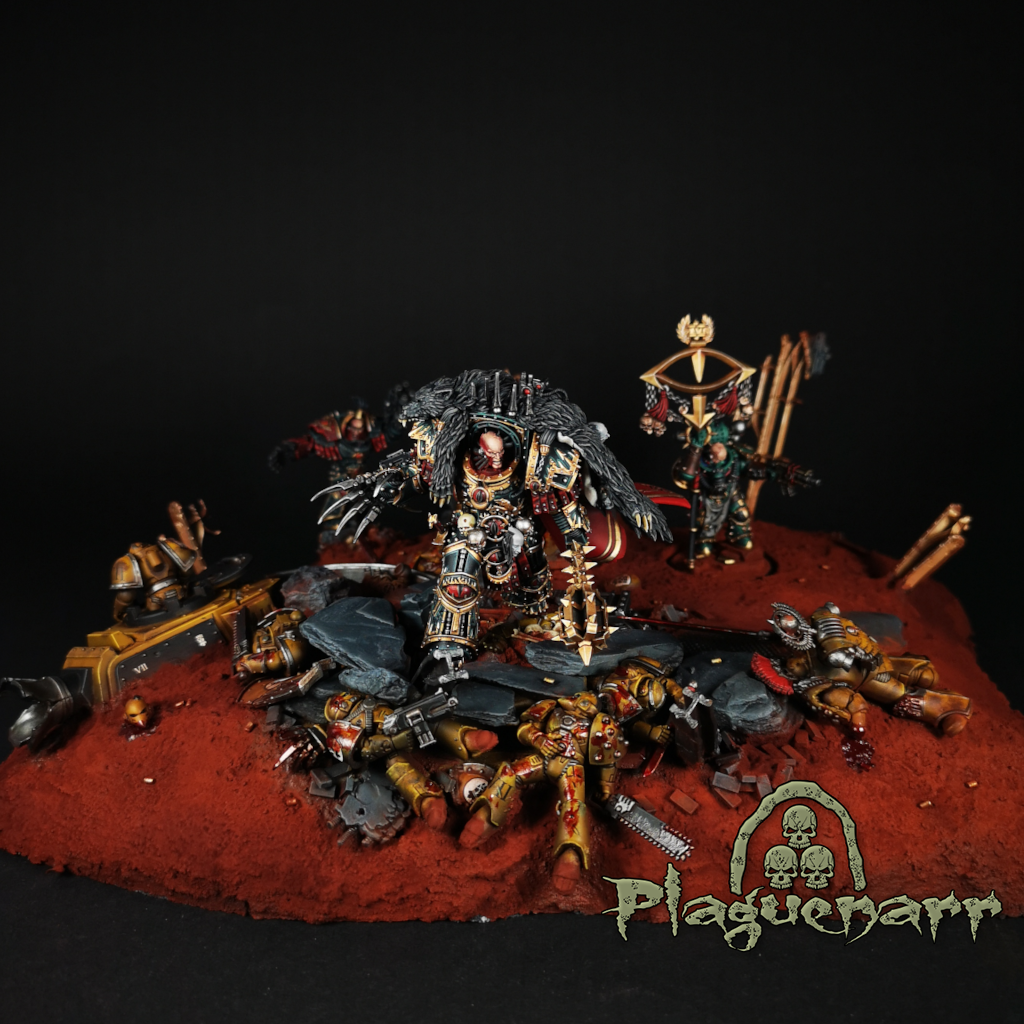
So this little piece of scenery should be a small diorama at its own and put all the focus on the warmaster itself without stealing him the whole show. It should also fit all together as a centerpiece on the wohle board later on.
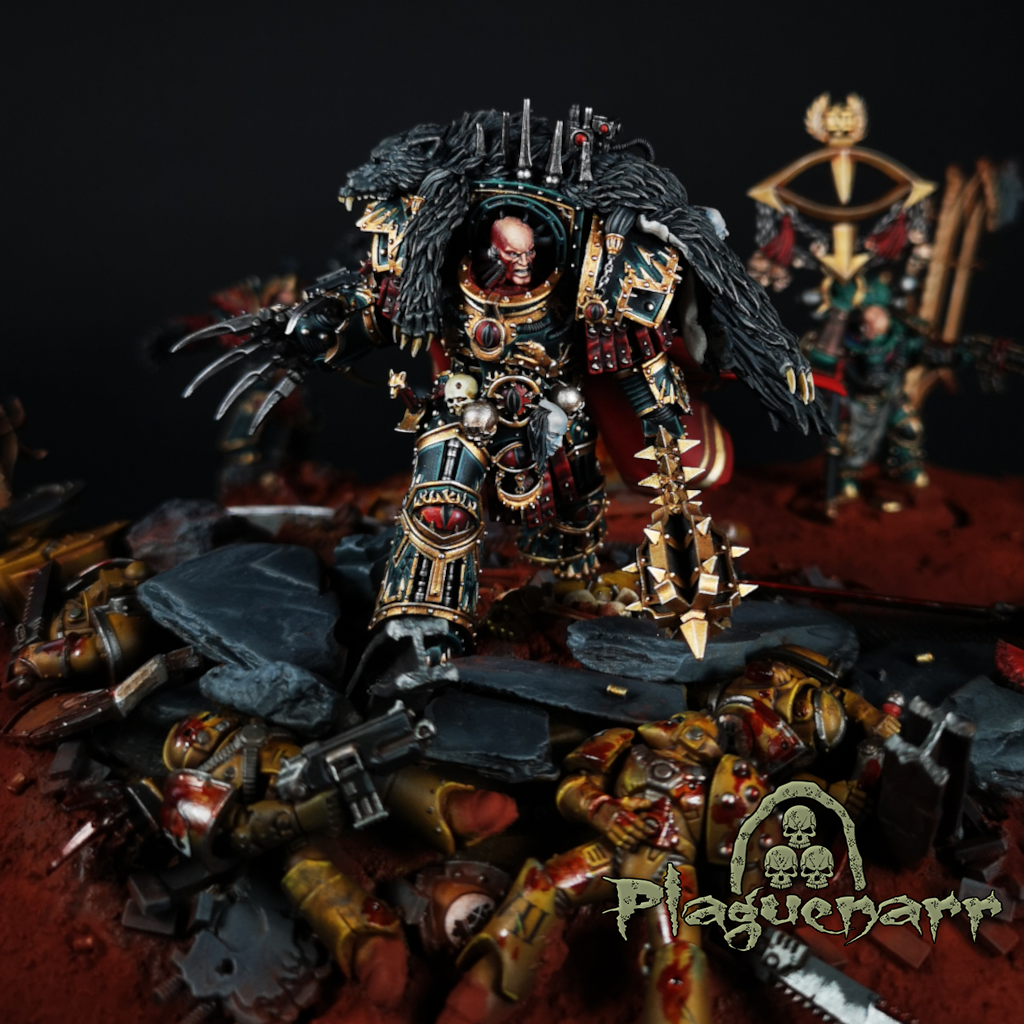
Inspired by the Horus Ascended Diorama base i decided to arrange some Imperial Fist corpses arround the whole HQ.
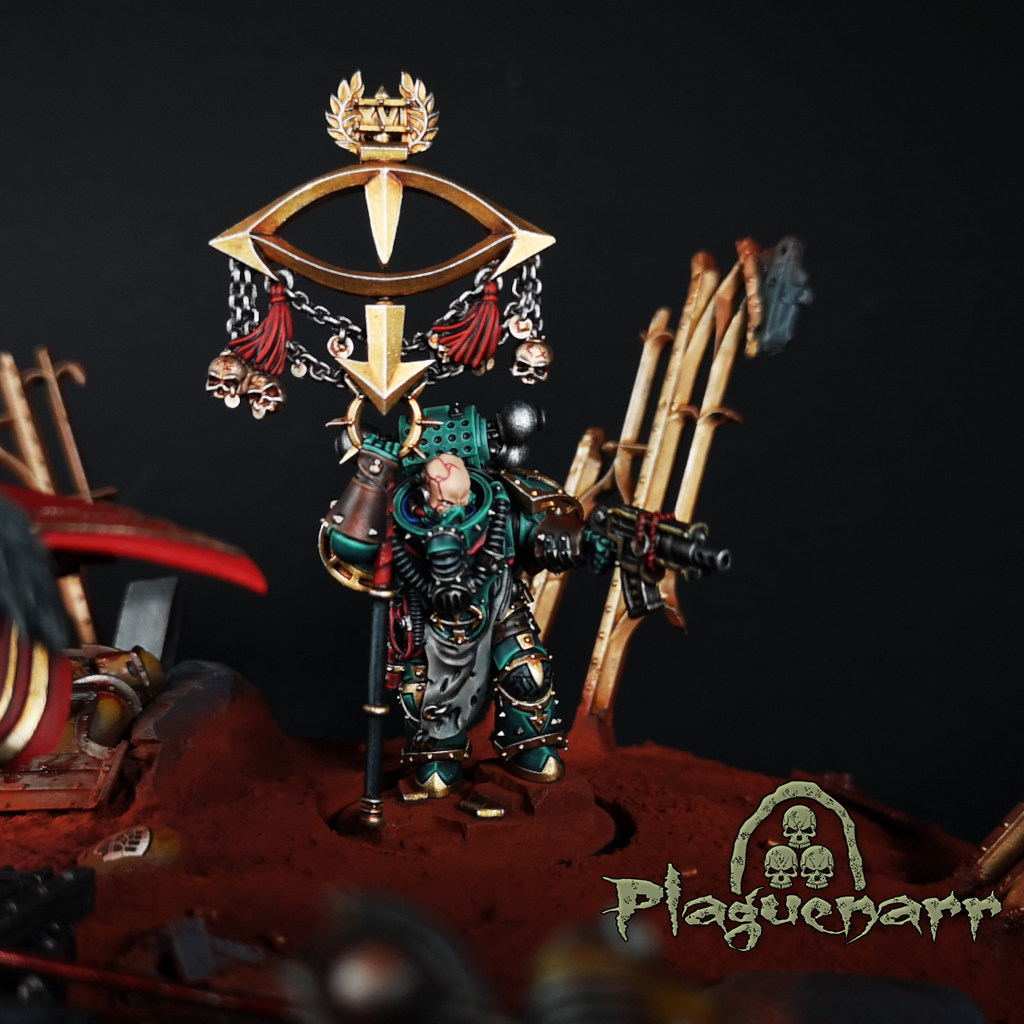
Horus should be in the center so that he gains most of the attention. The corpses will be focus arranged arround him. To keep the scenery authentic and push also a small amount of attention to Maloghurst i decided to use his pose targeting a enemy, to let him shoot a Imperial fist within the scenery.
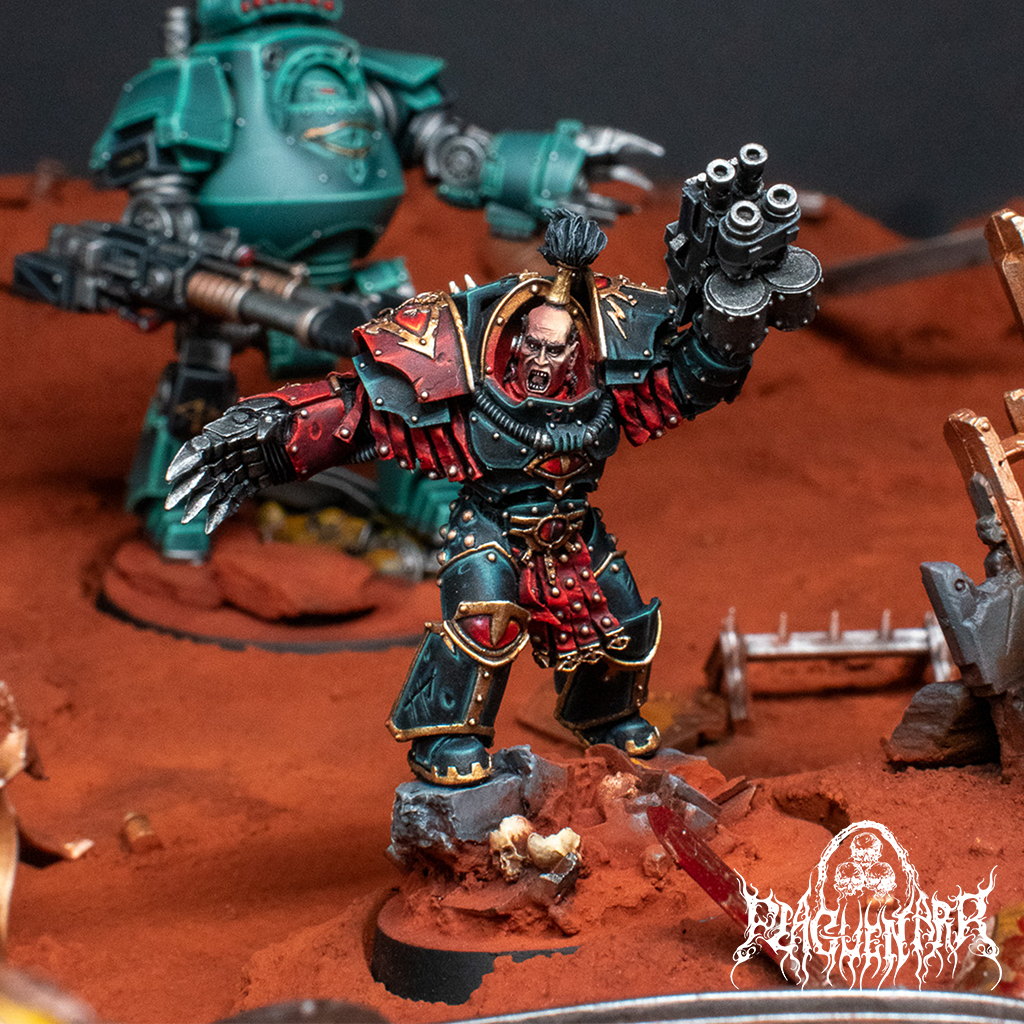
Abaddon will in this scenery join the battlefield in the background supported by his mighty Justaerin and a awesome looking Spartan Assault Tank.
Here the first impressions…
The photos where taken at February 18 and i started to feel some pressure about finishing the HQ until the end of April.
First drops of paint
With the pressure in mind i decided to start painting even if the diorama scenery was not finished
The Painting Order should be the following:
Maloghurst the Twisted (to transfer my basic scheme on a character)
Ezekyle Abaddon (to develop and train me the black armor scheme for Horus)
Horus Ascended (to apply all ive learned and get the best possible result)
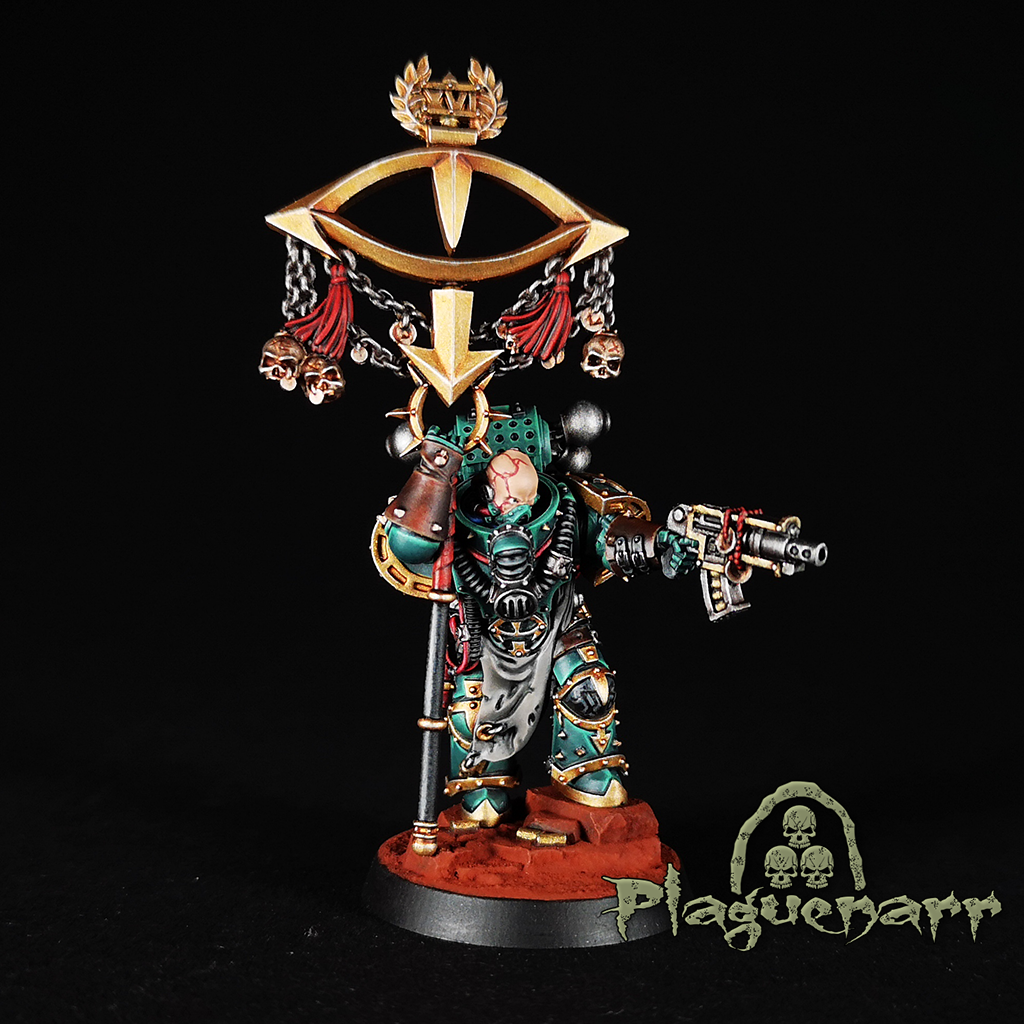
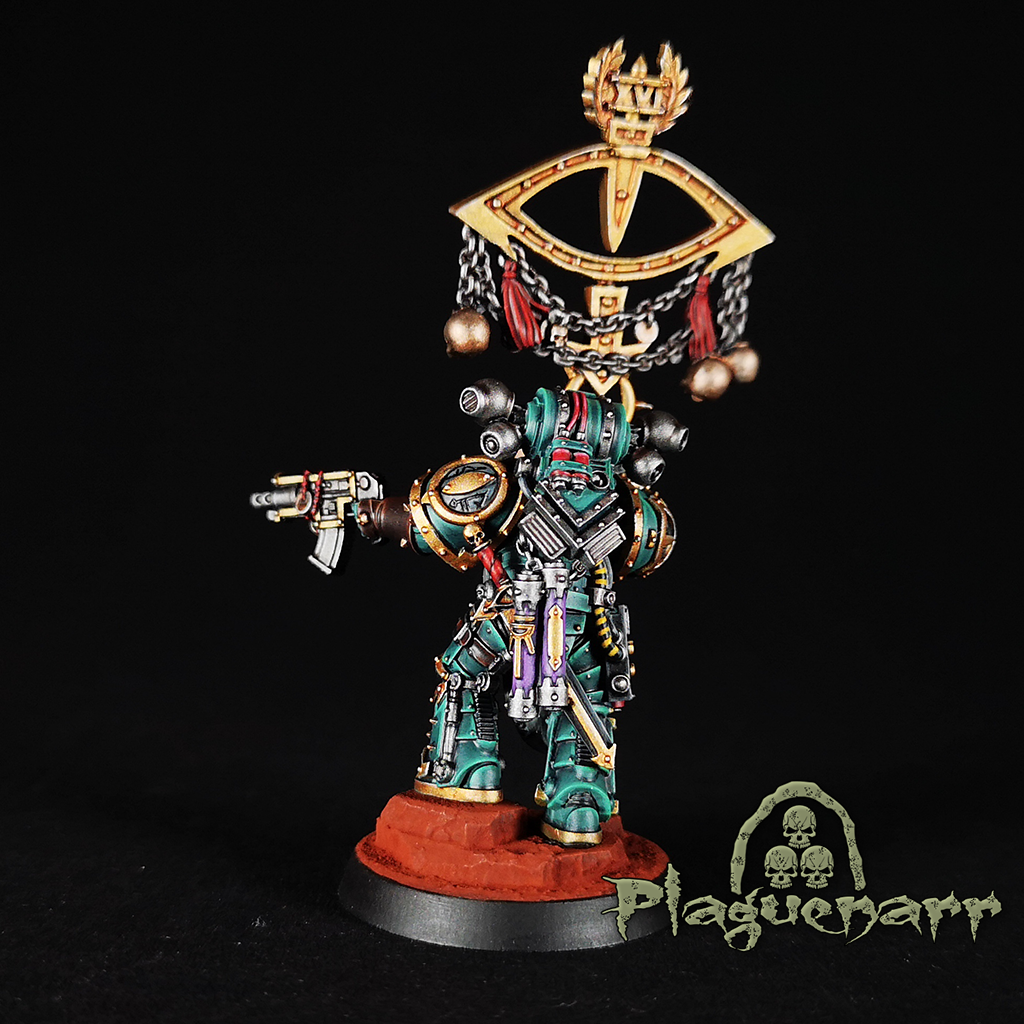
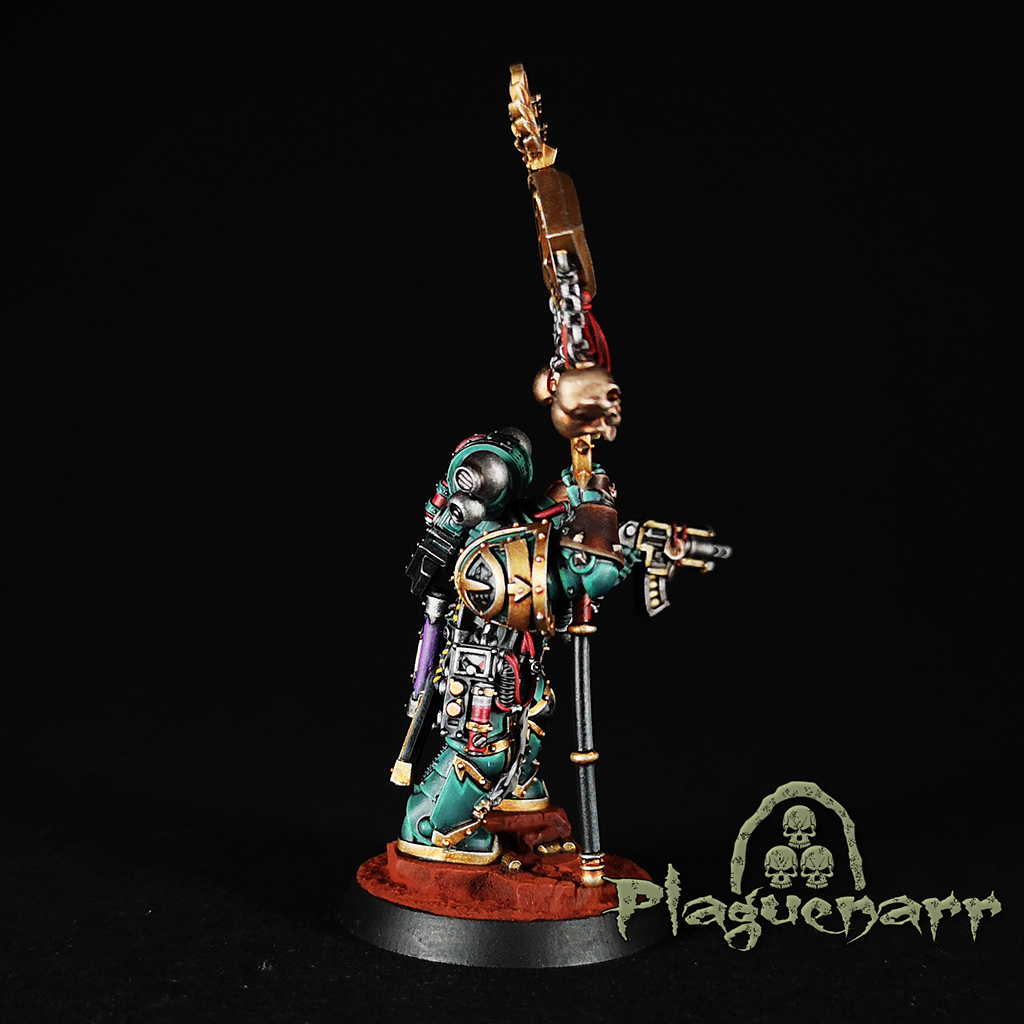
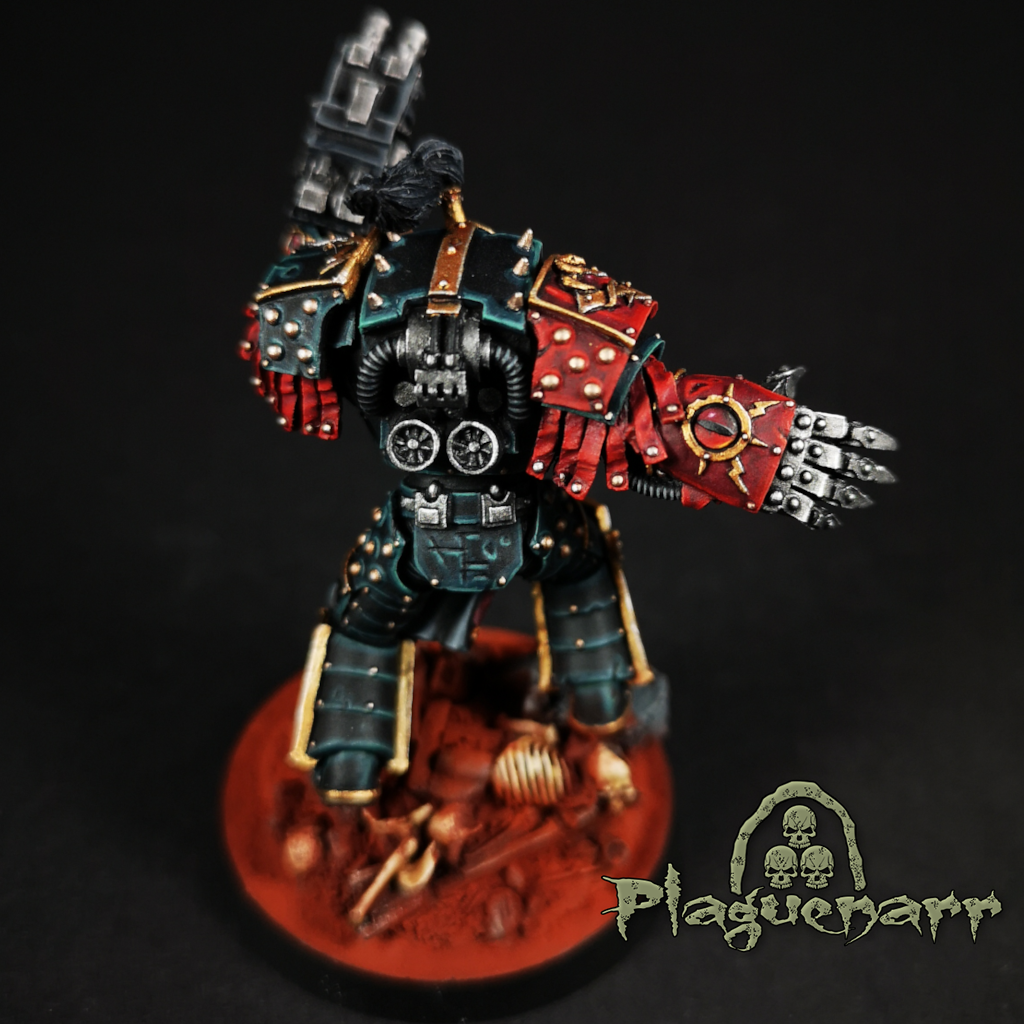
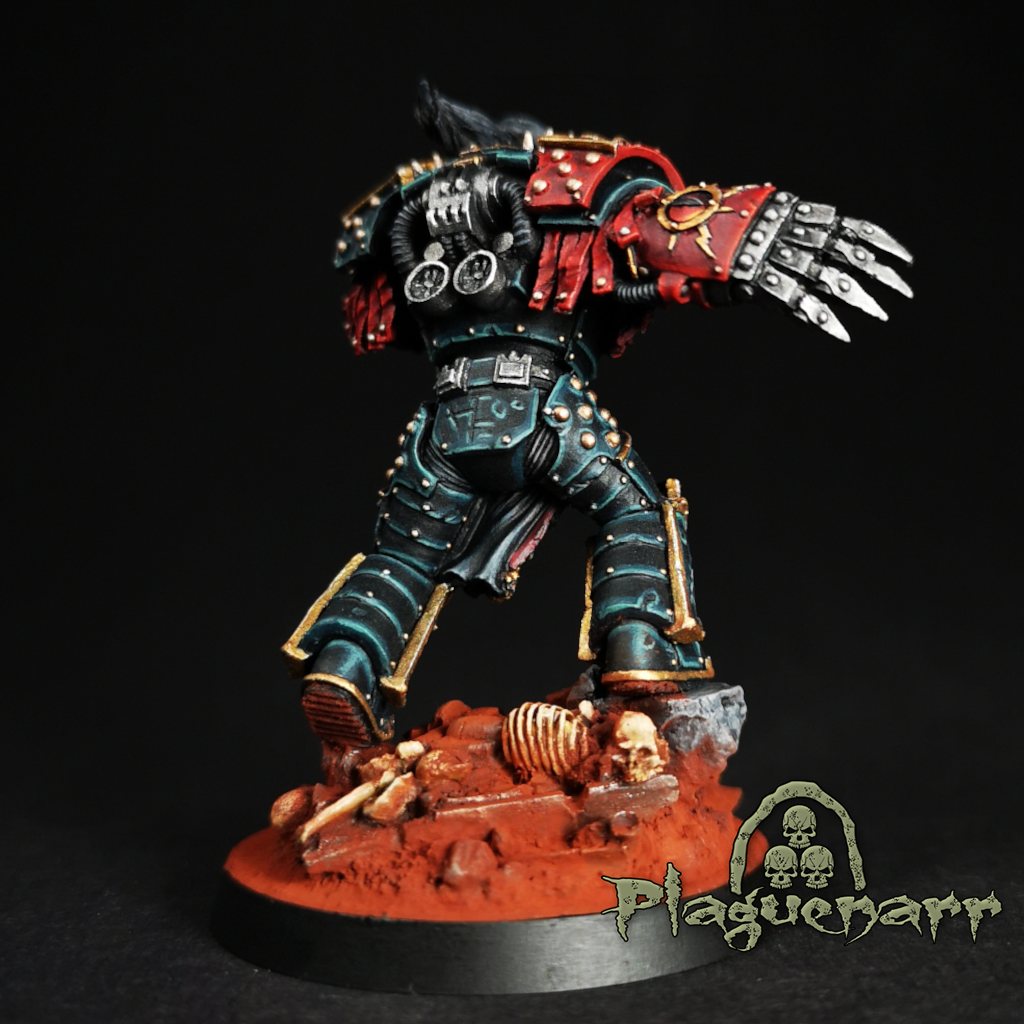
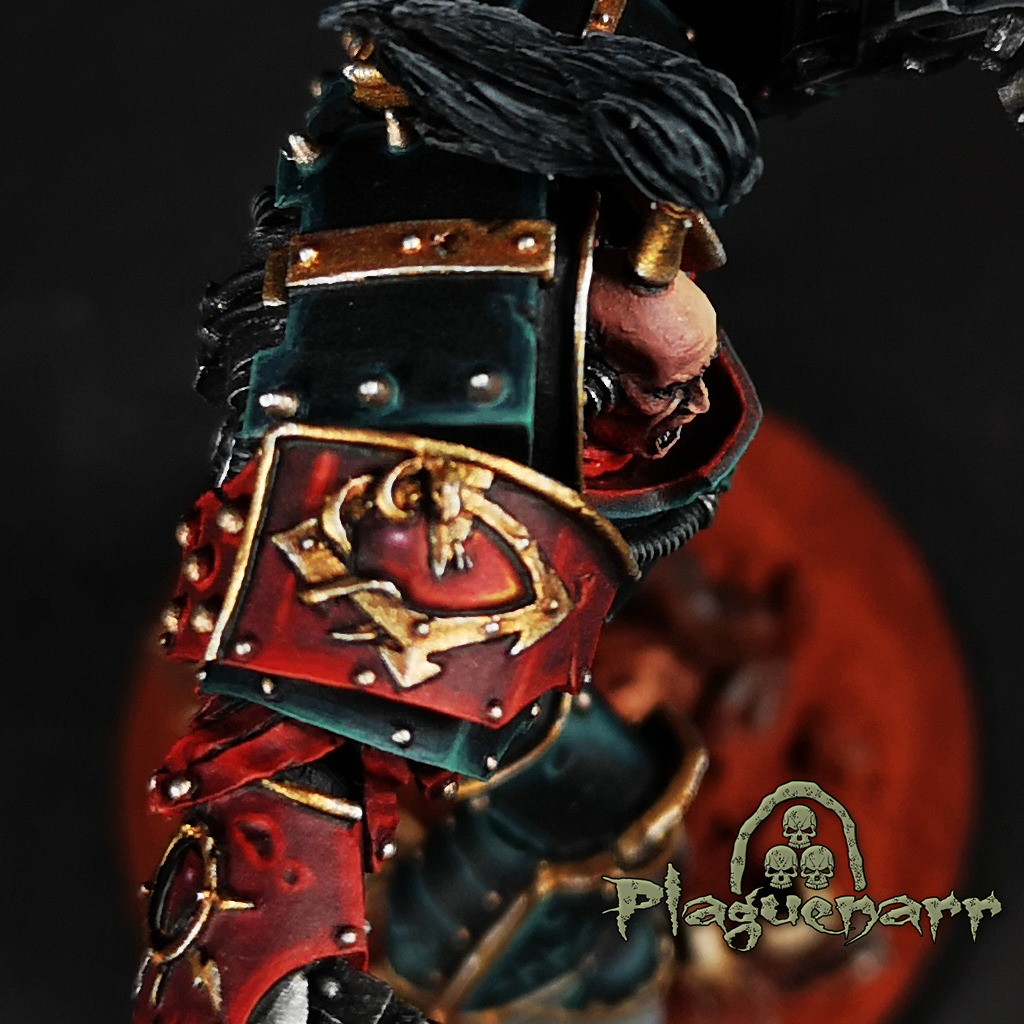
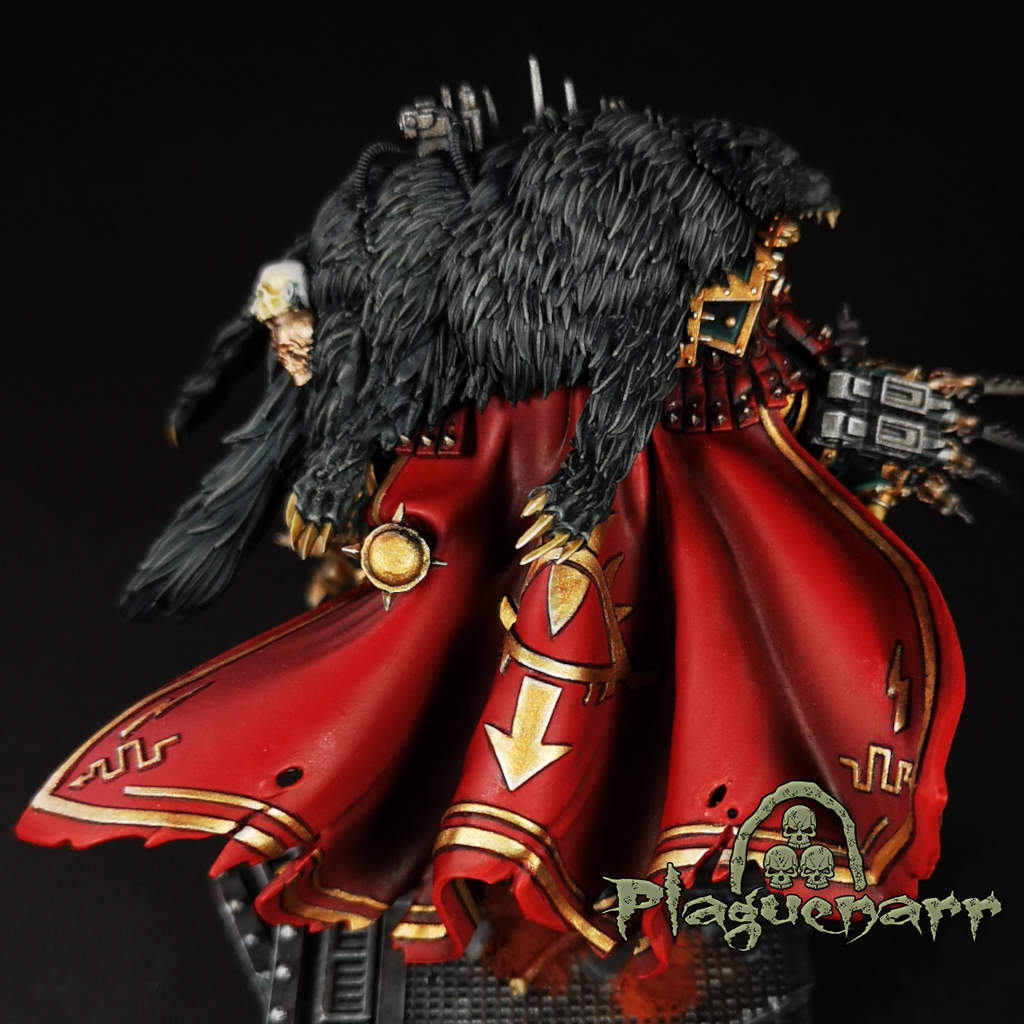
Maloghurst the Twisted
To be honest… i allready started to pait the Maloghurst model at the end of 2022.
After i developed the armor colors on the first 5 MKVI Space Marines long time before i decided to join Armies on Parade with Sons of Horus i started to paint Maloghurst with the same scheme to see if it fits together with the gold parts.
After i achieved that step i stopped painting the model… i got a real lack of motivation with all the details on the whole model.
With the Armies on Parade challange in mind i found the motivation to finish the model
But it took me still two more weeks to finish. The photos where taken on the 3rd of March 2023
Here the final result:
Maloghurst frontMaloghurst backMaloghurst side details
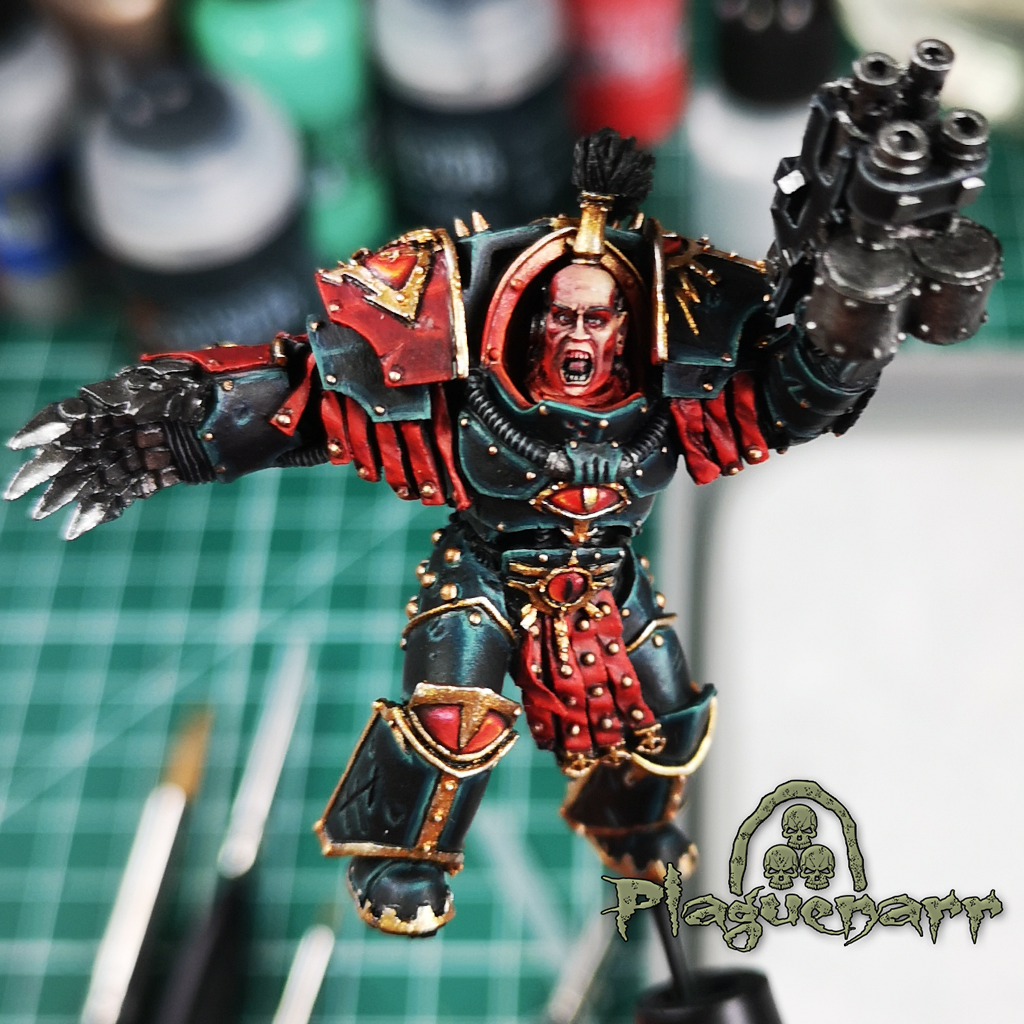
Ezekyle Abaddon round one
This ist the first horror storry i’ve to tell within the project…
I started to paint Abaddon with the intention to prepare a colorscheme formula for the armor that i can trasfer the to Horus and the Justaerin and wanted to try a red OSL effect on the face that is based on a guide from Richard Gray.
I was really happy with the result and finished the model on 17th of March 2023. A Day later i want to give the model a varnish coat and finish the base.
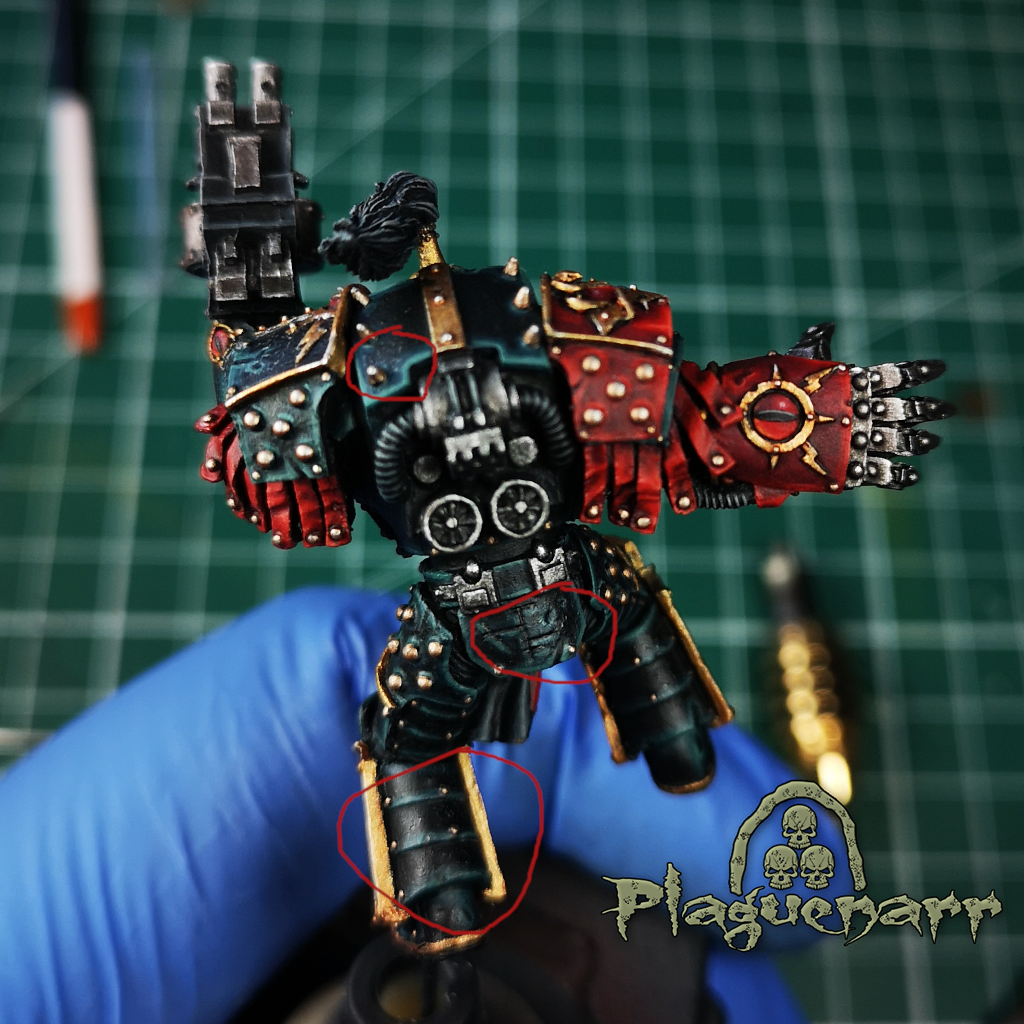
This is wehere the horror begun…
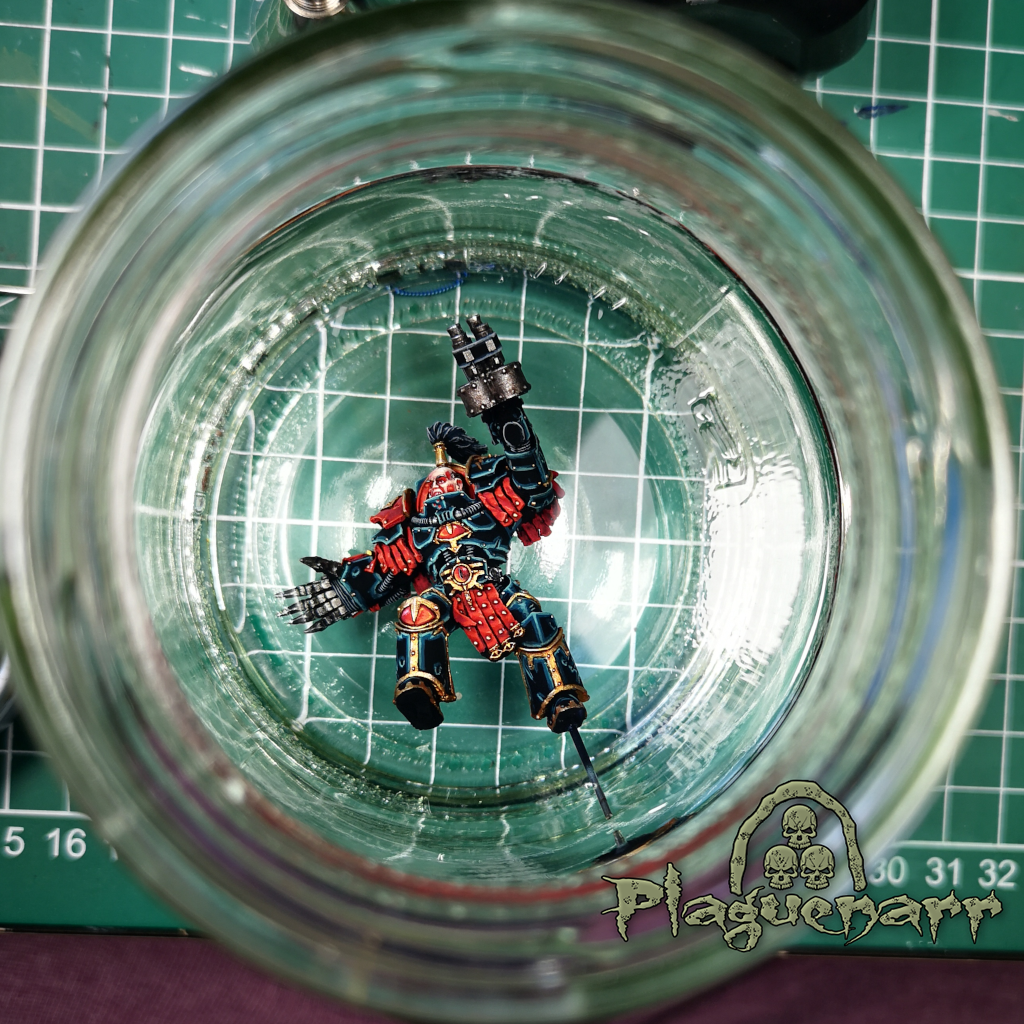
I accidently used a gloss varnish instead of a satin. I panicked and before the gloss varnish was dry and sparyed a satin varnish coat over… this ended up i sparkelig on the armor and i had to repaint the whole model…
Ezekyle Abaddon Version one finishedEzekyle Abaddon Varnish damagedEzekyle Abaddon in Isoprop
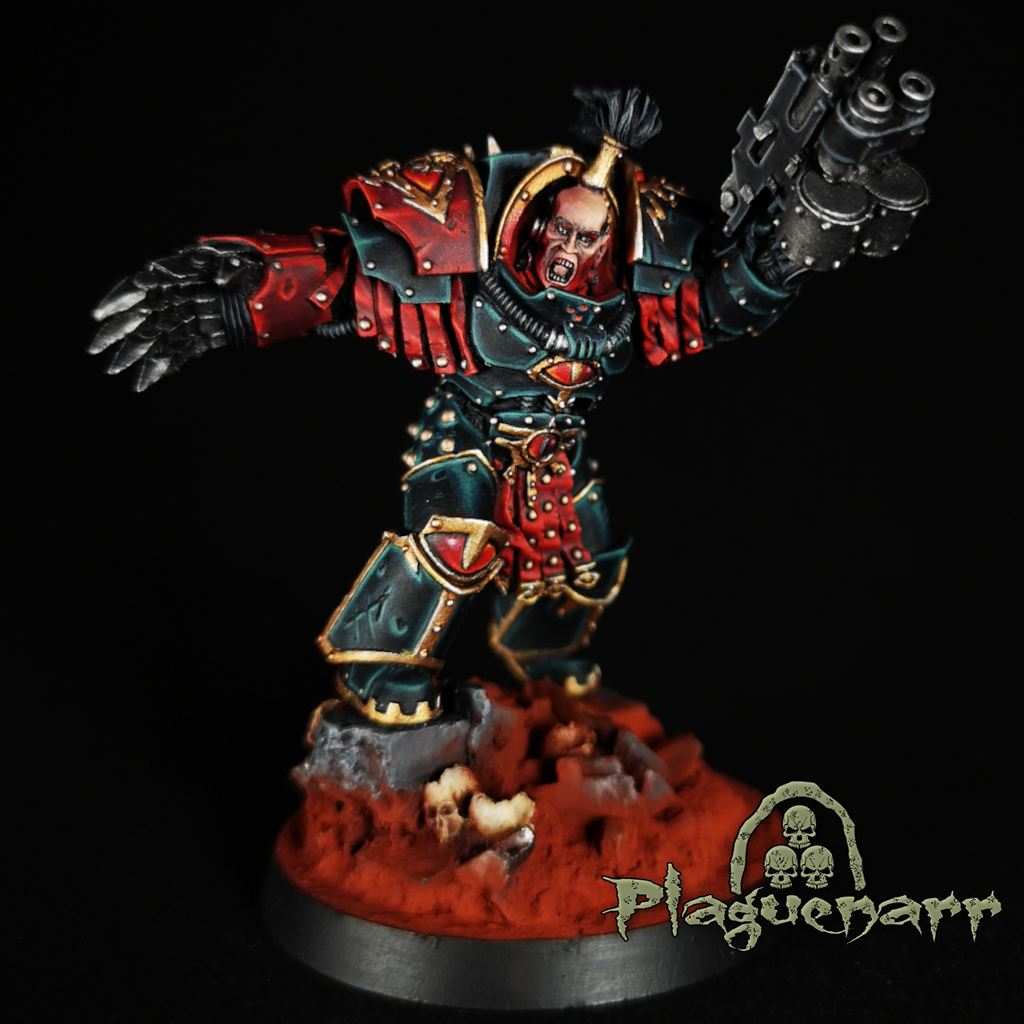
Ezekyle Abaddon round two
After this really frustrating expirinece i needed another two weeks to paint Abaddon…
The bright side with the previous accident… I was even more happy with the new final result of the model.
A two week setback on the whole project is really hard. Im now in a situation where iam not able to finish Horus and the Whole HQ including the diorama base within the official schedule at the end of april…
Stay tuned for more updates…
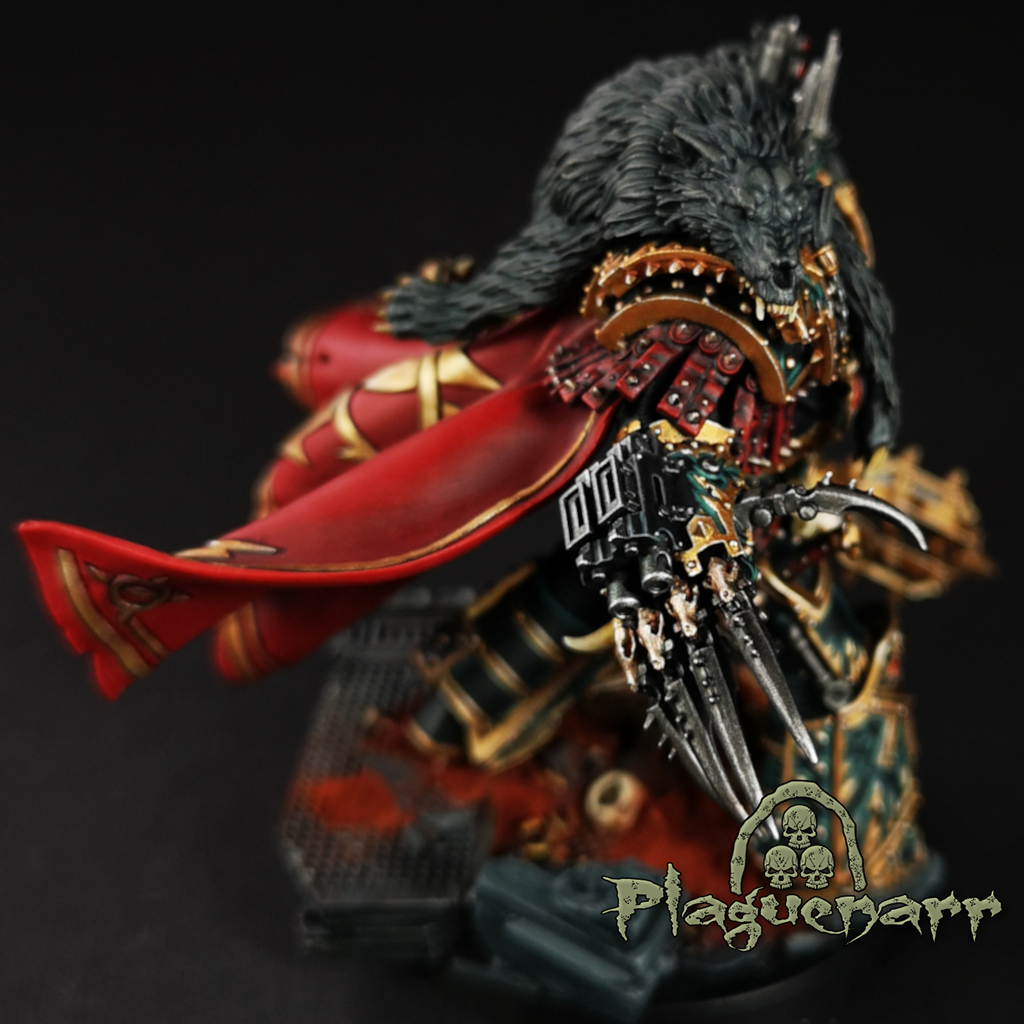
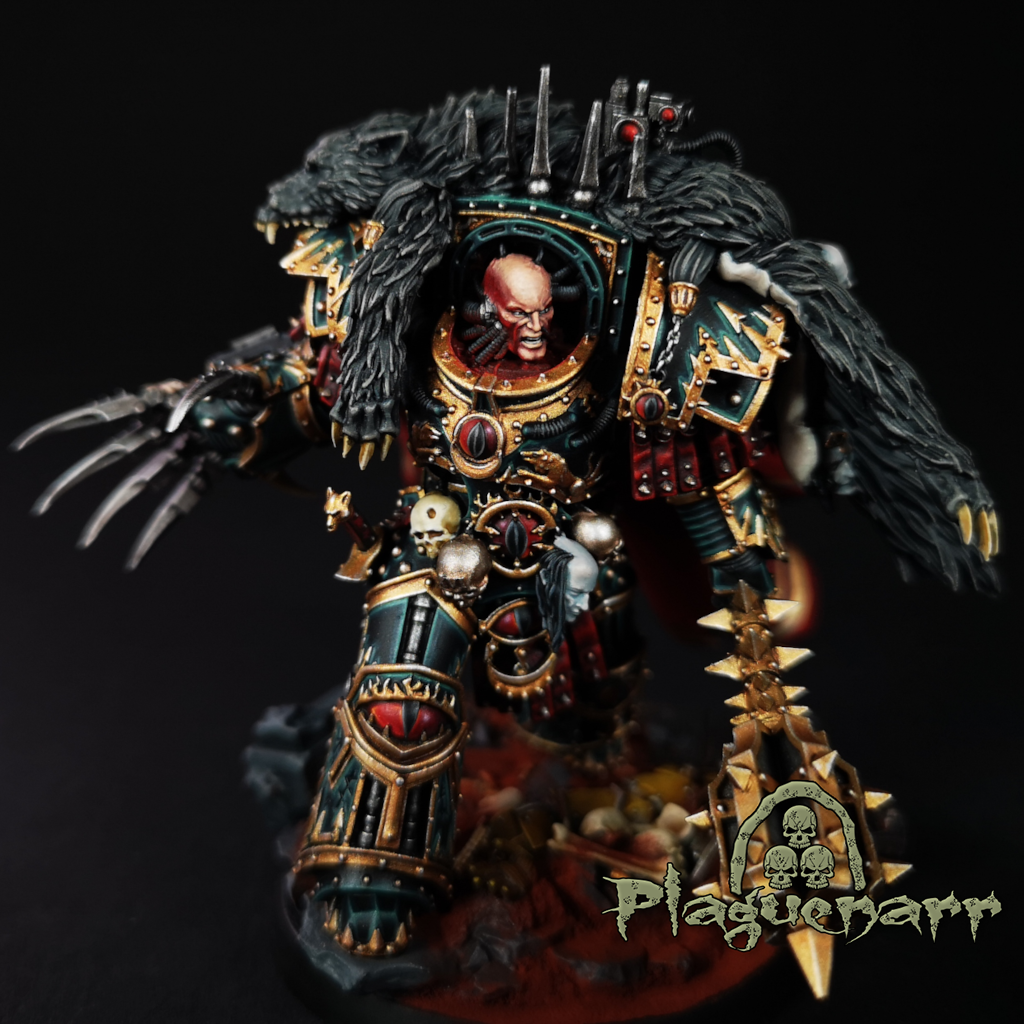
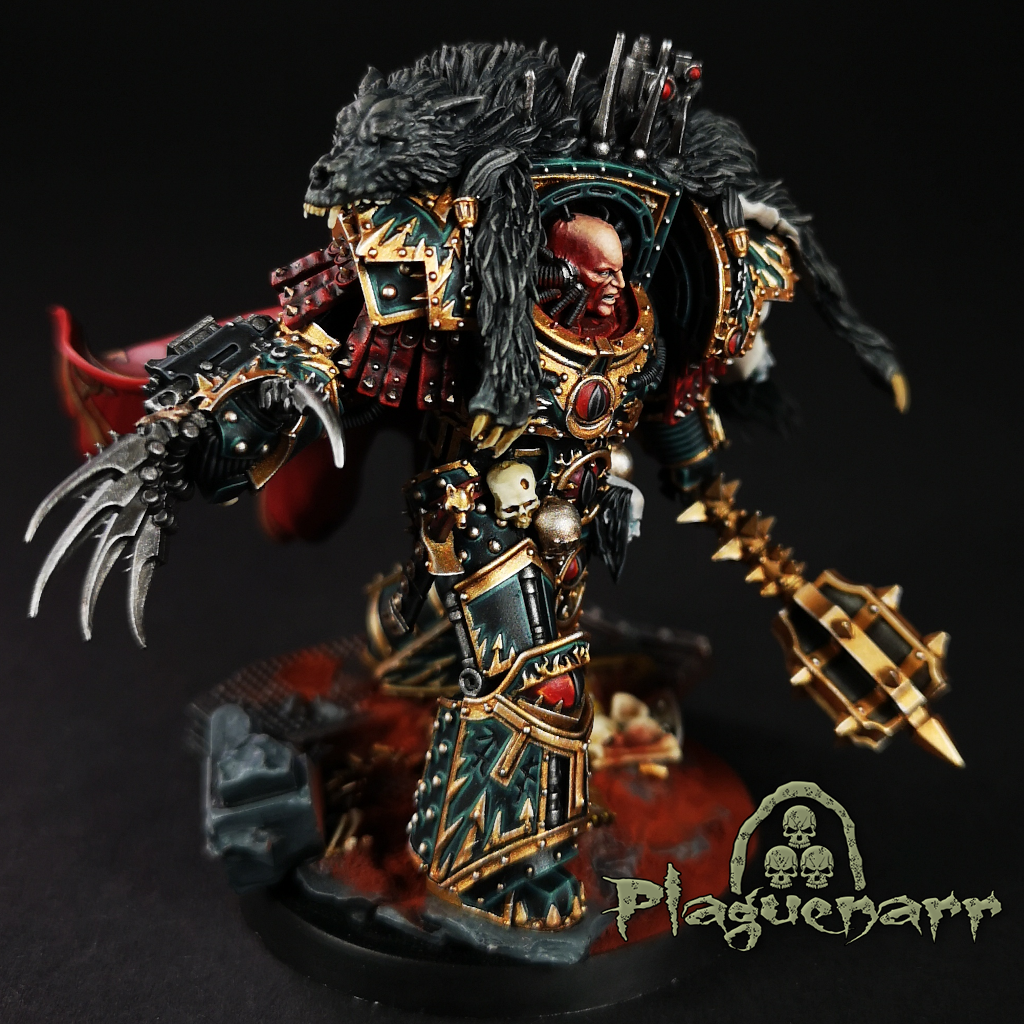
Horus Ascended
As soon as i finished Abaddon i directly started with the painting of Horus. This model has so much details that i used 6 days of my vacation to paint most of the model within the offical schedule. I painted on this vacation days arround 14-16 hours. On my regular wor days i painted arround 4-6 hours a day on the model.
As i finished arround 70% of the model i got knocked out by a COVID infection. With this infection i lost another 10 days on the whole project. At this point i was sure that iam not able to finish horus and the diorama base within the april timeline for the first official goal.
After i got healthy again i finished painting Horus on 22nd of April 2023. With the vaccation and my regular work days combined it took arround three weeks and arround 120h of painting at all.
In case of the time pressure i only took one picture of the finished model until now. I also didnt finish the base at this stage because i decided to paint it parallel to the diorama base in case of fitting together. I will uploade more detailed pictures of horus in a couple of days
But here atlleast one picture of the final result:
My deadline to finish the diorama base was on 27th of April 2023. The major problem was that i had a all day appointment on this date. And the weekend was planned with a friend that i only see once a year.
So i only had 4 days left to assemble the diorama base and paint the whole stuff on it including the Horus Base.
I developed the plan to finish the building and assambling within Sunday 23rd of April 2023. And using speedpainting techniques to finish the painting within the 3 days left.
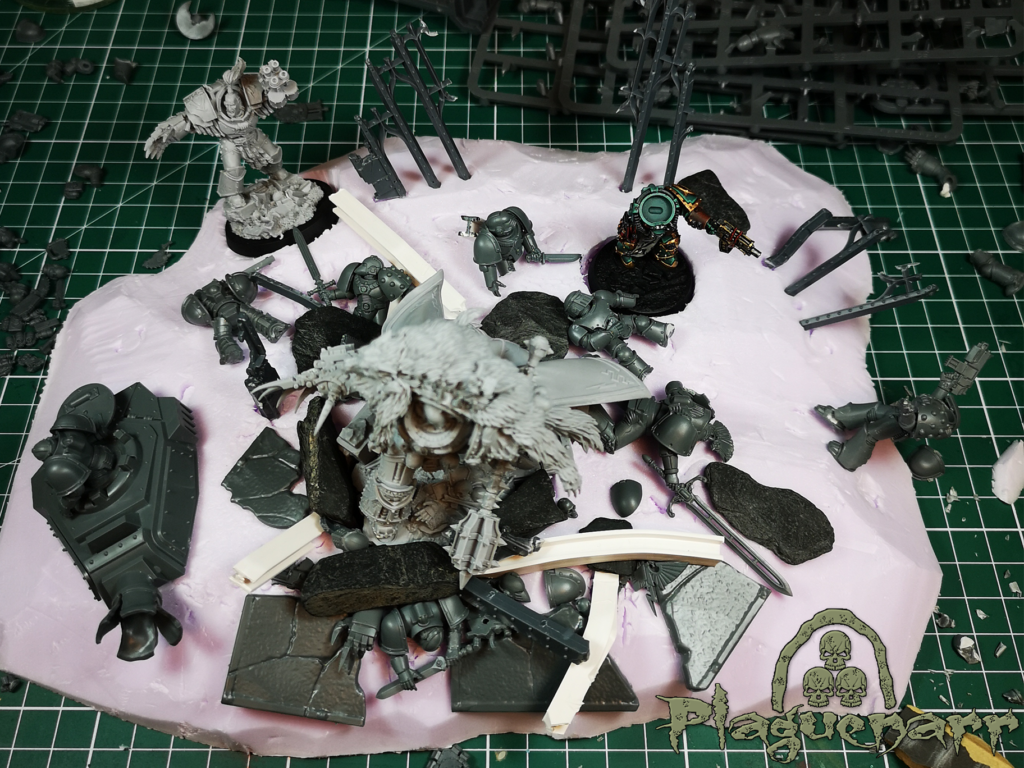
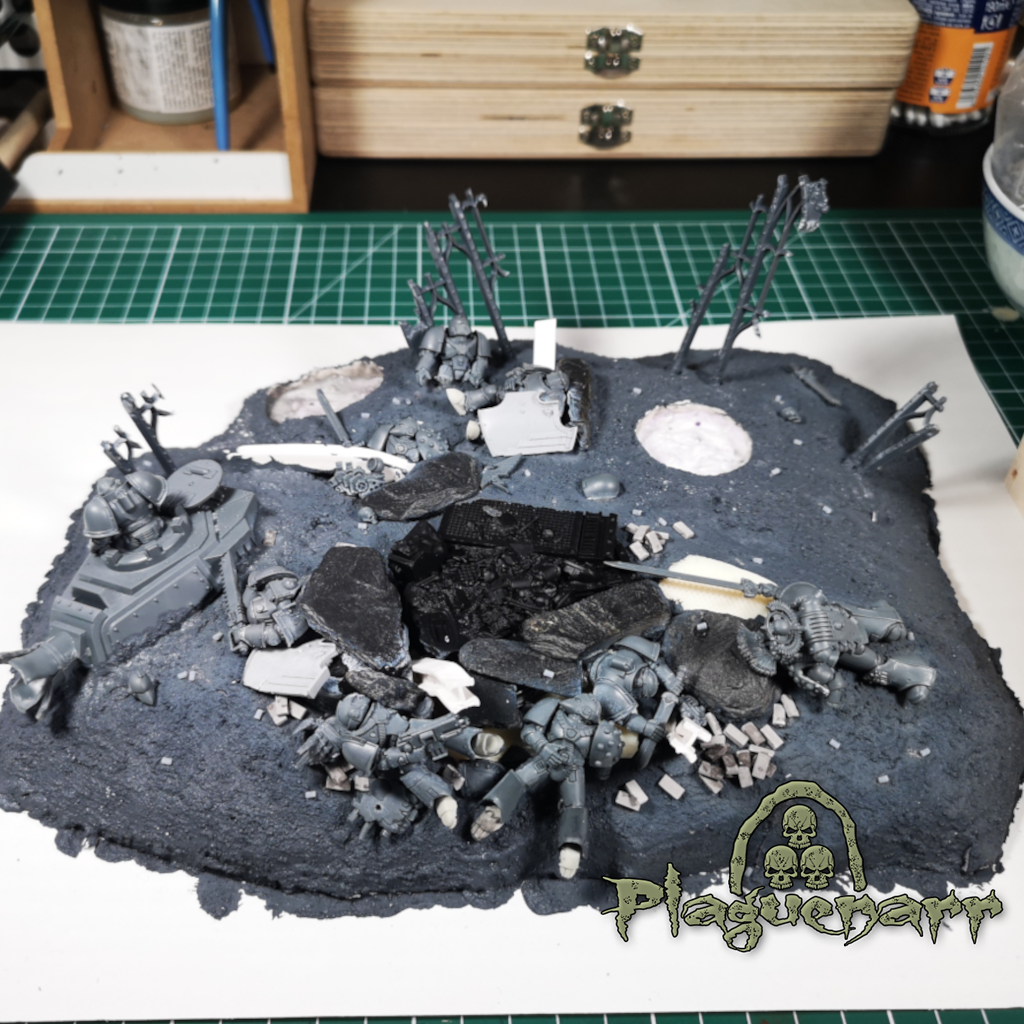
Luckly i allready assembled all the corpses and pieces i wanted to use on the base so i only hat to remove the mold lines and assemble the scenery.
It took me still a whole day to finish the assembling the secnery. But i with a little night shift i finished arround 11.40 p.m. on Sunday 23rd of April 2023.
Assembled diorama base
From now on i only had arround 6-8 hours a day with only 3 days left to paint the whole stuff.
My recipie to still hit the goal had the following steps:
Imperial Fists Units
basecoat with Citadel – Mournfang Brown
zenithal highlights with a 50:50 mix of Citadel – Mournfang Brown and P3 – Morrow White
spot highlights with P3 – Morrow White
apply Citadel – Imperial Fists Contrast paint all over the models
basecoat metal parts with Vallejo – Gunmetal Grey
basecoat black parts with Citadel – Abaddon Black
edge hightlight black parts with Citadel – Mechanicus Standard Grey
apply decals with microset
apply Vallejo – Gloss Varnish
Oilwash with 50:50 mix of Schmincke – burnt sienna and Schmincke – ivory black
wait until the next day
rub off unwanted remains of oilpaint with makeup tips
apply Vallejo – Satin Varnish
basecoat the eyes with Citadel – Abaddon Black
paint 60% of the eye lense with Citadel – Mechanicus Standard Grey
paint 30% of the eye lense with Citadel – Eshin Grey
paint a small white dot into the upper corner with P3 – Morrow White
apply a small amount edge hightlights and glazes on focus parts with Citadel – Yriel Yellow
apply some chipping with a sponge and Citadel – Rhinox Hide
apply some blood with Citadel – Blood For The Blood God
Stone Terrain and Bricks
basecoat with Citadel – Mechanicus Standard Grey
shade with a 50:50 mix of Citadel – Black Templar Contrast paint and Water
drybrush with Citadel – Mechanicus Standard Grey
drybrush the light catching areas with Citadel – Eshin Grey
Steal Beams and metal Areas
basecaot with Vallejo – Gunmetal Grey
shade with a 50:50 mix of Citadel – Black Templar Contrast paint and Water
apply a small amount edge hightlights with Vallejo – Silver
Terrain Ground
basecoat with Citadel – Doombull Brown
apply Vallejo – Pigment Binder
apply Vallejo – Burnt Sienna
I was note able to apply the terrain effects until 26th of April 2023 so i reached the deadline of 27th of April 2023 without a finished terrain. Luckily my all day appointment on 27th of April 2023 was earlier over then expected! So i had another 2 hours to finish the terrain effects and was able to hand out my entry on 28th of April 2023 to my local Warhammer Store – Stuttgart ! I can tell you that was until now the hell of a journey!
Here the picture of the finished center piece for the project:
In case of the commitment i have done to finish the project this post has home kind of information lags about the rest of the process since the April part. I will update some more kind of information about similar other steps in the next couple of weeks
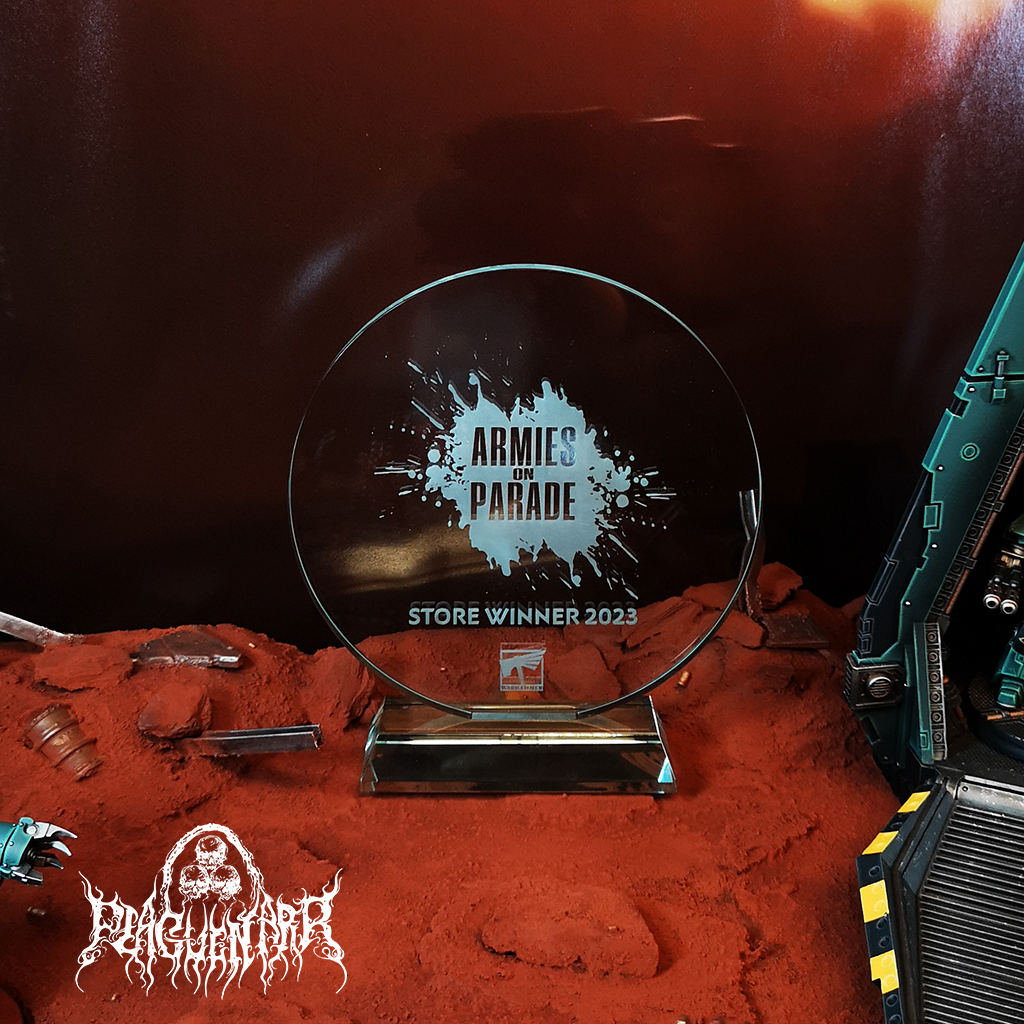
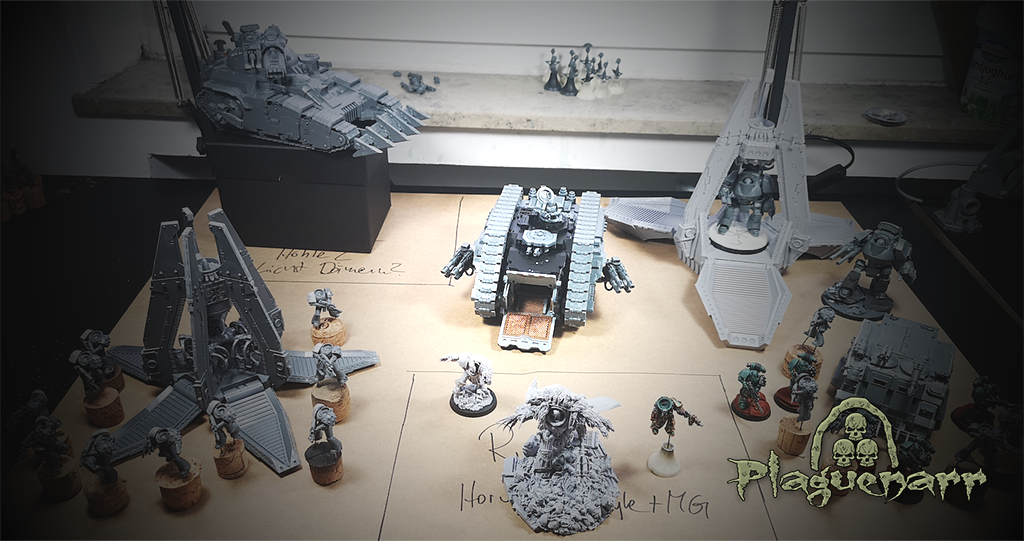
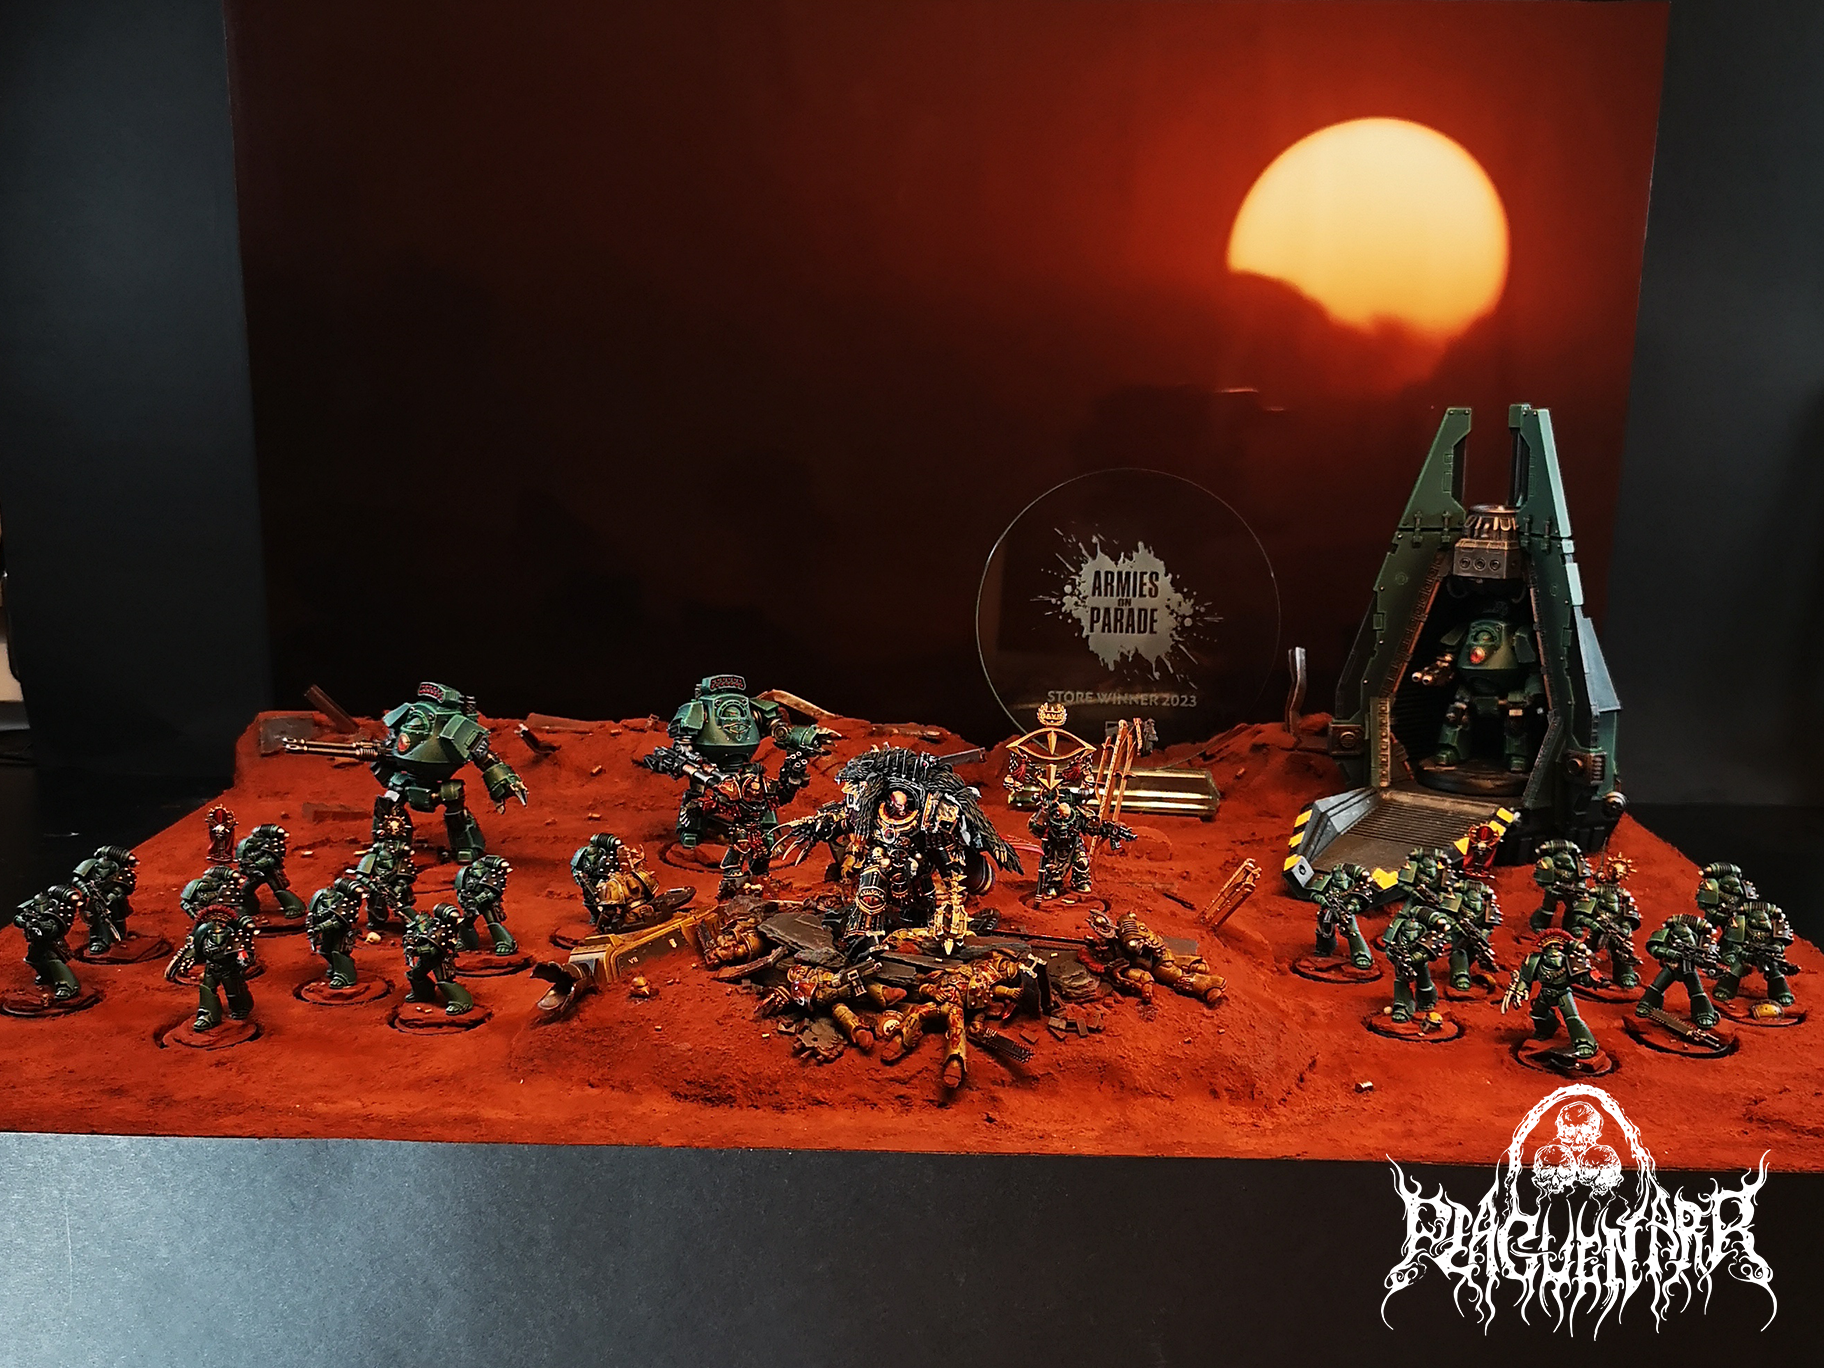
Showdown
On the 18th of November the final showdown came up! Ive cut some models out of the former planned diorama in case of space and time problems.
All i can say about time is that i took around 1000h of work to finish the Diorama to this stage.
But even with lesser models its even im my eyes a stunnig project. And with all the Eavy Metal painted models on the Board a Childhood Dream of a Eavy Metal painted Warhammer Army finally has become true!
And even more i also won the cup of our store competition!
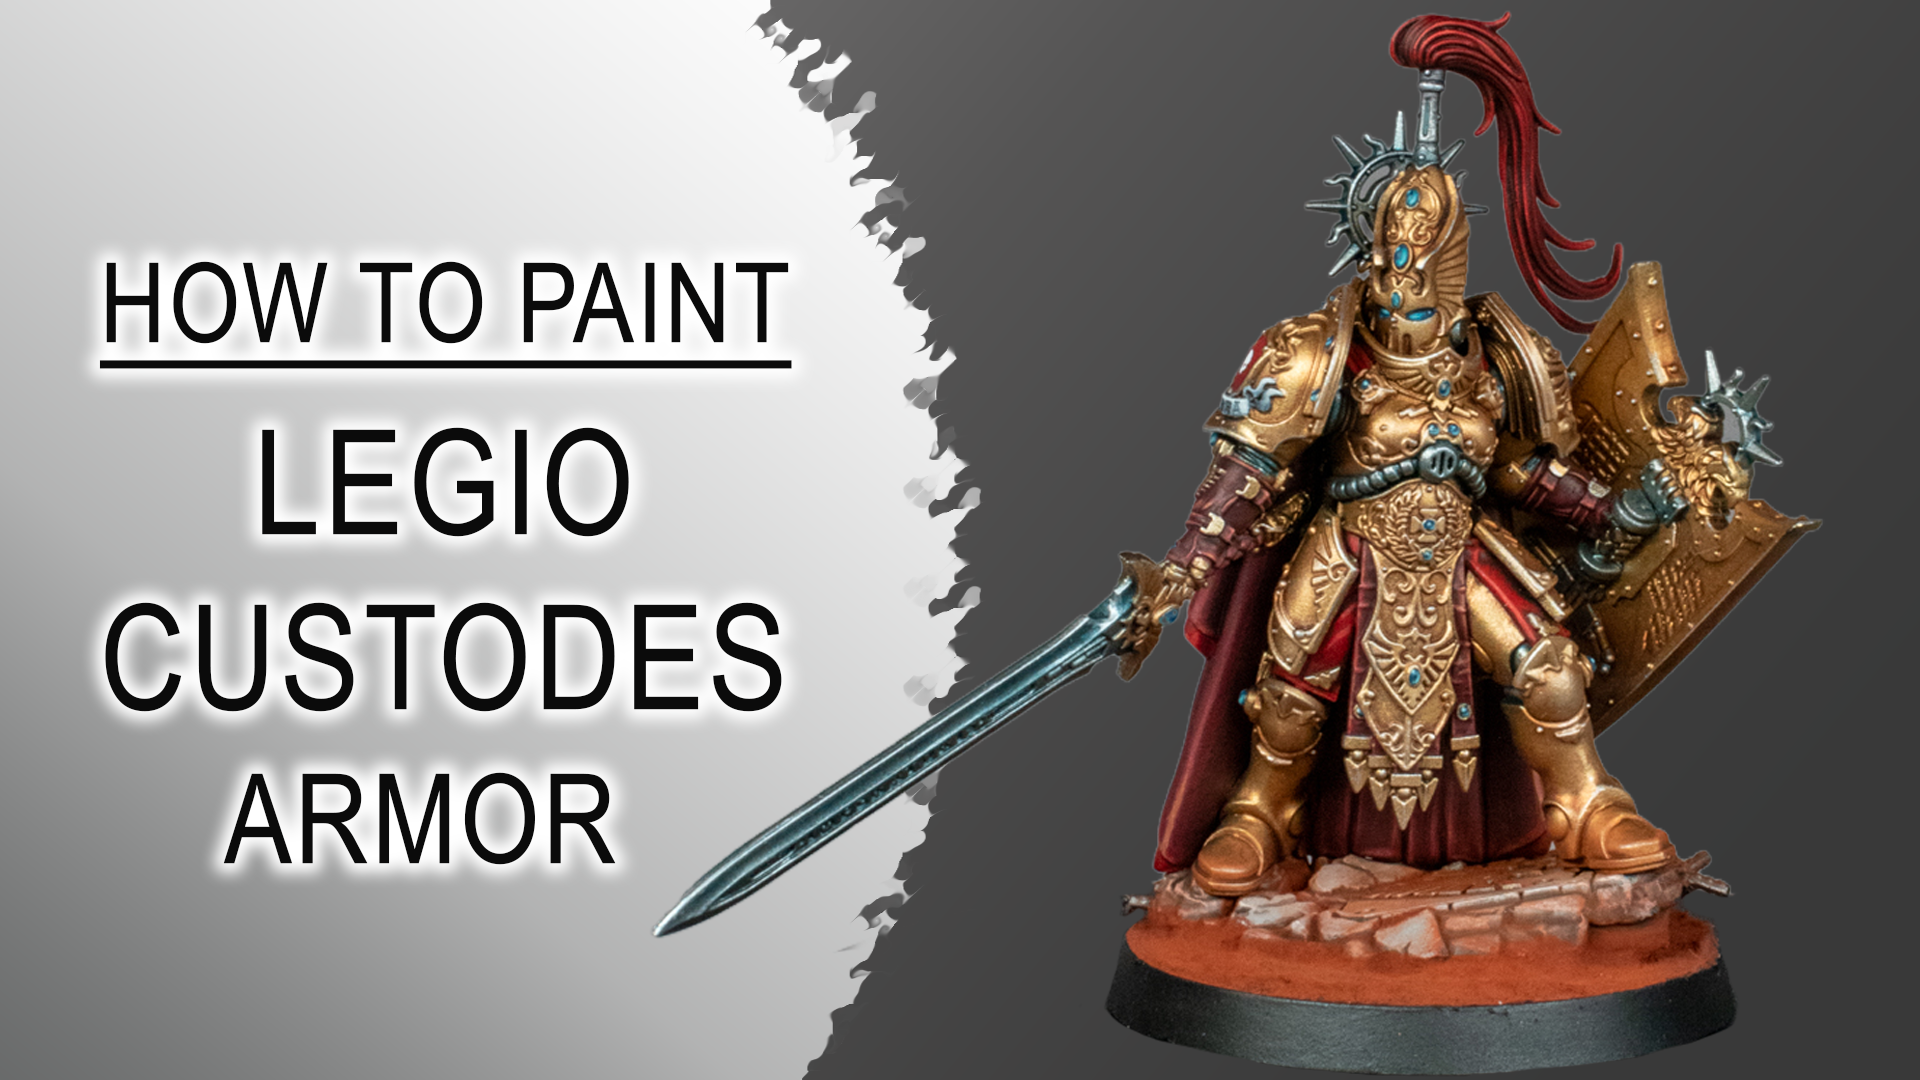
Thin, believable metallics are one of the hardest things to get right on Adeptus Custodes. In this first part of my Custodes TMM guide, I break down a complete armor and metallics workflow built around ultra‑thin metallic films, low‑surface‑tension washes, and controlled drybrushing. The goal is a repeatable process that keeps the gold rich, the silver cool and sharp, and the overall read clean—without using any masking.
This article covers every step I used on a Custodes Shield‑Captain, from the first black prime to the final micro‑highlights on the armor. Part two will focus on the cloak, leather and gems, and how they tie into this metallic foundation.
Prime the miniature black. I work in sub‑assemblies so I can reach awkward angles and covered details without building up unnecessary paint thickness. A clean black prime gives strong shadow definition and makes it easier to judge the transparency of the metallic layers.
Step 2 – Gold basecoat with thin metallic film
For the gold armor, I use Gaahleri Kaleido Acrylics – Champagne Gold. The key idea here is film thickness: I want a very thin metallic layer that doesn’t obscure detail or look “chunky”. With an airbrush, apply multiple ultra‑thin passes until you reach an even coverage. If you’re using a brush, work with several very thin coats instead of one heavy layer. The paint’s fluidity and fine pigment help keep the surface smooth.
Step 3 – Low‑surface‑tension wash for gold shading
To establish initial shading without shifting the gold too far in color, I mix a custom low‑surface‑tension wash:
5 drops Guilliman Flesh
3 drops Lahmian Medium
2 drops Airbrush Thinner
1 drop Flow Improver
The medium and thinner reduce surface tension so the wash flows into recesses instead of staining flat areas. Apply this panel by panel over the gold armor, letting it settle into lines and undercuts. This creates warm red‑brown shadows while preserving the main Champagne Gold tone.
Step 4 – Rebuilding gold midtones with drybrushing
After the wash, the gold can look slightly dulled. To bring the midtones back and start building volume, I drybrush Gaahleri – Champagne Gold again. I use an Artis Opus Series D (Size M+) with a texture palette and dampening pad. Load the brush, work most of the paint out, then use circular motions over the armor. This technique rebuilds the gold on raised areas while leaving the shaded recesses intact, creating soft volumetric highlights.
Step 5 – Bright gold volumetric highlights
Next, I push the highlights with Pro‑Acryl – Bright Gold. This paint has very fine, strong pigments and a fluid consistency, which makes it ideal for thin, bright layers. Using the same Series D (Size M+) brush, I drybrush in circular motions again, but now I focus on upper and forward‑facing surfaces: chest, shoulders, helmet crest, and other areas that would catch the most light. This step establishes a clear light direction and a brighter gold read without losing the underlying tone.
Step 6 – Silver basecoat
Before finishing the gold, I block in all silver metallics with Vallejo – Dark Aluminium. This includes the sword, crown, power cables, subsuit, helmet details and shield elements. Doing this at this stage lets me handle later drybrushing and highlighting across all metallics more efficiently, instead of treating gold and silver completely separately.
Step 7 – Cool low‑tension wash for silver
For the silver shading, I want a cooler, slightly blue recess tone to contrast the warm gold. I mix another low‑surface‑tension wash:
5 drops Basilicanum Grey
2 drops Talassar Blue
6 drops Lahmian Medium
6 drops airbrush thinner
1 drop flow improver
Apply this mix panel by panel over the silver areas. The Basilicanum Grey and Talassar Blue combination creates a blue‑grey shade that settles into recesses and grooves, giving the silver a cool, slightly Grey Knights‑inspired feel that plays nicely against the red‑tinted gold shadows.
Step 8 – Muting the blue with a silver drybrush
After the wash, the silver can look a bit too blue. To balance it, I lightly drybrush Vallejo – Dark Aluminium again. Here I switch to an Artis Opus Series D (Size XS+) for better control on small details. With minimal paint on the brush, gently pass over raised areas to reintroduce neutral metallic midtones while keeping the cool recesses intact.
Step 9 – Sharp silver edge highlights
With the silver balanced, I add sharp highlights using Pro‑Acryl – Silver. Using an Artis Opus Series D (Size S+), I apply precise edge strikes to armor trim, bolts, weapon edges and other hard lines. The goal is to increase perceived sharpness and material definition without overwhelming the gold or turning the whole scheme too silver. Keep the highlights selective and controlled.
Step 10 – Deep silver recess glazes
To push depth in specific areas, I mix a glaze on the wet palette:
2 parts Basilicanum Grey
1 part Talassar Blue
With an Artis Opus Series S (Size 1), I wipe most of the paint off and glaze this mix into the deepest recesses of the silver—sword grooves, undercuts, and shadowed mechanical details. For very deep recesses, you can load the brush a bit more and carefully flood the area. This adds a final layer of depth without creating harsh transitions.
Step 11 – Gold armor glazes
Now I return to the gold to unify the tones. I thin Guilliman Flesh with water to a glazing consistency and apply it with an Artis Opus Series S (Size 1). Glaze into panel lines, undercuts and shadowed areas of the gold armor. This step reintroduces warmth into the shadows and ties the Champagne Gold and Bright Gold layers together into a cohesive surface.
Step 12 – Final edge and spot highlights
The last step for the metallics is micro‑highlighting. With an Artis Opus Series S (Size 1) and Pro‑Acryl – Silver (or a similar bright metallic), I place tiny spot highlights and edge lines on the sharpest armor edges, bolts and weapon tips—both on gold and silver areas. These small, high‑value points are what make the metal look crisp and finished when viewed at arm’s length.
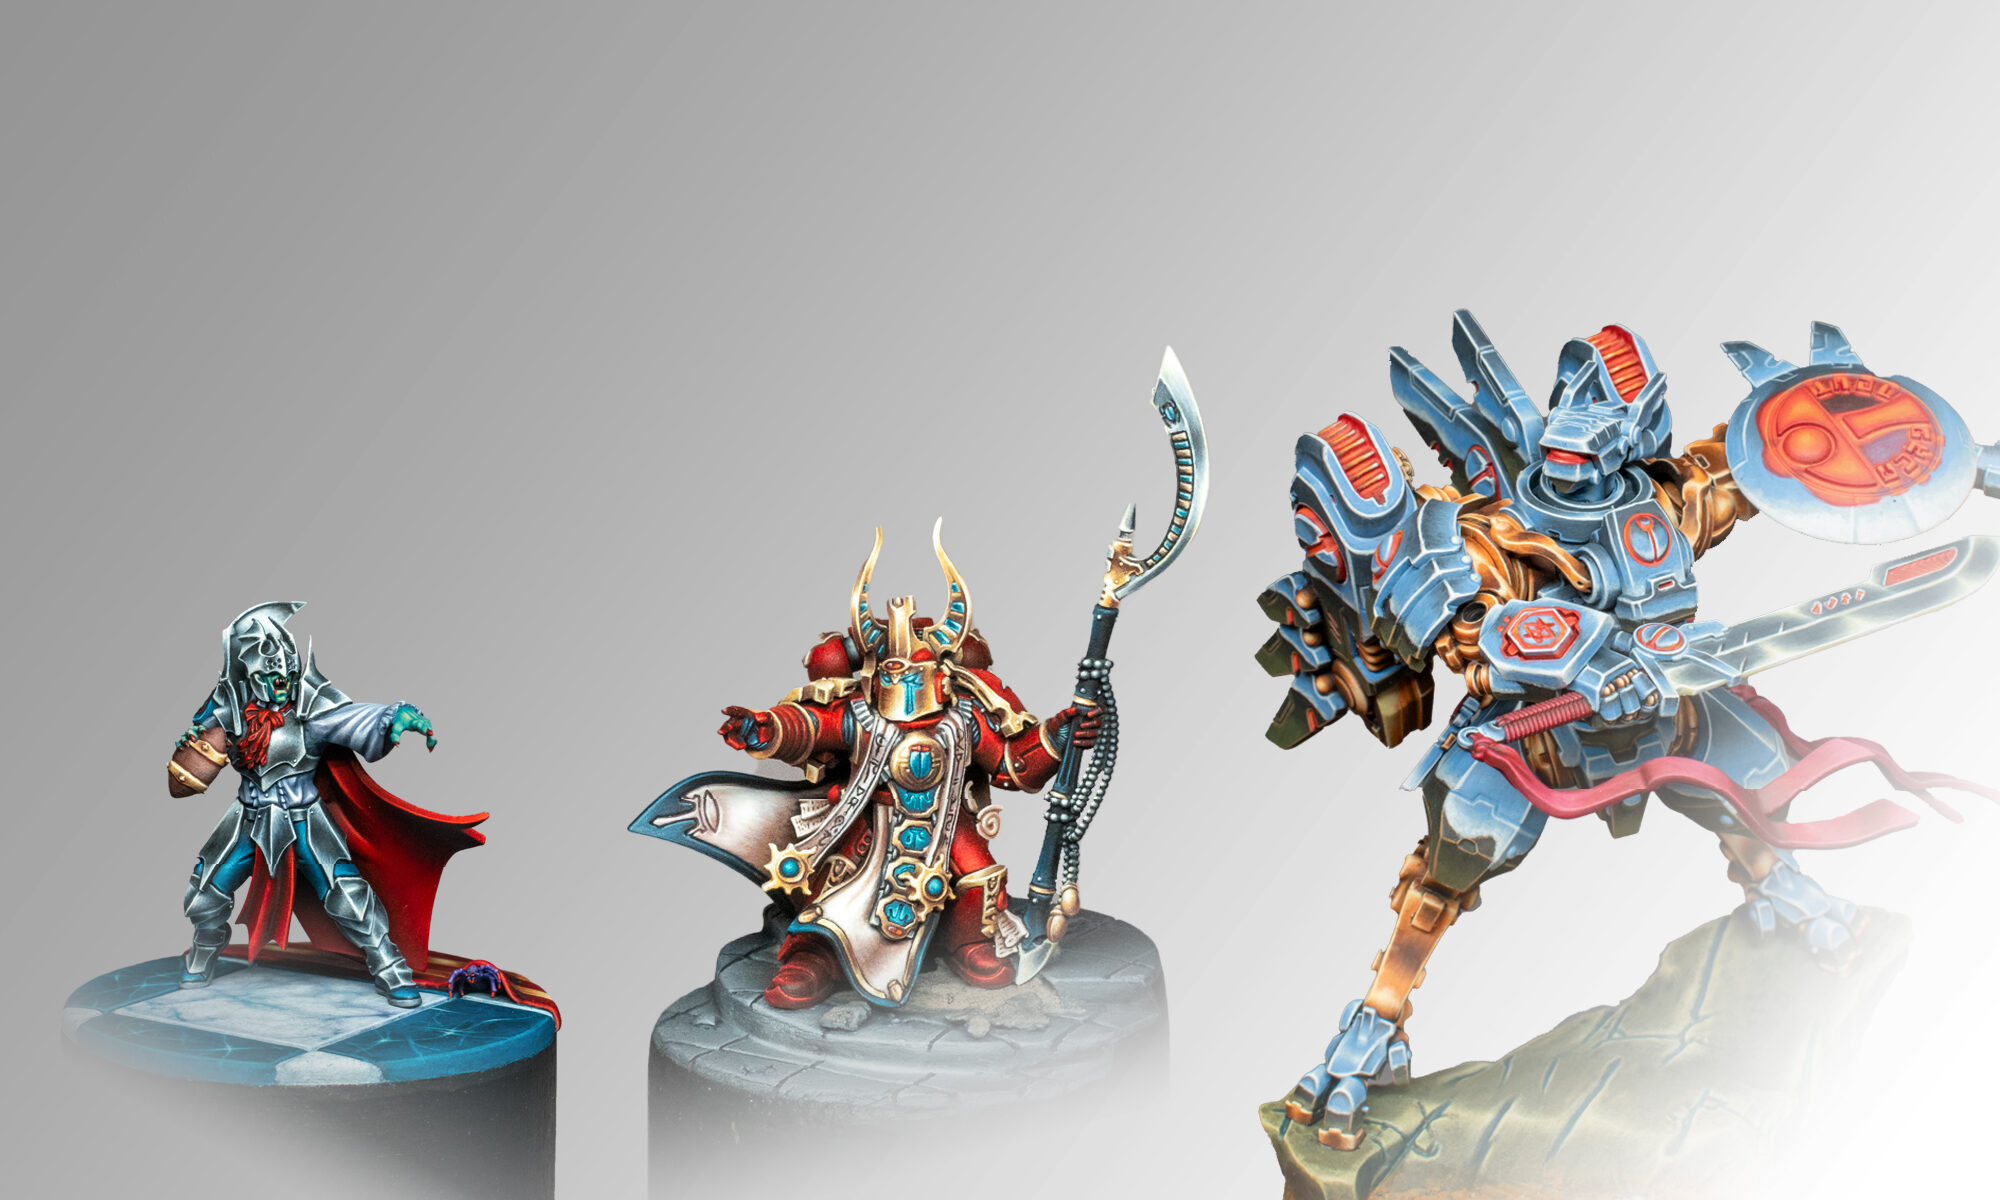
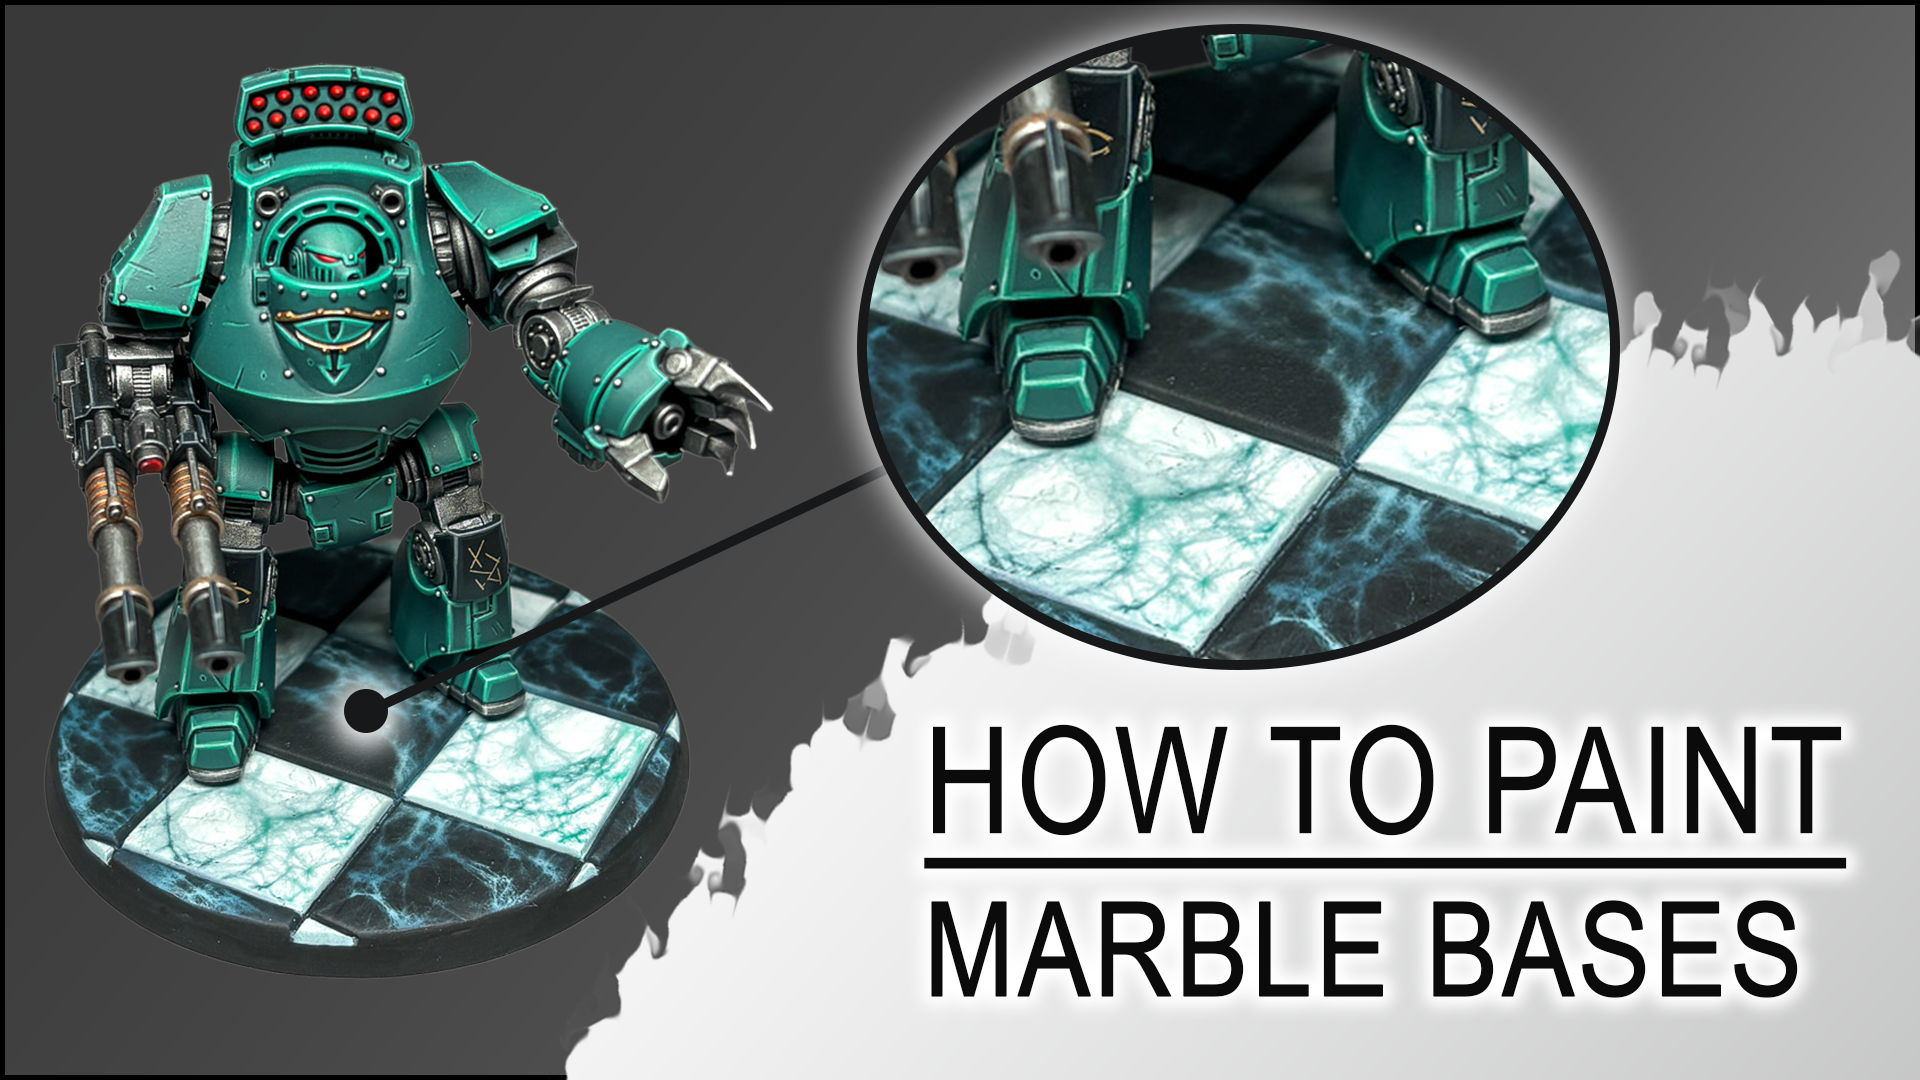
This is a full step‑by‑step painting tutorial showing how I paint marble chessboard bases for Warhammer Horus Heresy and 40K. In this guide, I cover the complete painting process used on my Golden Demon Vampire Blood Bowl entry, including smooth marble veining, color variation, and optional weathering for a more battle‑worn look.
The miniature featured here is from my Sons of Horus AOP 2023 entry, and this base style will return soon for a III Legion project. If you want a separate sculpting guide for the tiles themselves, let me know in the comments.
Quick painting tutorial for a Warhammer Horus Heresy Iron Warriors Contemptor Dreadnought Armor. Features true metallic metal armor techniques and a step-by-step guide for three different methods how to paint hazard stripes. A big thanks to Taschengelddieb who provided the model and decals to be finally able to create a vehicle guide!
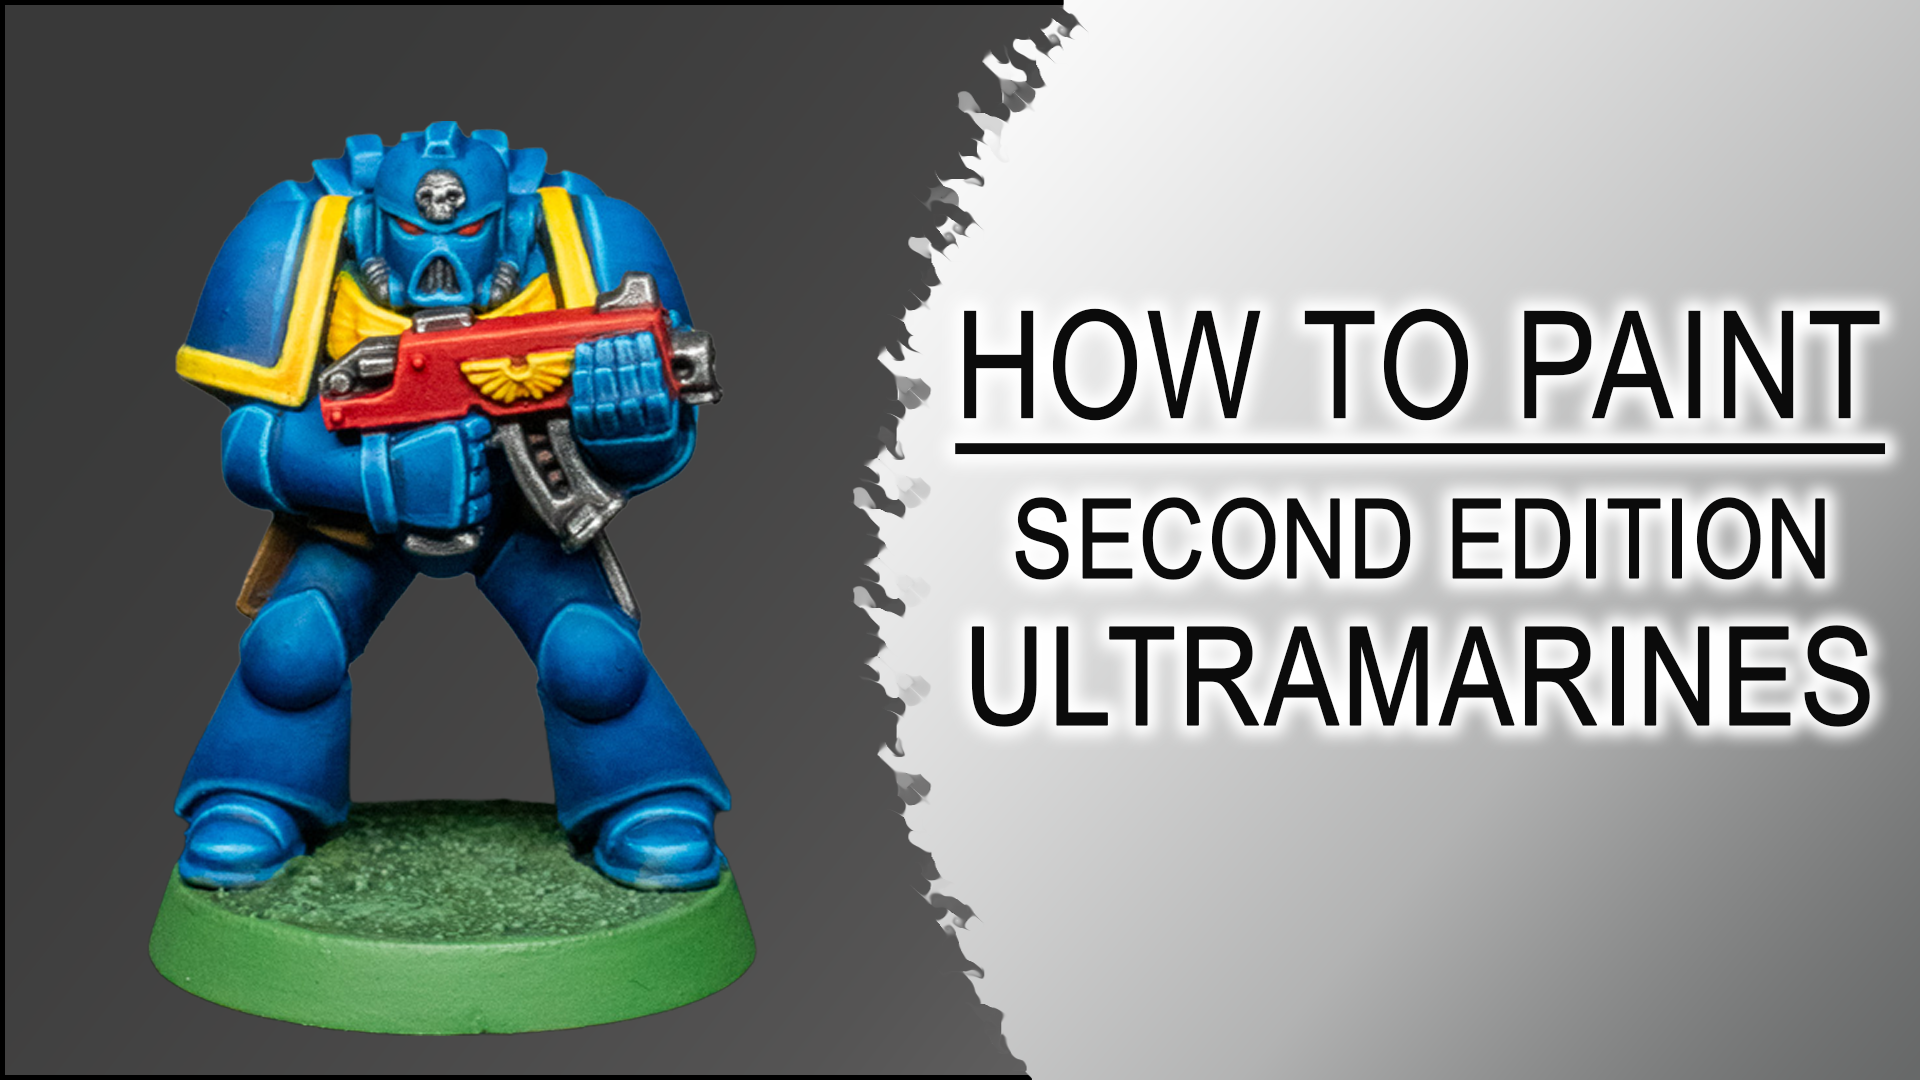
This is a step-by-step painting tutorial showing how I recreated the classic Eavy Metal Second Edition Space Marines style. In this guide, I’ll walk you through the iconic bright armor colors, crisp highlights, and bold details that defined the 1990s Warhammer 40K aesthetic. Perfect for hobbyists who want to capture that nostalgic look or learn the fundamentals of clean, competition-level miniature painting.
Are you looking to save money on Warhammer, tabletop games, and premium hobby supplies? I’m thrilled to announce our new partnership with Taschengelddieb.de — one of Germany’s most trusted shops for miniature painters and gamers. Together, we’re building a community-driven alliance where everyone benefits: Taschengelddieb supports me, I support them, and you support both of us when you use this voucher.
This is more than a discount; it’s a way to strengthen the hobby scene together.
How to Use the Discount Code:
Click our affiliate link to visit the official Taschengelddieb store:
During checkout, enter the following promo code in the discount field:
Discount Code:PLAGUENARR
Watch your total drop by 4%!
By using this voucher, you’re not just saving money — you’re investing in the community. Every order helps me create more tutorials, dioramas, and content, while supporting a shop that has been a cornerstone for hobbyists across Germany.
Are you ready to take your painting to the next level with premium Pro Acryl colors? You’re in luck! Use our exclusive Monument Hobbiesdiscount code to get 5% off your entire order. Whether you’re a beginner or a seasoned pro, this offer applies to the full range of Pro Acryl paints, brushes, and hobby accessories.
How to Use the Discount Code:
Click our affiliate link to visit the official Monument Hobbies store: Link:
The following promo code should be applied automatically to the designated discount field during checkout:
Discount Code:PLAGUENARR
Watch your total drop by 5%!
This voucher is a great way to save on high-quality tools that will make a huge difference in your painting projects. By using this code, you not only get a great deal but also support my work as an artist, which helps me create more content for the community.
Don’t miss out on this fantastic opportunity to upgrade your hobby setup while keeping your budget in check. Grab your brushes, paints, and accessories today with my special Monument Hobbies voucher!
Are you looking to save money on premium tools designed by a miniature painting legend? Use our exclusive PK-PRO discount code to get 5% off on your next order. This special offer is valid on some of the most trusted and high-quality brands in the hobby.
This discount applies to the full range of PK-PRO branded products, including their fantastic brushes, accessories, and supplies. It also includes all Rathcore painting handles and grips, which are essential tools for any serious painter. Designed by Stephan Rath, a Slayer Sword and multiple Golden Demon winner, these handles are crafted for ergonomic comfort and precision, giving you the control you need to take your painting to the next level.
How to Use the Discount Code:
Click our affiliate link to visit the official PK-Pro store:
Add your desired PK-Pro products and Rathcore painting handles to your cart.
During checkout, enter the following promo code in the discount field:
Discount Code:Plague2026
Watch your total drop by 5%!
This voucher is a great way to invest in high-quality tools that will elevate your painting projects. By using this code, you not only get a great deal but also support my work as an artist, which helps me create more content for the community. PK-PRO has been a brand I’ve trusted for years, and they’ve supported me since the beginning, which makes this partnership extra special.
Don’t miss out on this fantastic opportunity to upgrade your hobby setup while keeping your budget in check. Grab your supplies and a new painting handle today with our special PK-PRO voucher!
Looking to upgrade your hobby setup? Get professional results with GAAHLERI airbrush equipment! Use our exclusive discount code to get 10% OFF your entire order. This offer applies to their full range of high-quality airbrushes, air compressors, and other essential tools for painters and modelers.
How to Use the Discount Code:
Click our affiliate link to visit the official GAAHLERI store:
Add your desired airbrush, compressor, or accessories to the cart.
The following promo code should be applied automatically to the designated discount field during checkout:
Discount Code:Plaguenarr
Watch your total drop by 10%!
By using this voucher, you not only get a great deal on top-tier equipment but also directly support my work as an artist. Your support helps me continue creating content and tutorials for the community.
Don’t miss this opportunity to get your hands on some of the best airbrushing gear on the market at a fantastic price. Upgrade your tools and elevate your projects with GAAHLERI today!
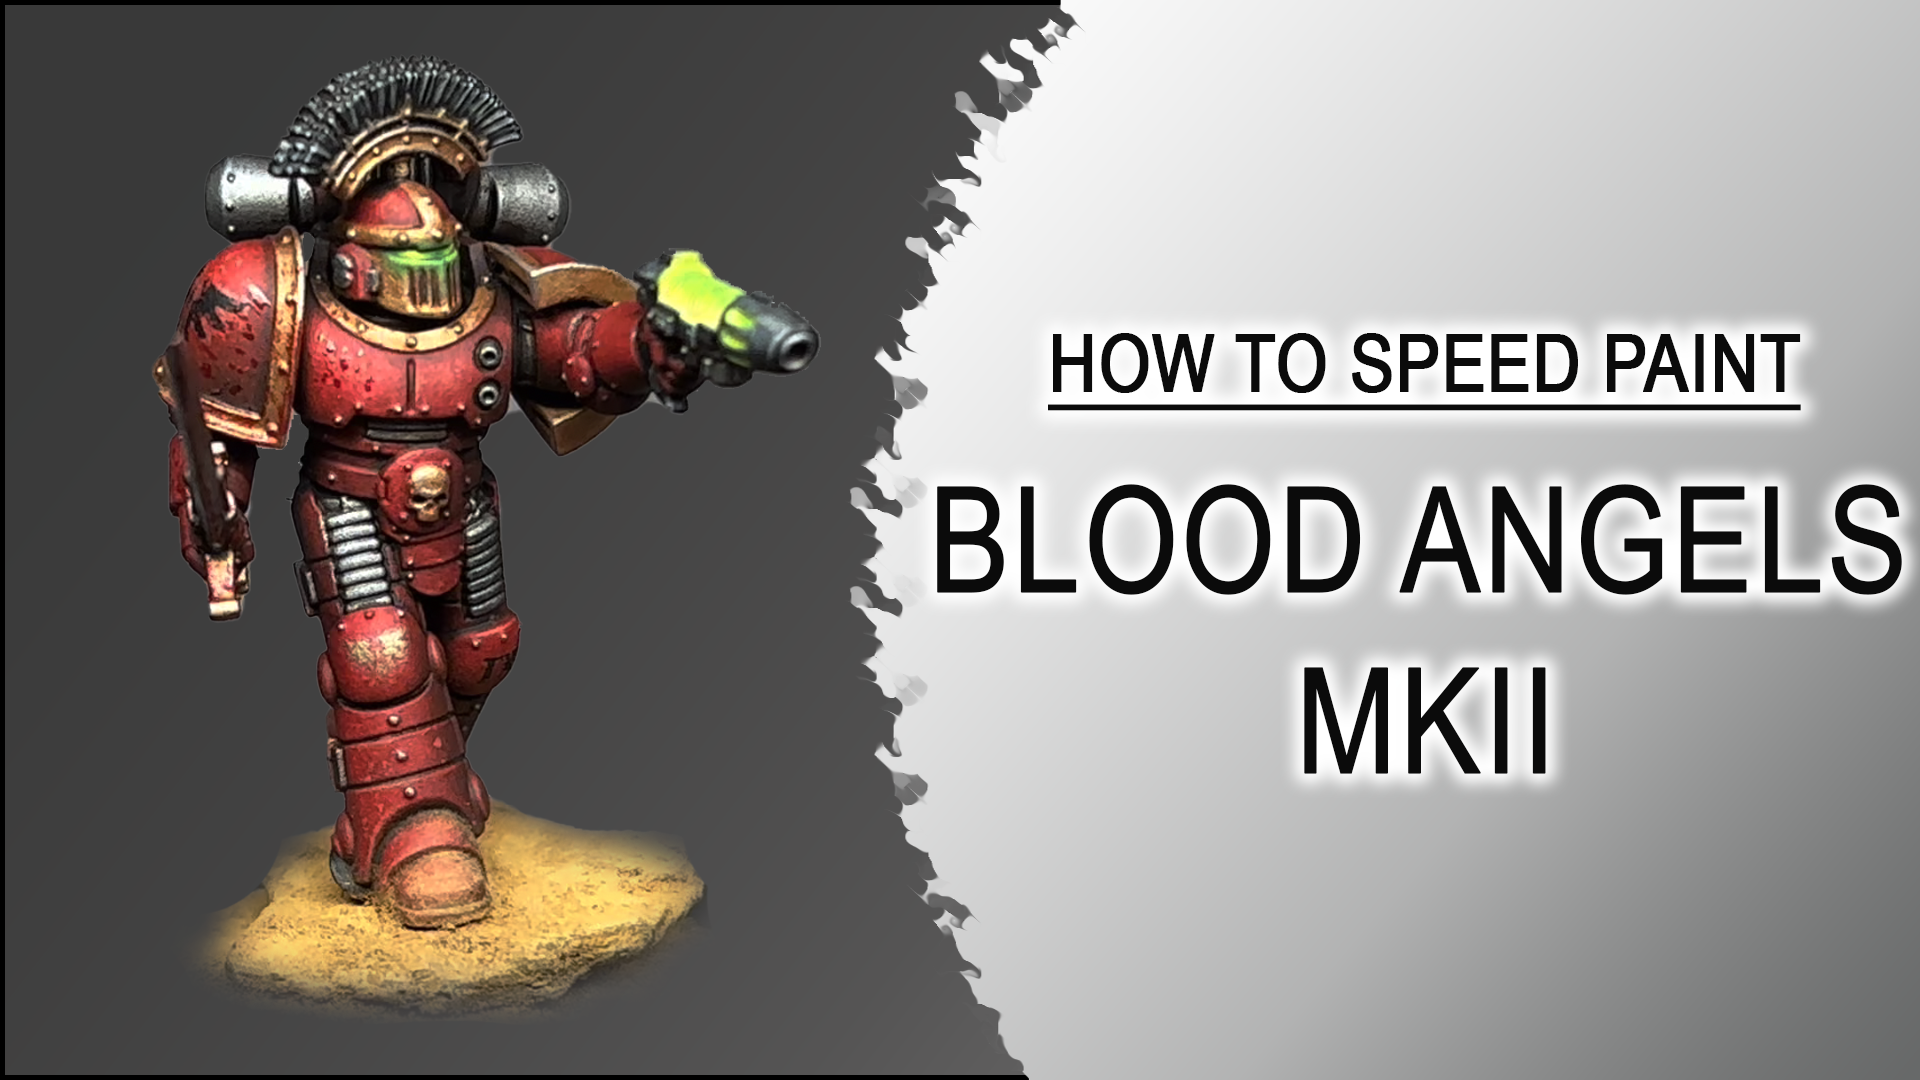
This is a quick painting tutorial how i have painted a new MKII Armor in the Blood Angels Legion colors. This tutorial also includes a easy way to paint green glowing plasma and OSL eyes and a super easy Gore FX tutorial.
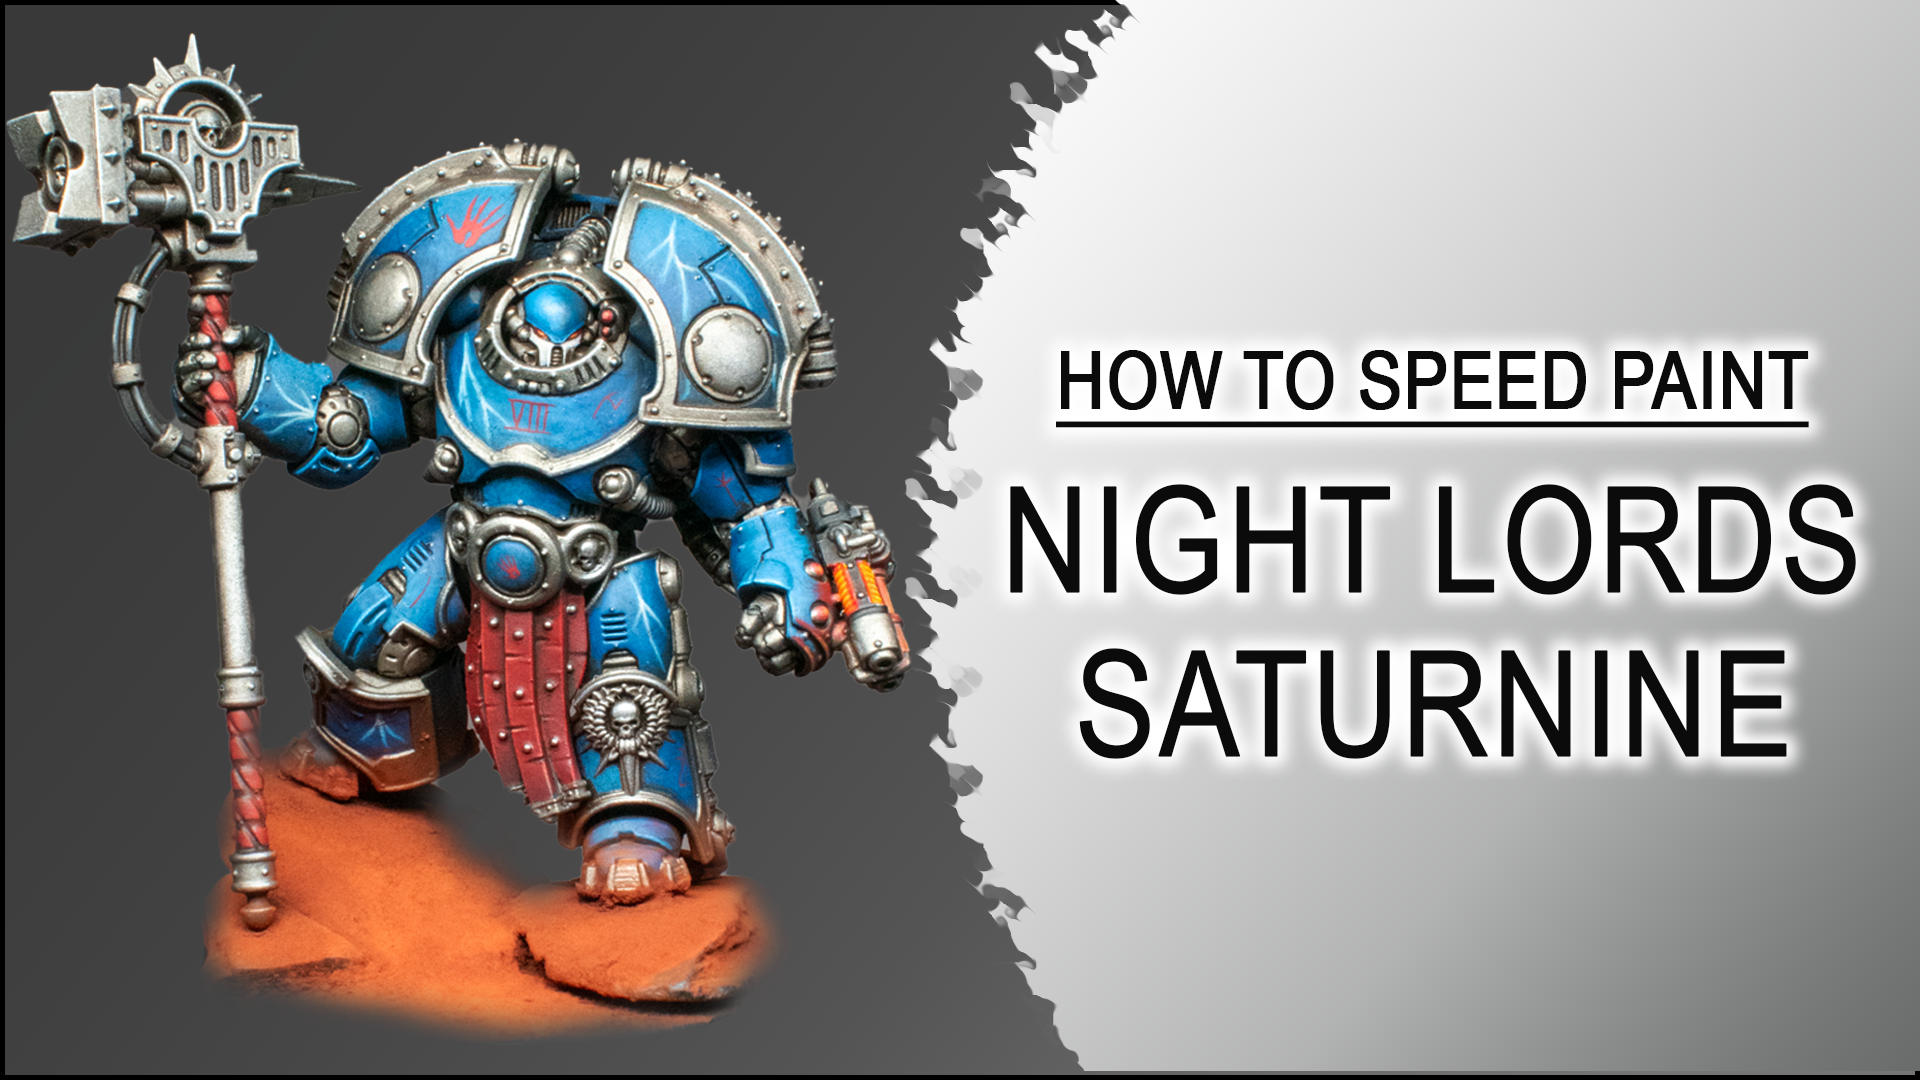
Quick painting tutorial how i have painted the new Saturnine Praetor in Terminator Armor in the Night Lords Legion colors. This tutorial also includes a super easy way to paint freehand flash lighting effects on Night Lords Armor and a super easy OSL plasma glow effect.
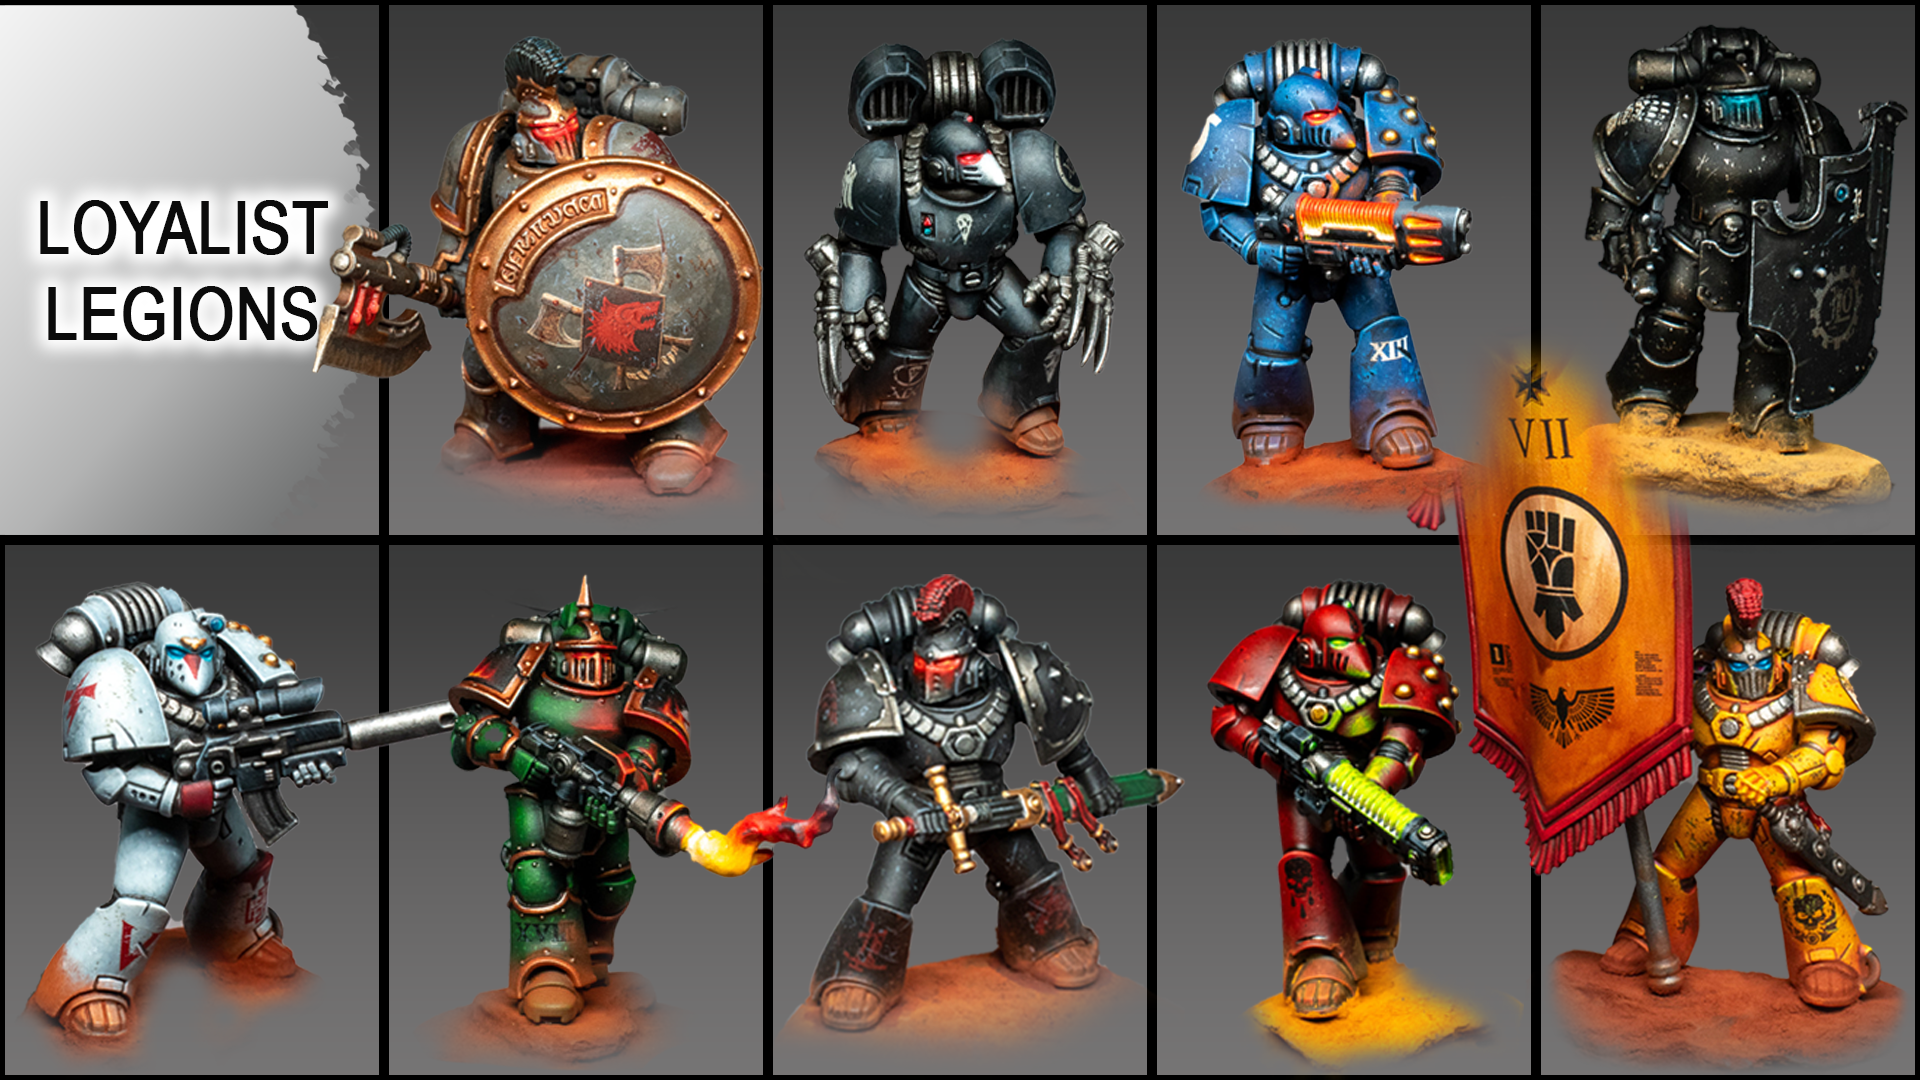
Bring honor to the Emperor with some lovely crafted Loyalist Legion Painting Guides—a complete video playlist designed to help you paint every Loyalist Space Marine Legion from the Horus Heresy era with speed and style.
🛡️ What You’ll Discover:
Legion-specific tutorials for Imperial Fists, Ultramarines, Iron Hands, Dark Angels, Raven Guard, and more
Speed painting techniques using Citadel, contrast, and drybrush methods
Tips for achieving clean heraldry, armor highlights, and iconic color schemes
Beginner-friendly videos with pro-level results
Whether you’re building a loyalist force for the tabletop or just love the lore of the Great Crusade, this playlist is your go-to resource for painting the defenders of the Imperium.
👉 Watch the full playlist below and subscribe to: Plaguenarr
How to paint all Warhammer Horus Heresy Loyalist Legions – Video Playlist:
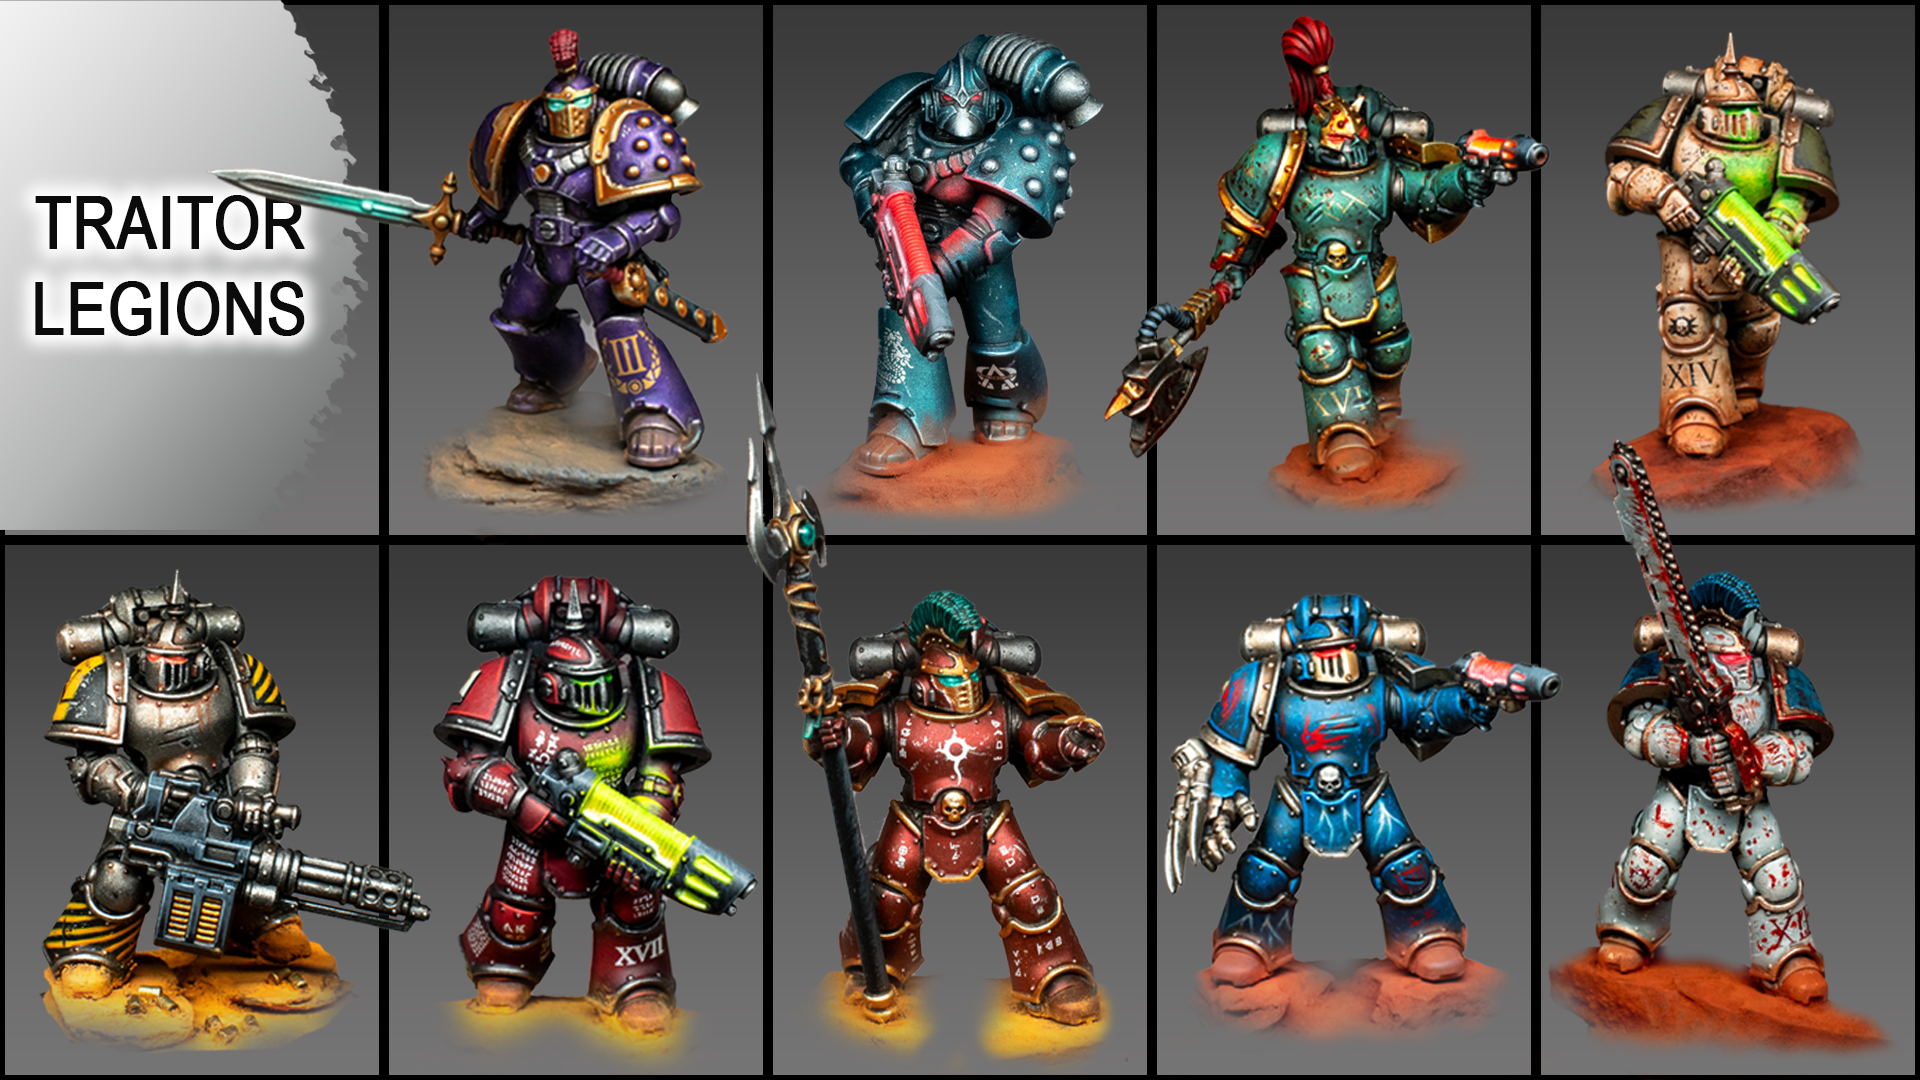
Looking to bring your Traitor Legion Space Marines to life with stunning paint jobs? Dive into some comprehensive Horus Heresy Traitor Legion Painting Guides. A curated video playlist packed with fast, effective techniques for every Traitor Legion.
🎨 What You’ll Learn:
Legion-specific color schemes for Iron Warriors, Alpha Legion, Word Bearers, Night Lords, and more
Advanced effects like OSL, weathering, and battle damage
Speed painting methods using Citadel, contrast, drybrush and even some unconventional techniques
Tips for beginners and veterans alike
Whether you’re preparing for tabletop glory or just love the lore, this playlist is your go-to resource for mastering the grimdark aesthetic of the 31st millennium.
👉 Watch the full playlist below and subscribe to: Plaguenarr
How to paint all Warhammer Horus Heresy Traitor Legions – Video Playlist:
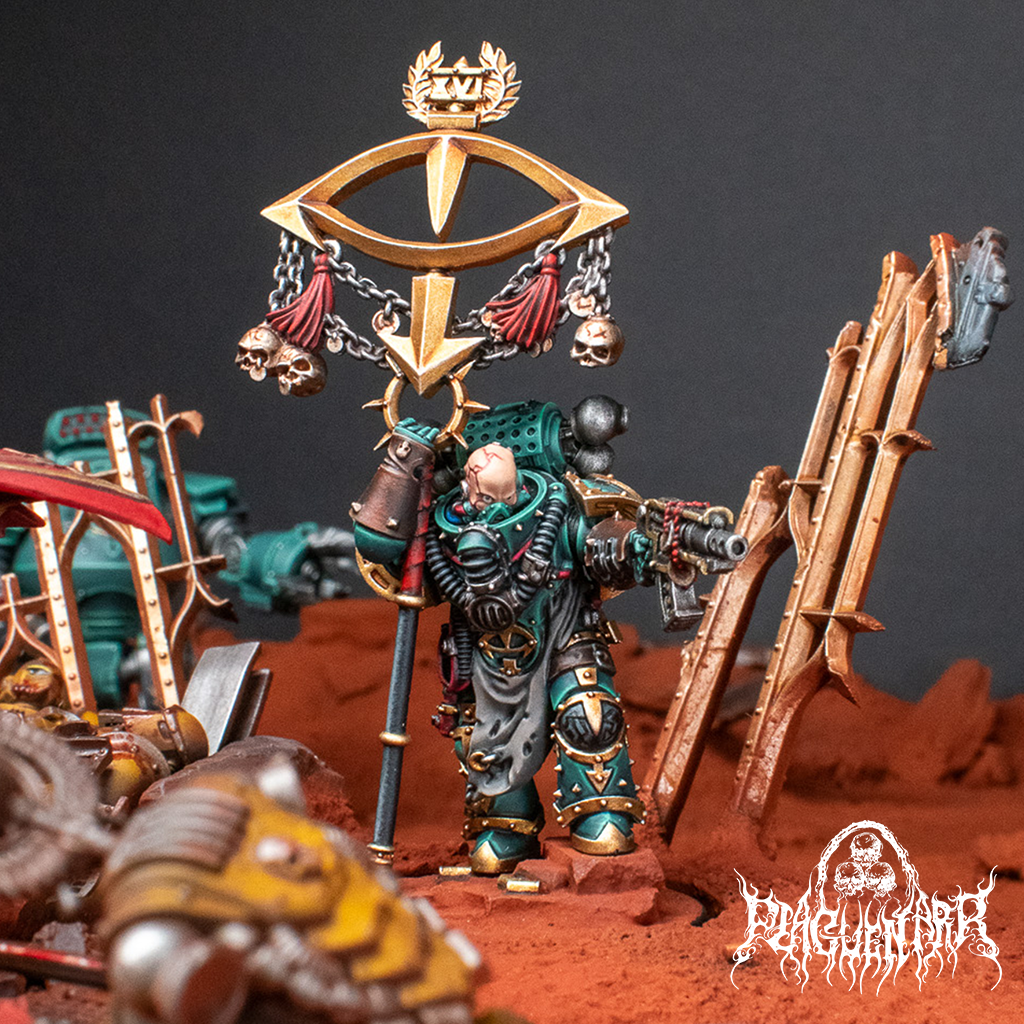
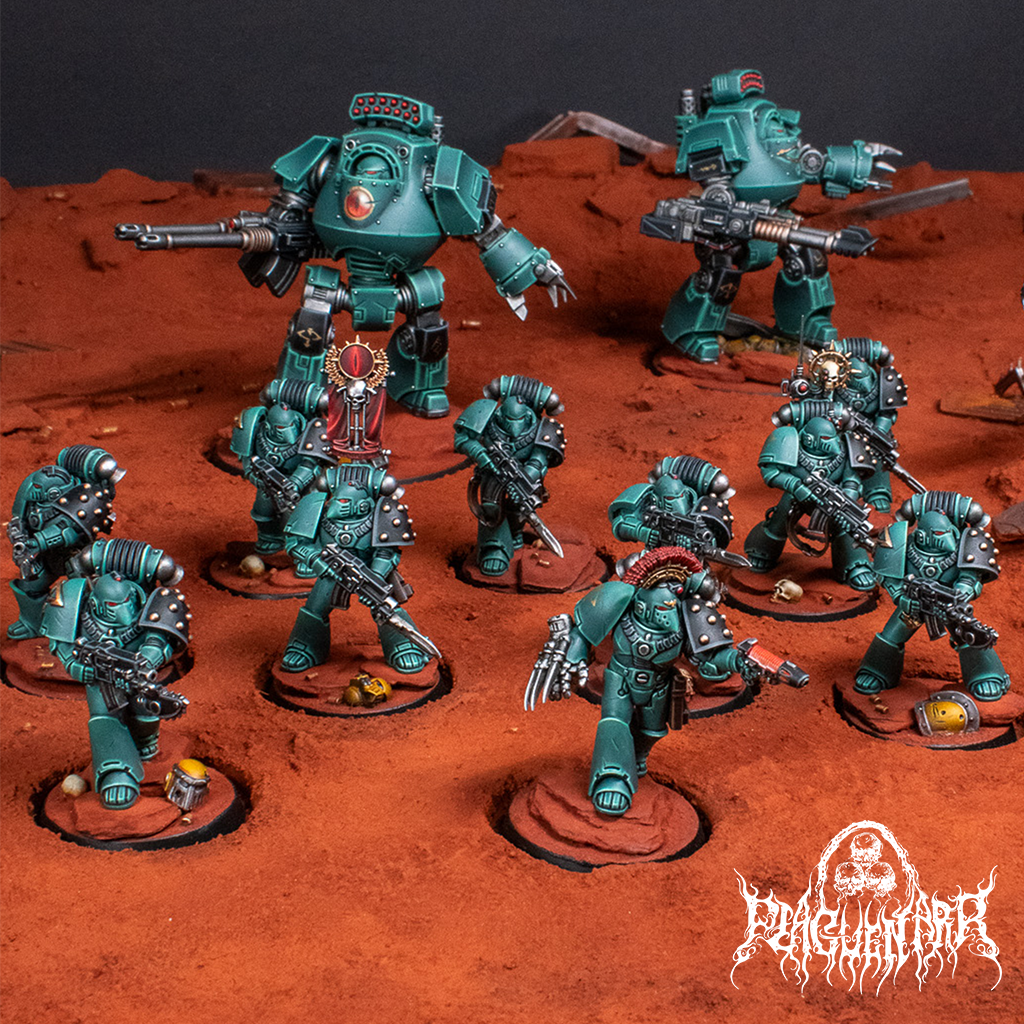
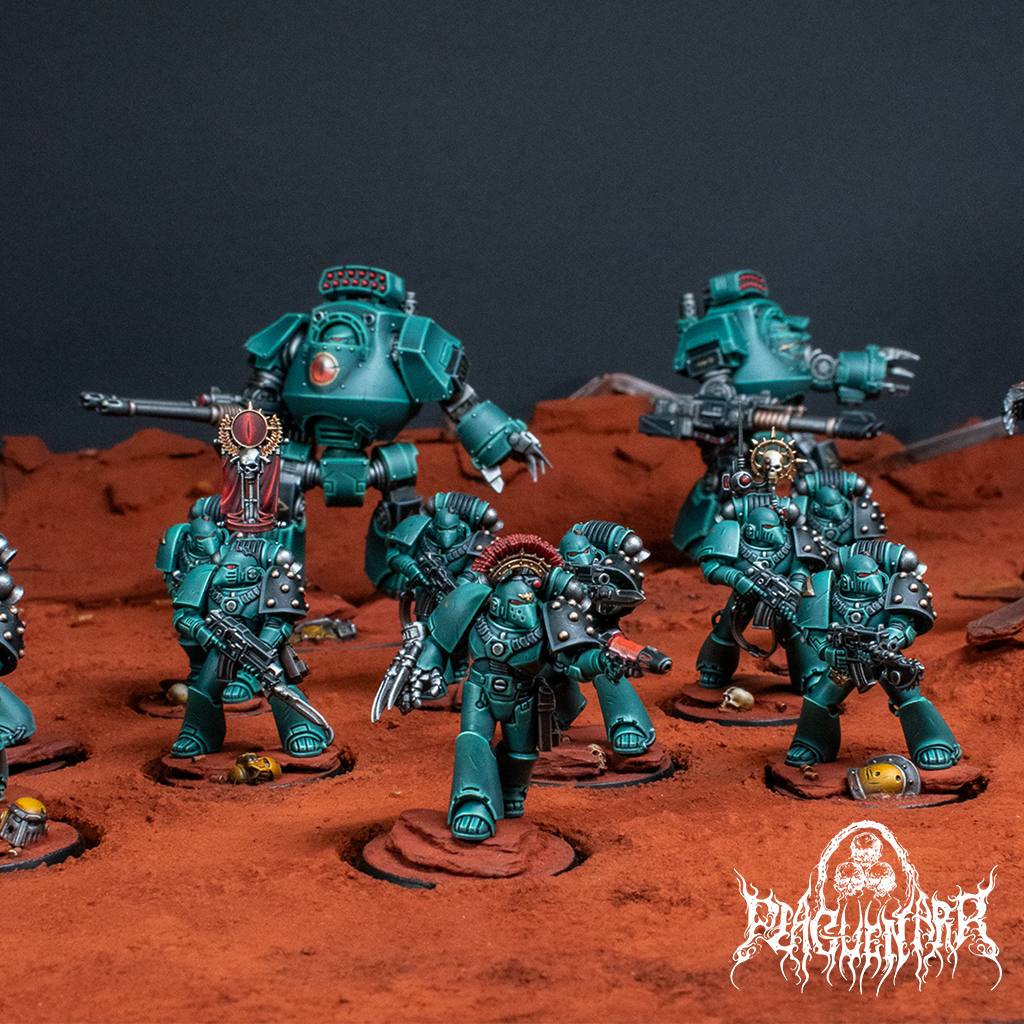
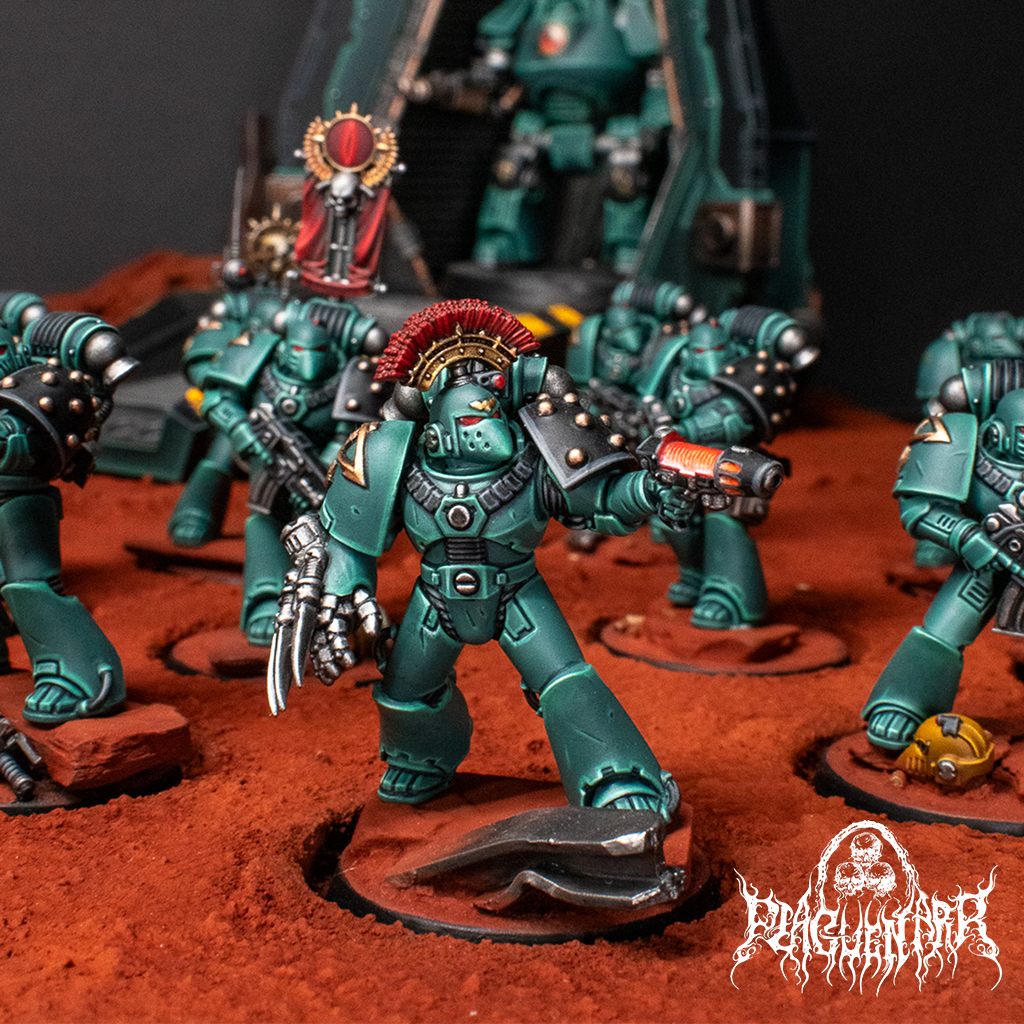
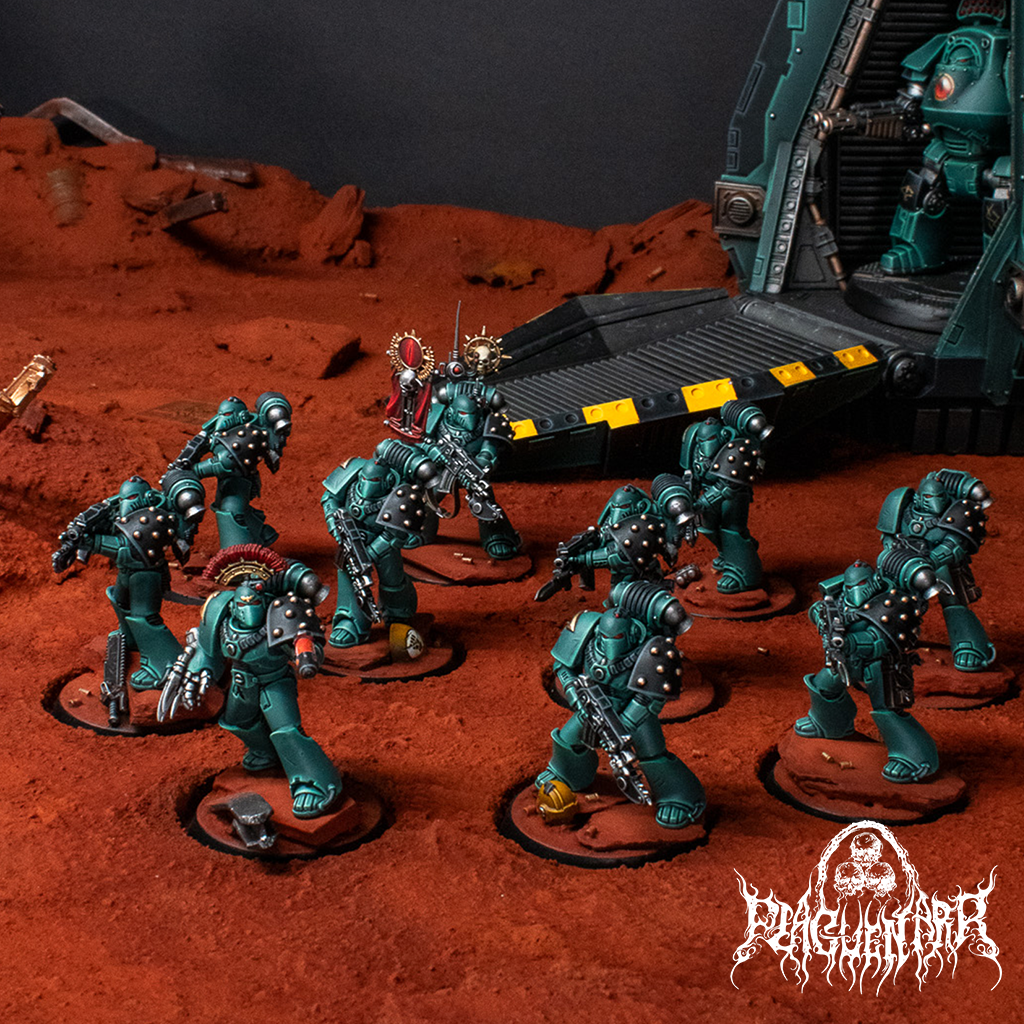
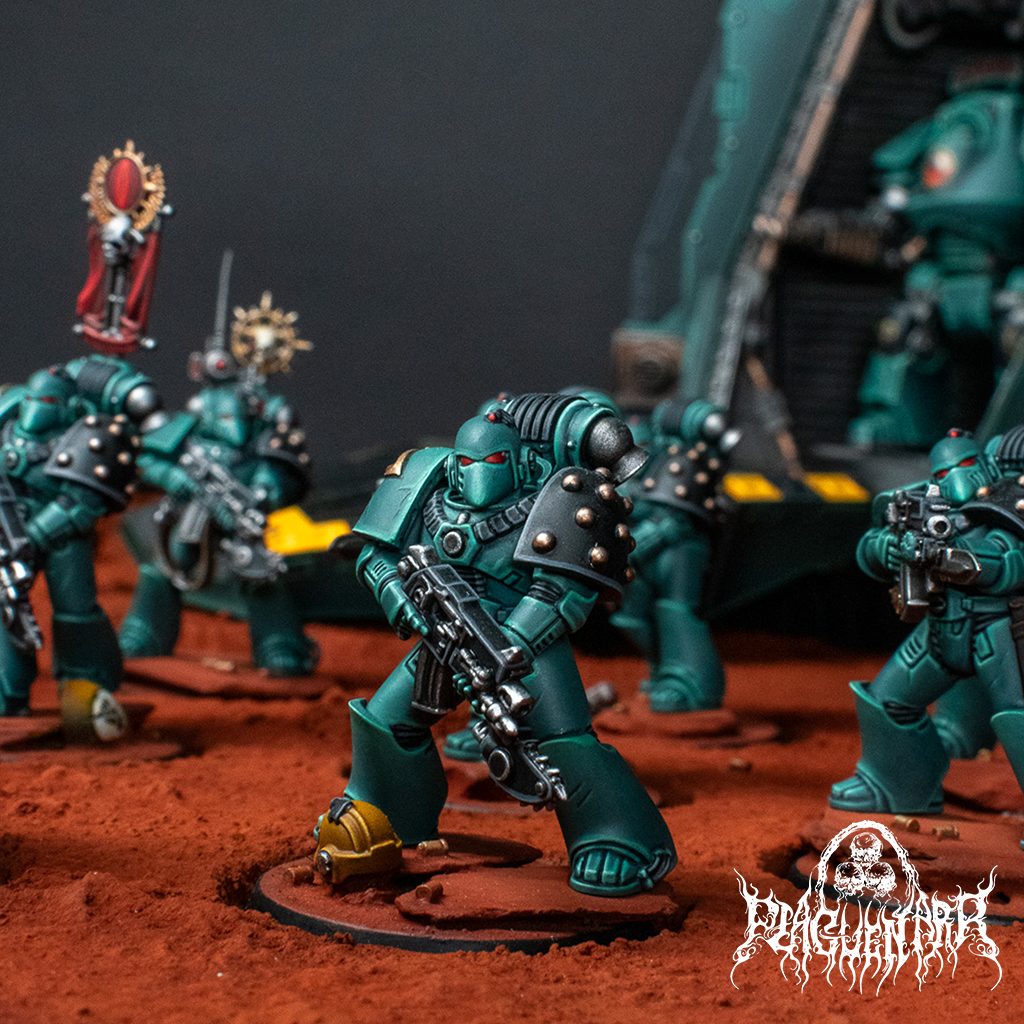
Fast and easy Alpha Legion painting tutorial using only brushes—no airbrush or sprays required. This guide shows you how to achieve a striking turquoise metallic armor scheme for your Horus Heresy or Warhammer 40k Alpha Legion miniatures. Includes a quick method for painting glowing plasma effects (OSL) Perfect for beginners or hobbyists looking to speed paint their Traitor Space Marines with true metallics.
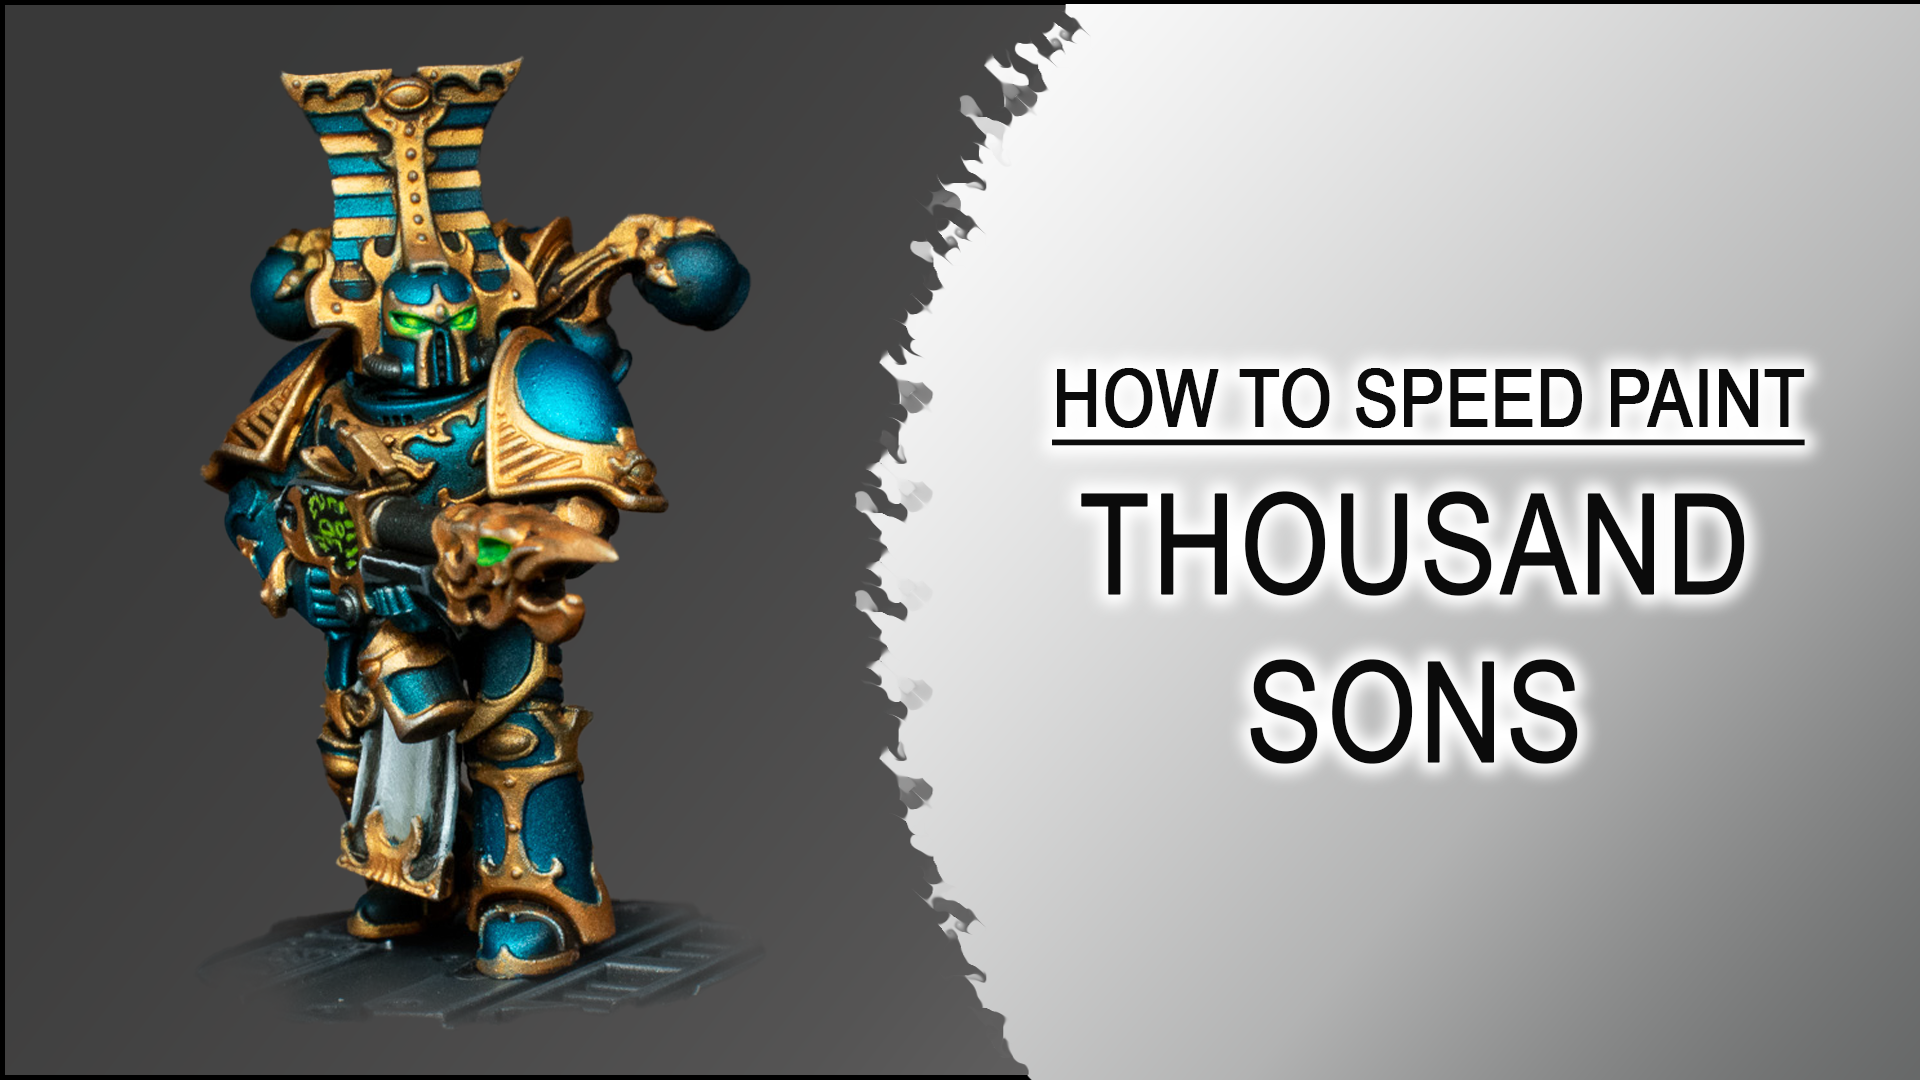
This is a detailed video speed painting guide how i have painted a Warhammer 40k Thousand Sons Rubric Marine. The Color Scheme is inspired by the Space Marine 2 Video Game. One of the most time consuming parts are the trims. I came up with a nice idea to save some time while applying highlights. This guide also includes a step by step guide how i have painted the green glowing eyes.
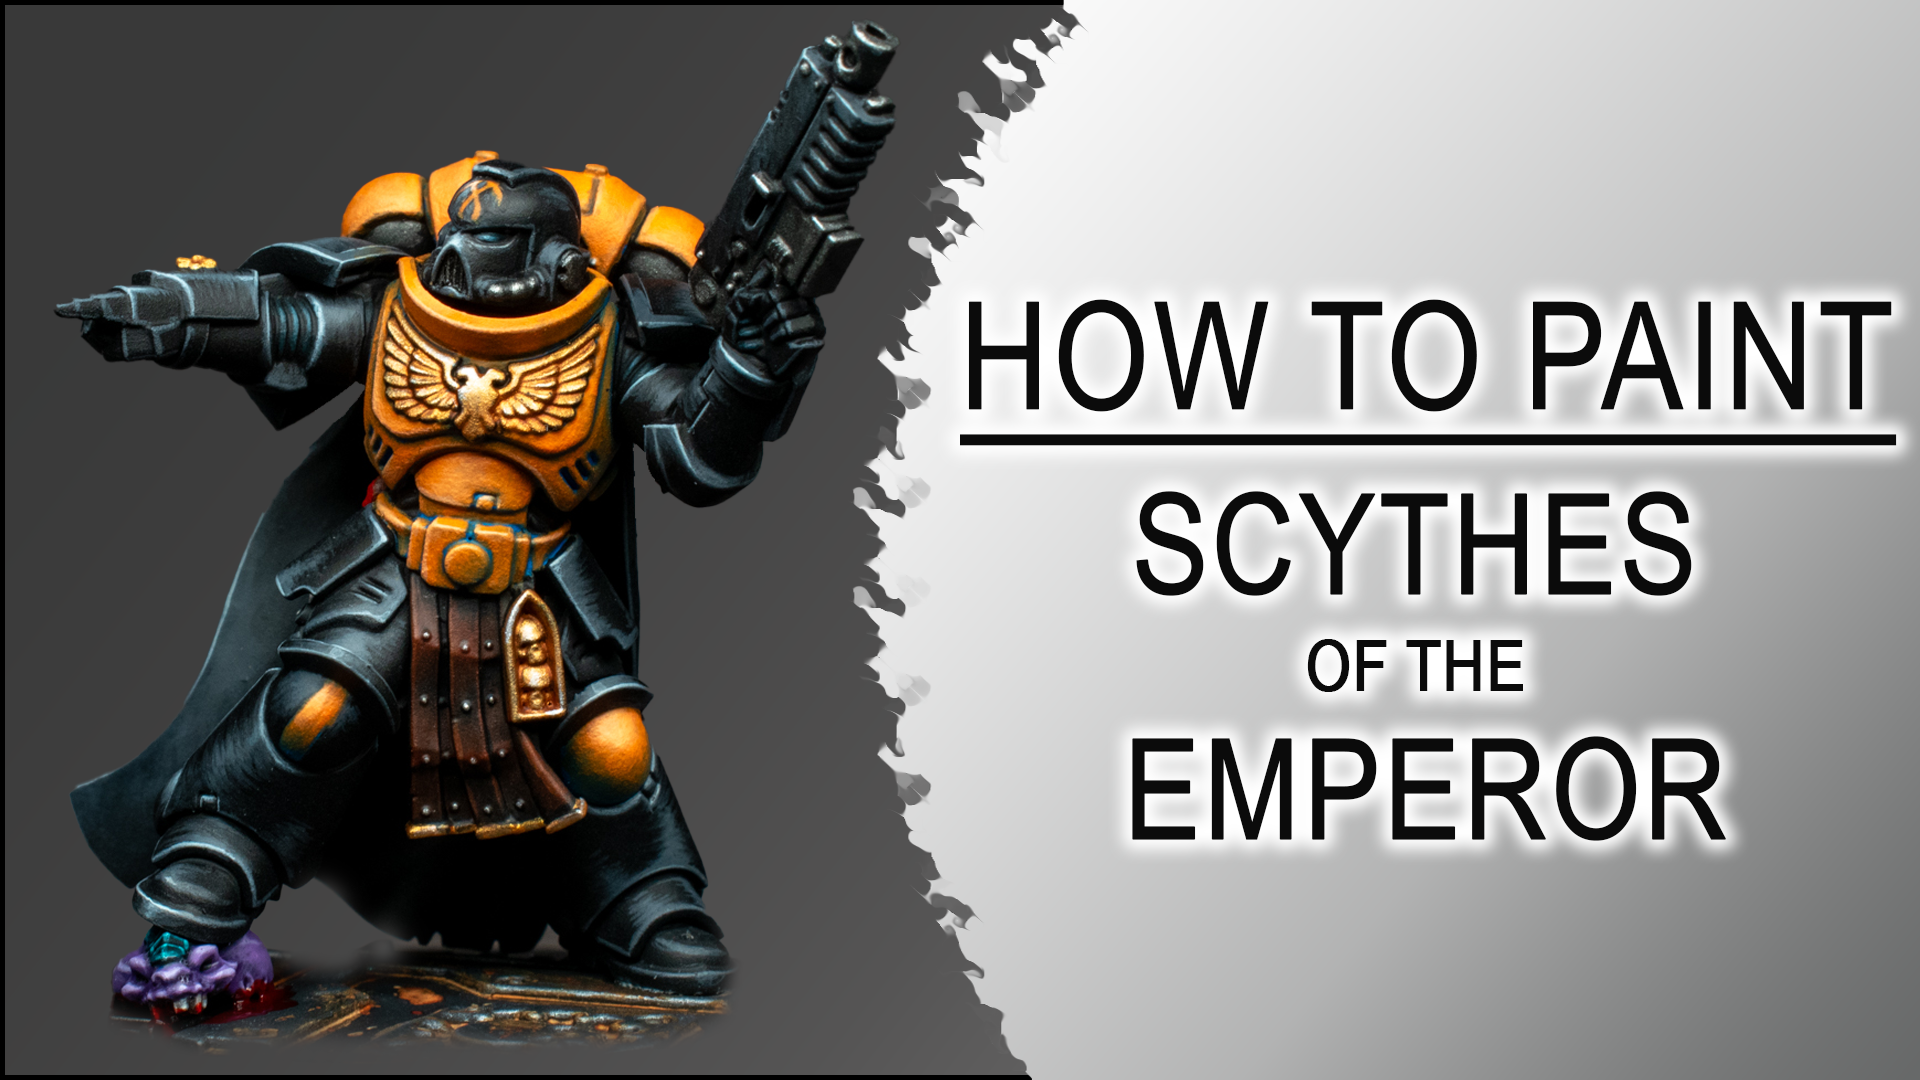
his is a detailed guide how i have painted a Warhammer 40k Scythes of the Emperor Space Marine. The Color Scheme is inspired by the Astartes II trailer.
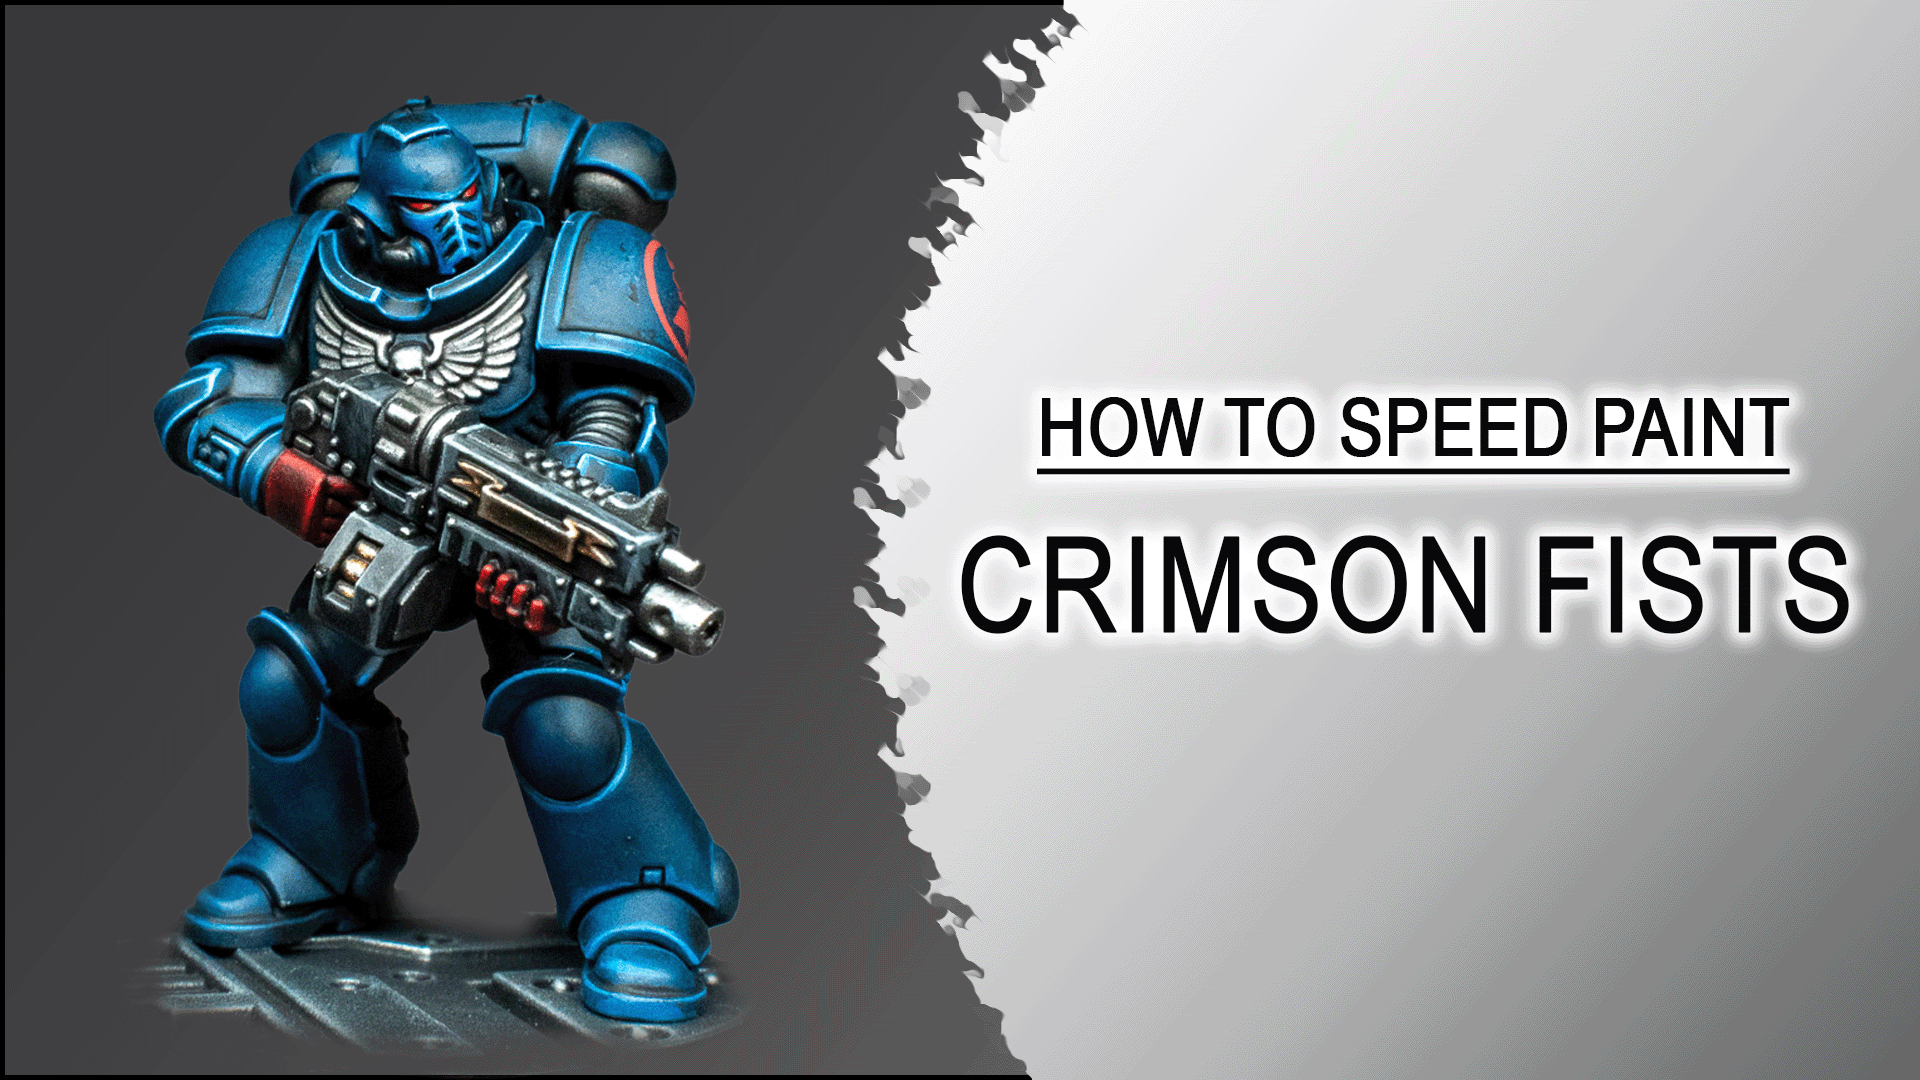
This video is a quick overview of how I paint a Warhammer 40k Primaris intercessor Crimson Fists Space Marine in Mark X Armor.
The idea behind this paint job was to narrow down the Eavy Metal painting style to its basics, and provide you ways how to achieve a Eavy metal look with speed painting patterns.
Let me know if you like this kind of painting style and guide and we will make a series out of this!
For the whole mini including the base the process took around 2.5 hours.
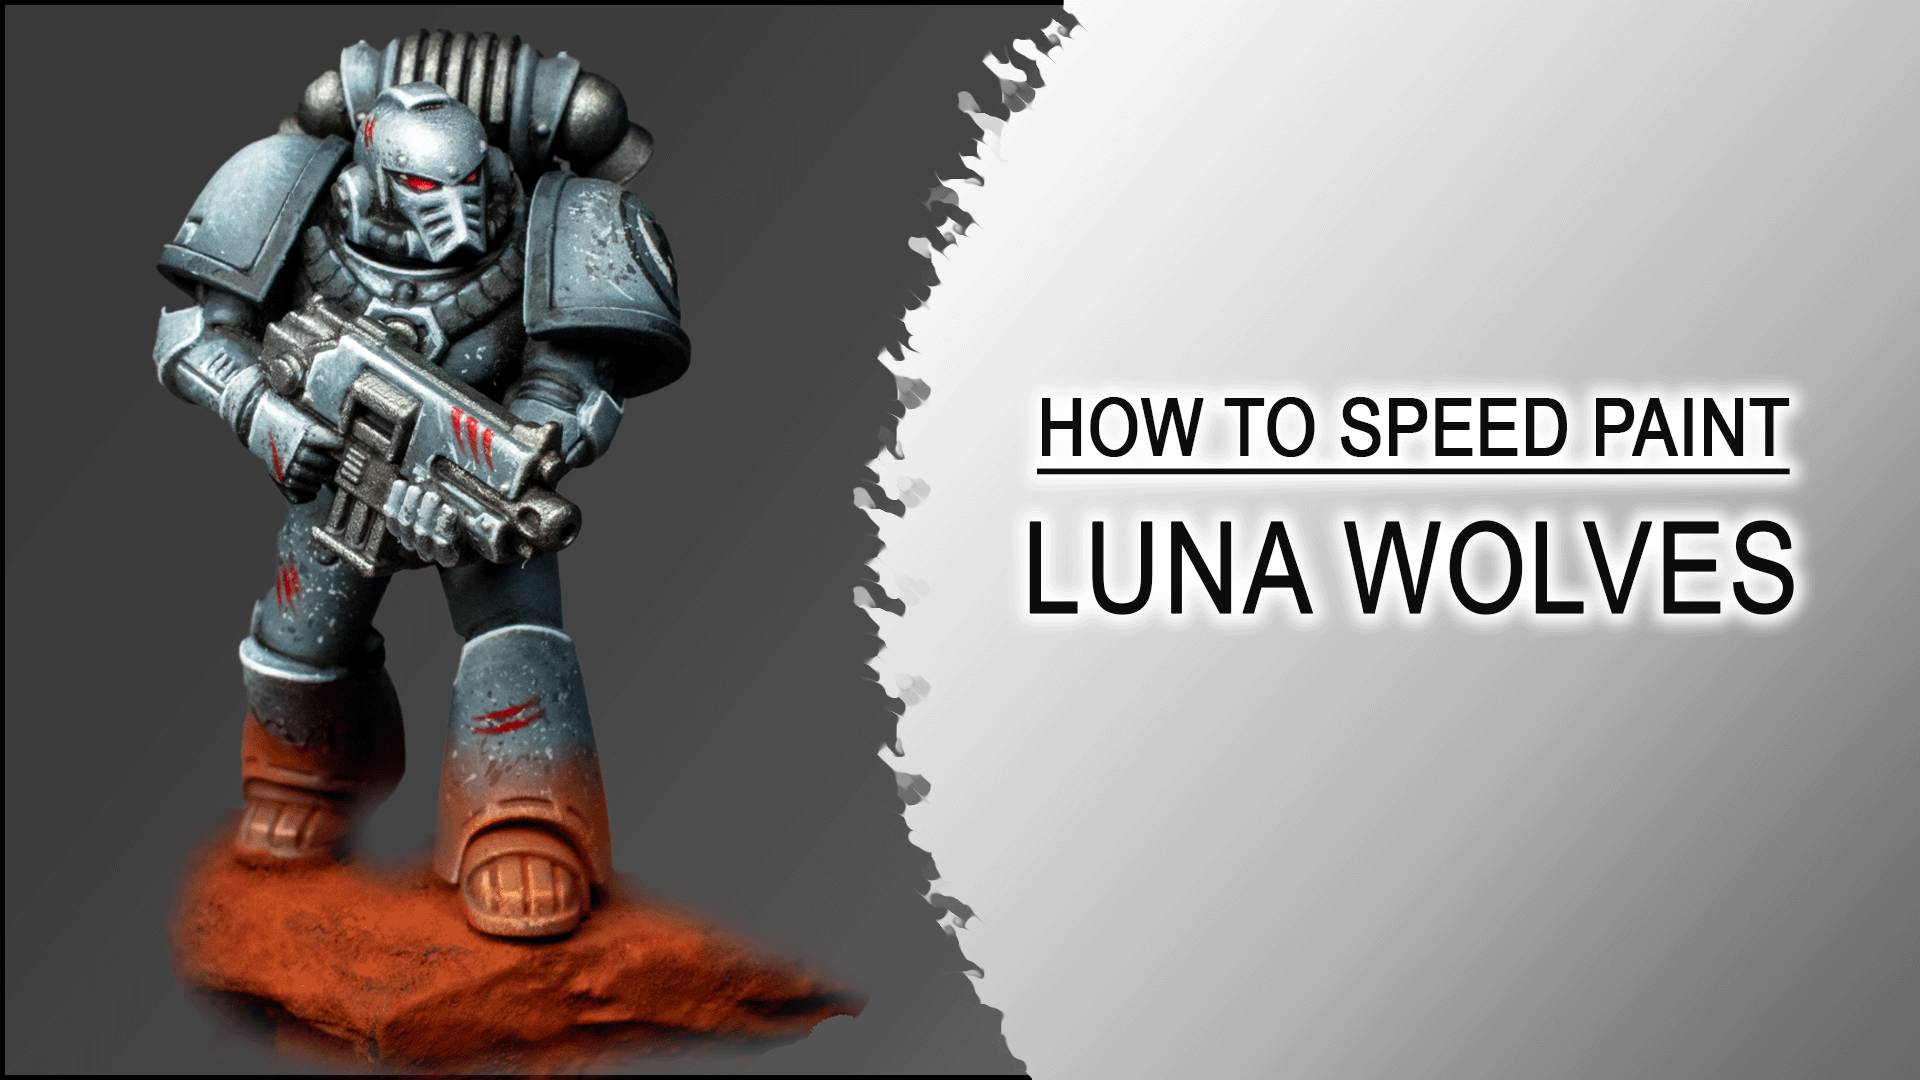
This video is a quick overview of how I paint a Warhammer Horus Heresy Luna Wolves Legionary Space Marine in Mark IV Armor.
The Armor is a kit-bash I’ve done by myself to create a Heresy 2.0 scale MK IV Armor. I simply used a MK VI heresy Armor, shoulders from the 40k First born kit and a MK IV Bolter and Helmet from the old MK IV set.
The painting style was inspired by the Horus Heresy Book – False Gods cover artwork. For the whole mini including the base the process took around 2.5 hours.
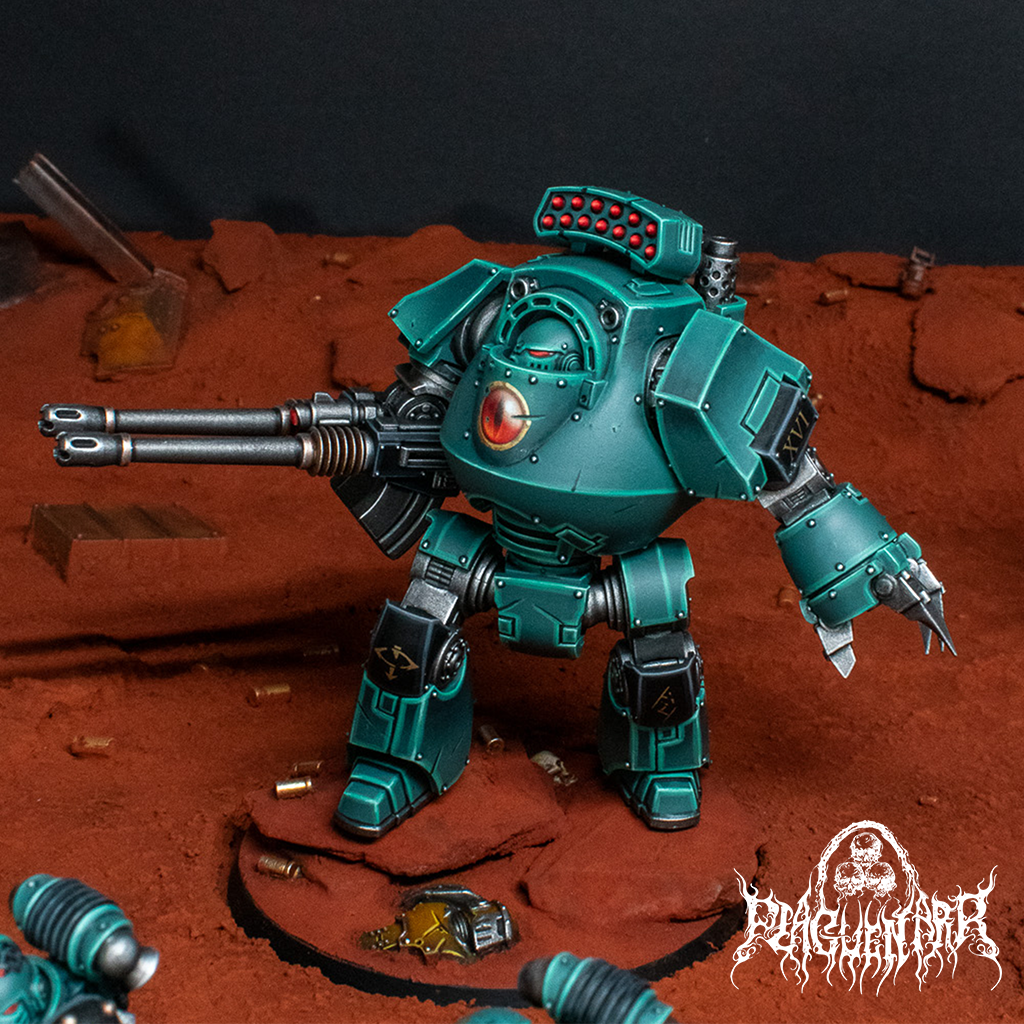
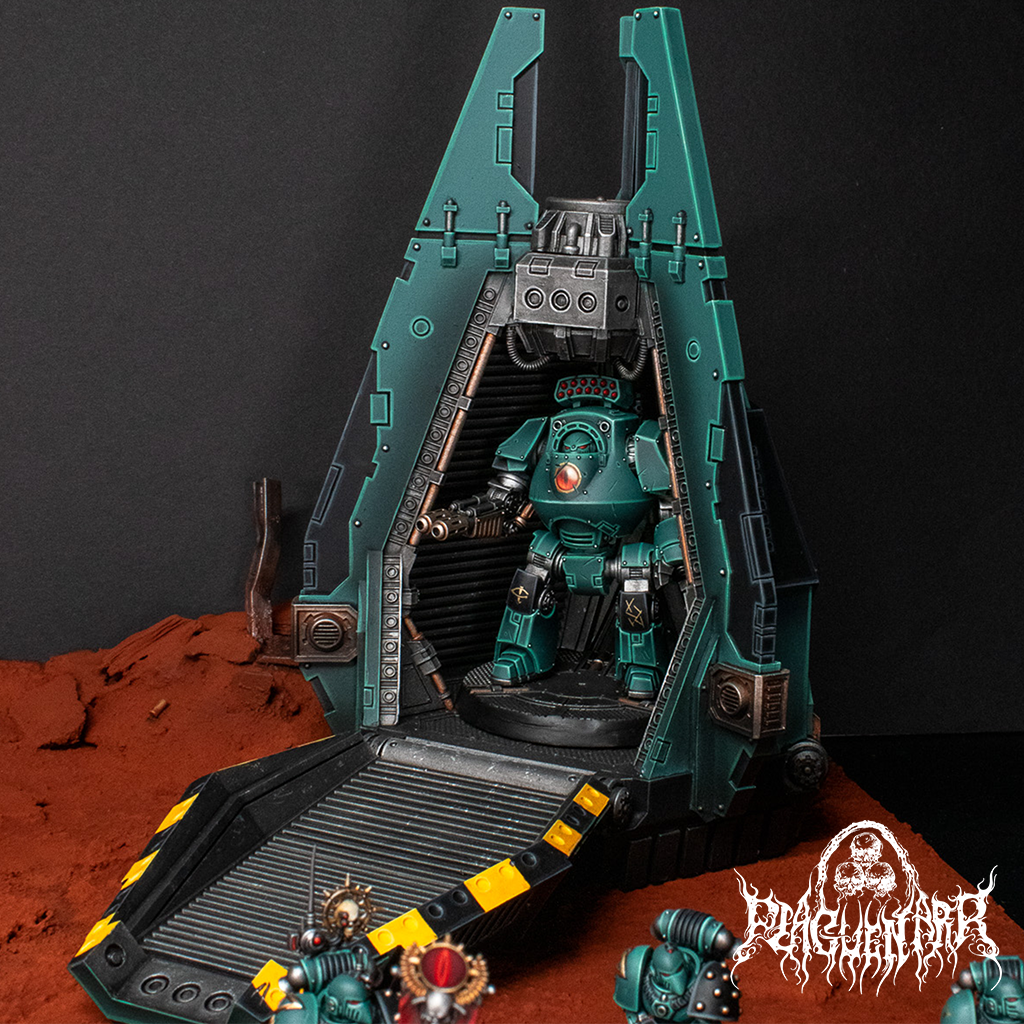
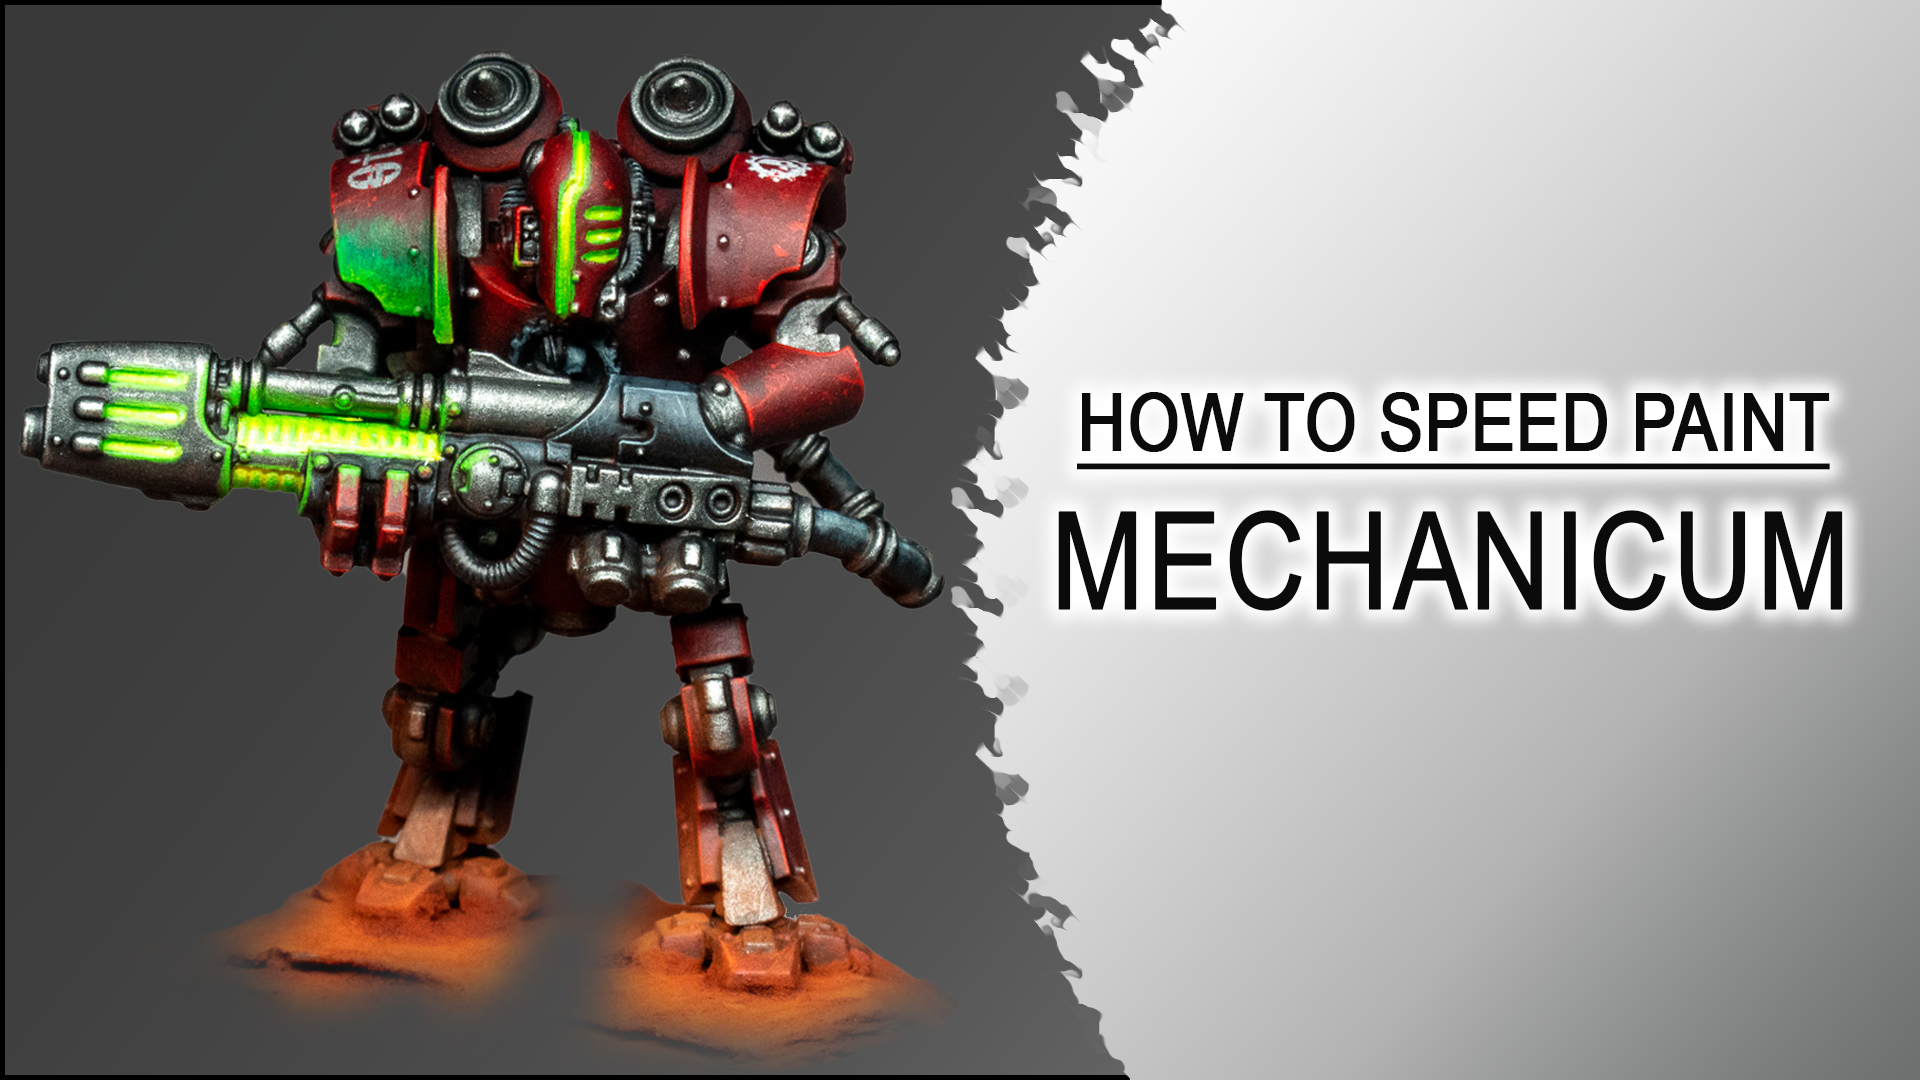
This video is a quick overview of how I paint a Warhammer Horus Heresy Mechanicum Thallax battle automata. It includes a full voice description of all the necessary steps and color mixtures. There is also a green OSL Plasma guide included For the whole mini including the base the process took around 4 hours.
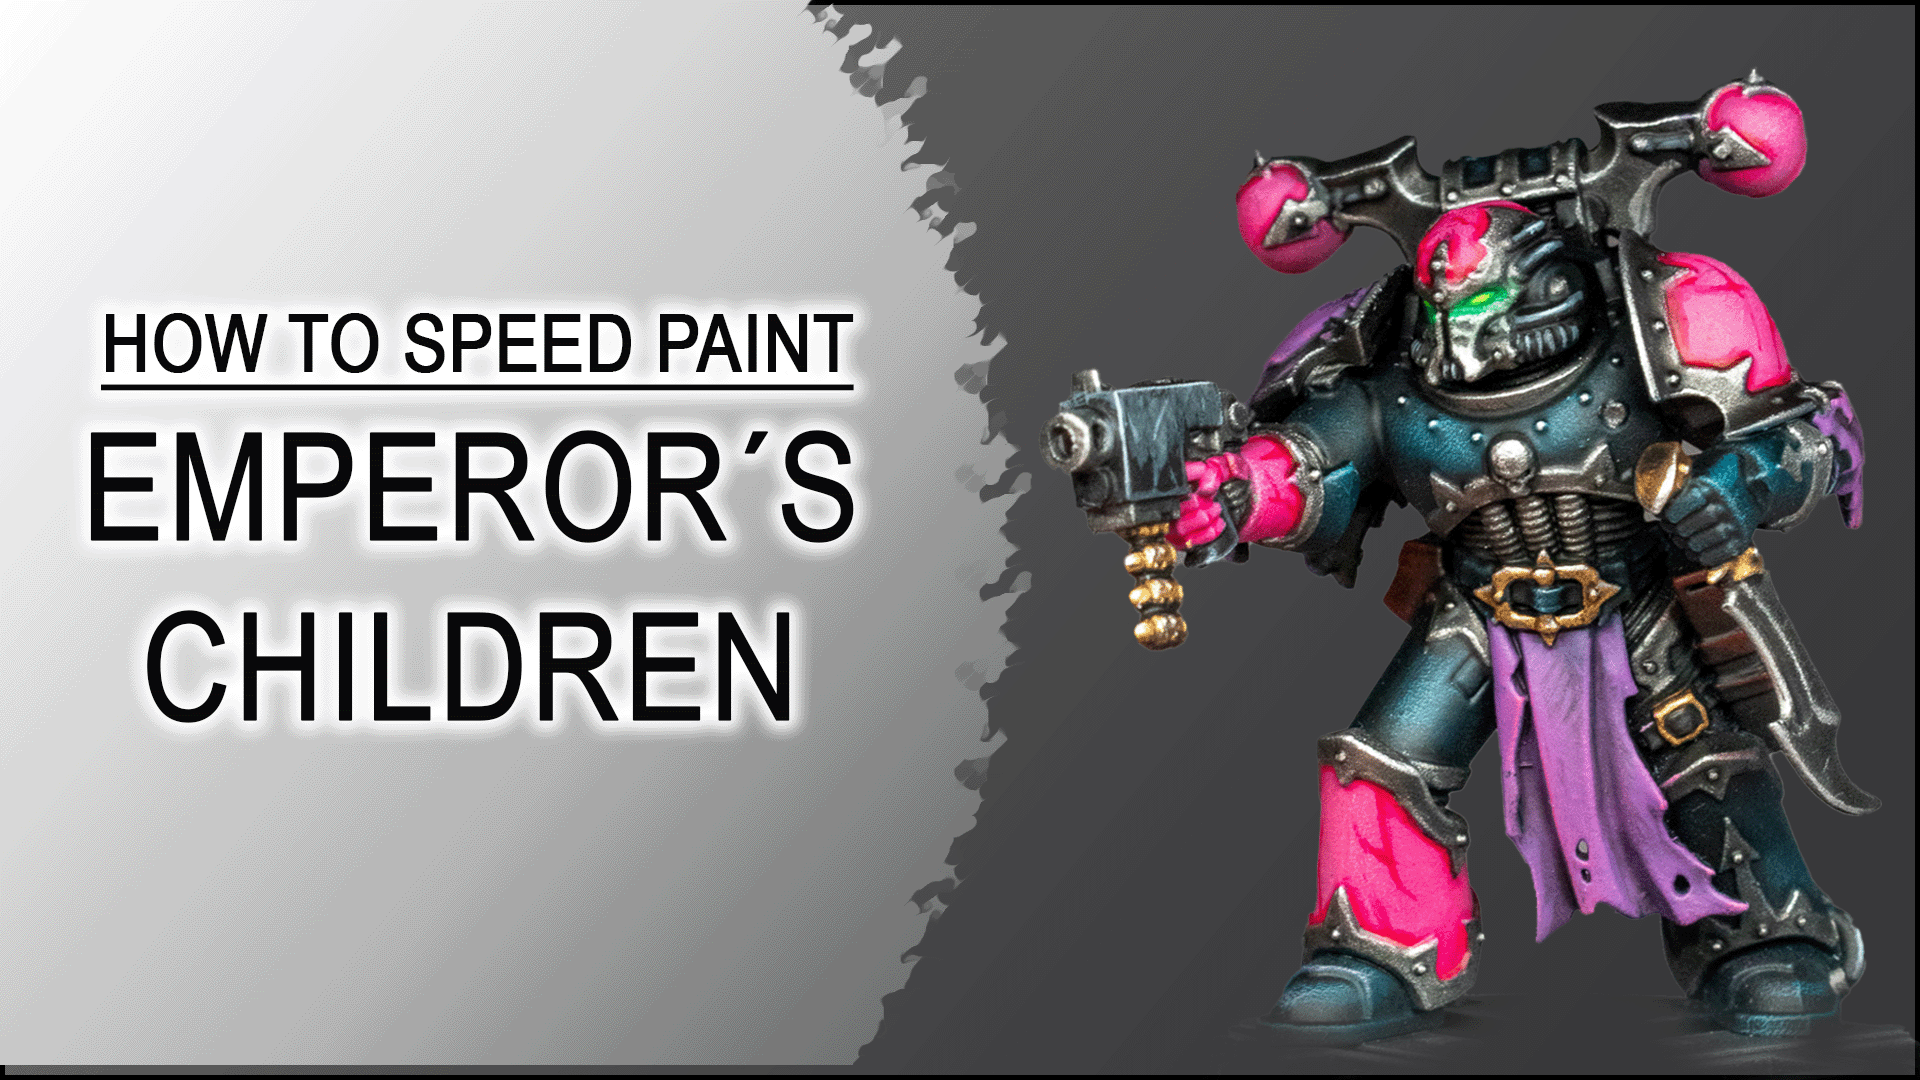
This video is a quick overview of how I paint a Warhammer 40k Emperor’s Children Chaos Space Marine Armor from. It includes a green glowing eyes tutorial. For the whole mini including the base the process took 3.5 hours.
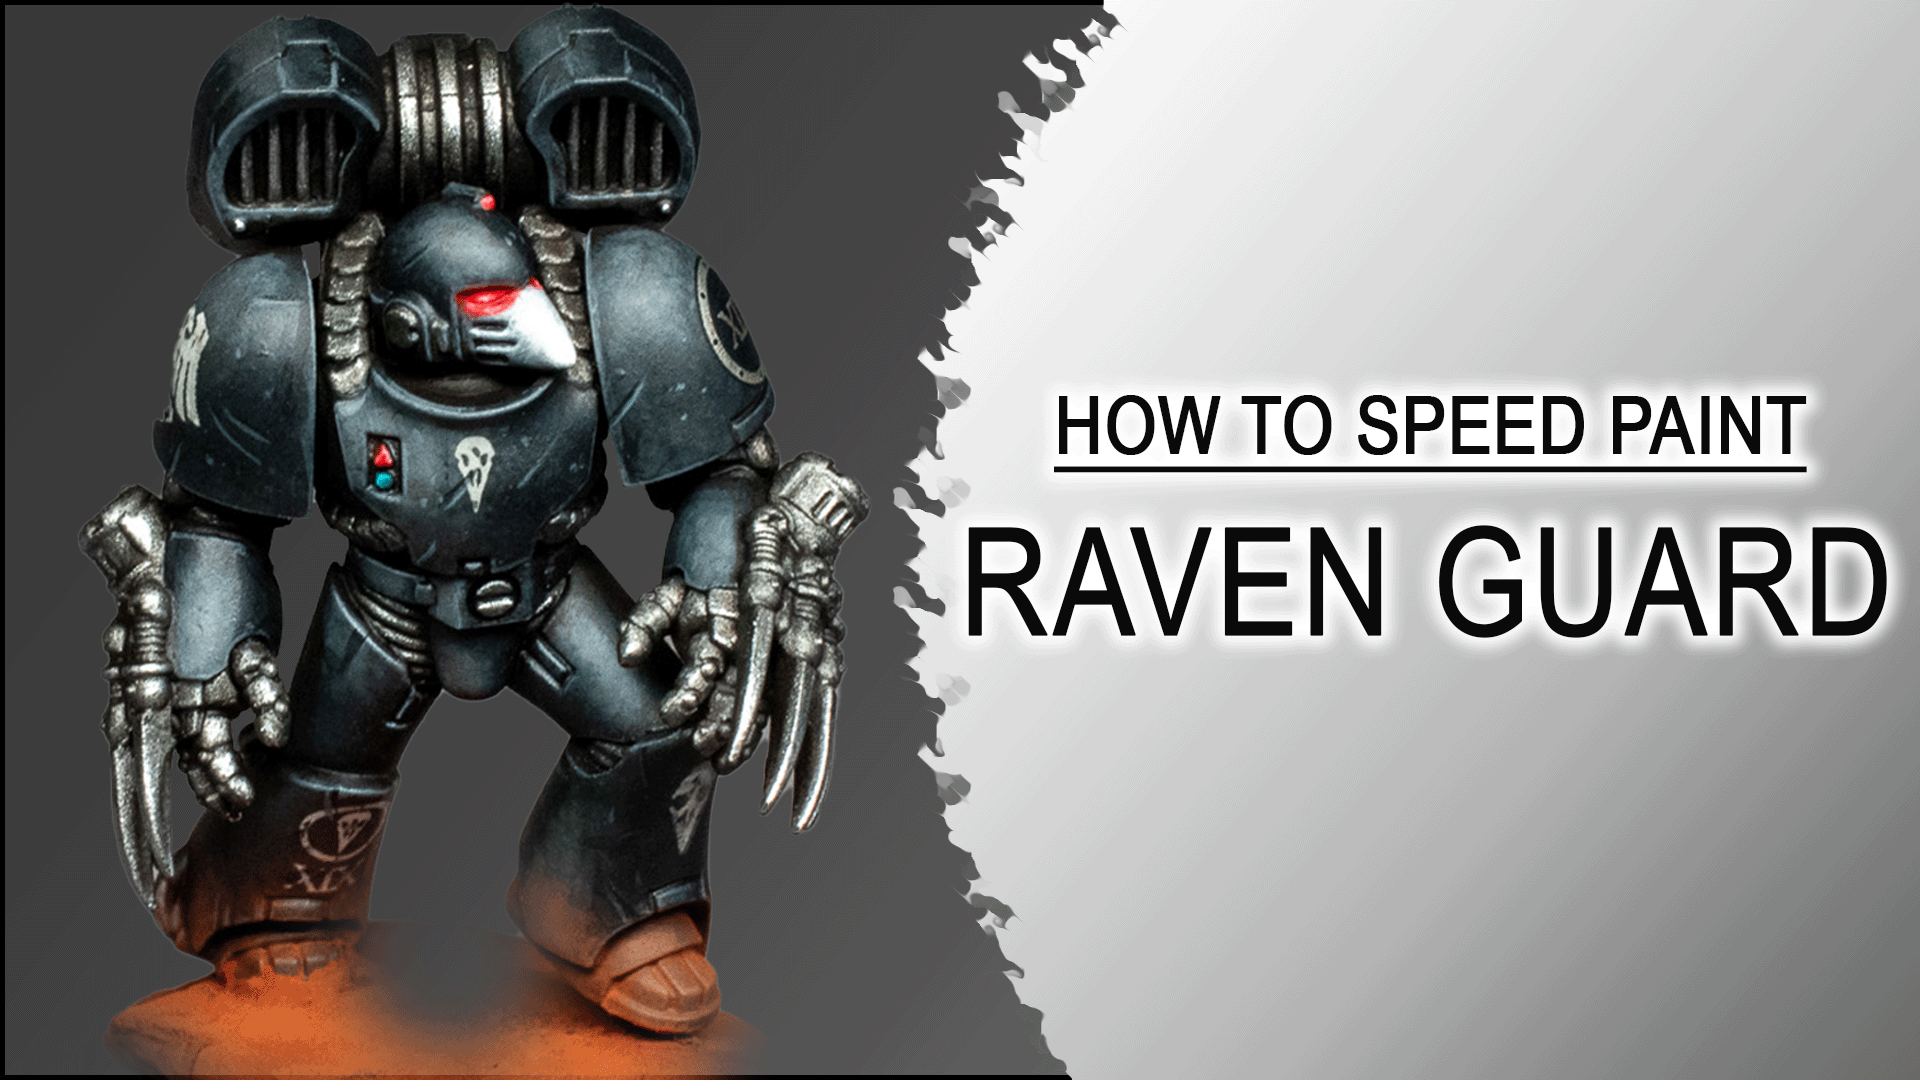
This video is a quick overview of how I paint a Warhammer Horus Heresy Raven Guard Legionary Space Marine in Mark VI Armor and Jump Pack. It includes a red glowing eyes tutorial. For the whole mini including the base the process took around 2.5 hours.