
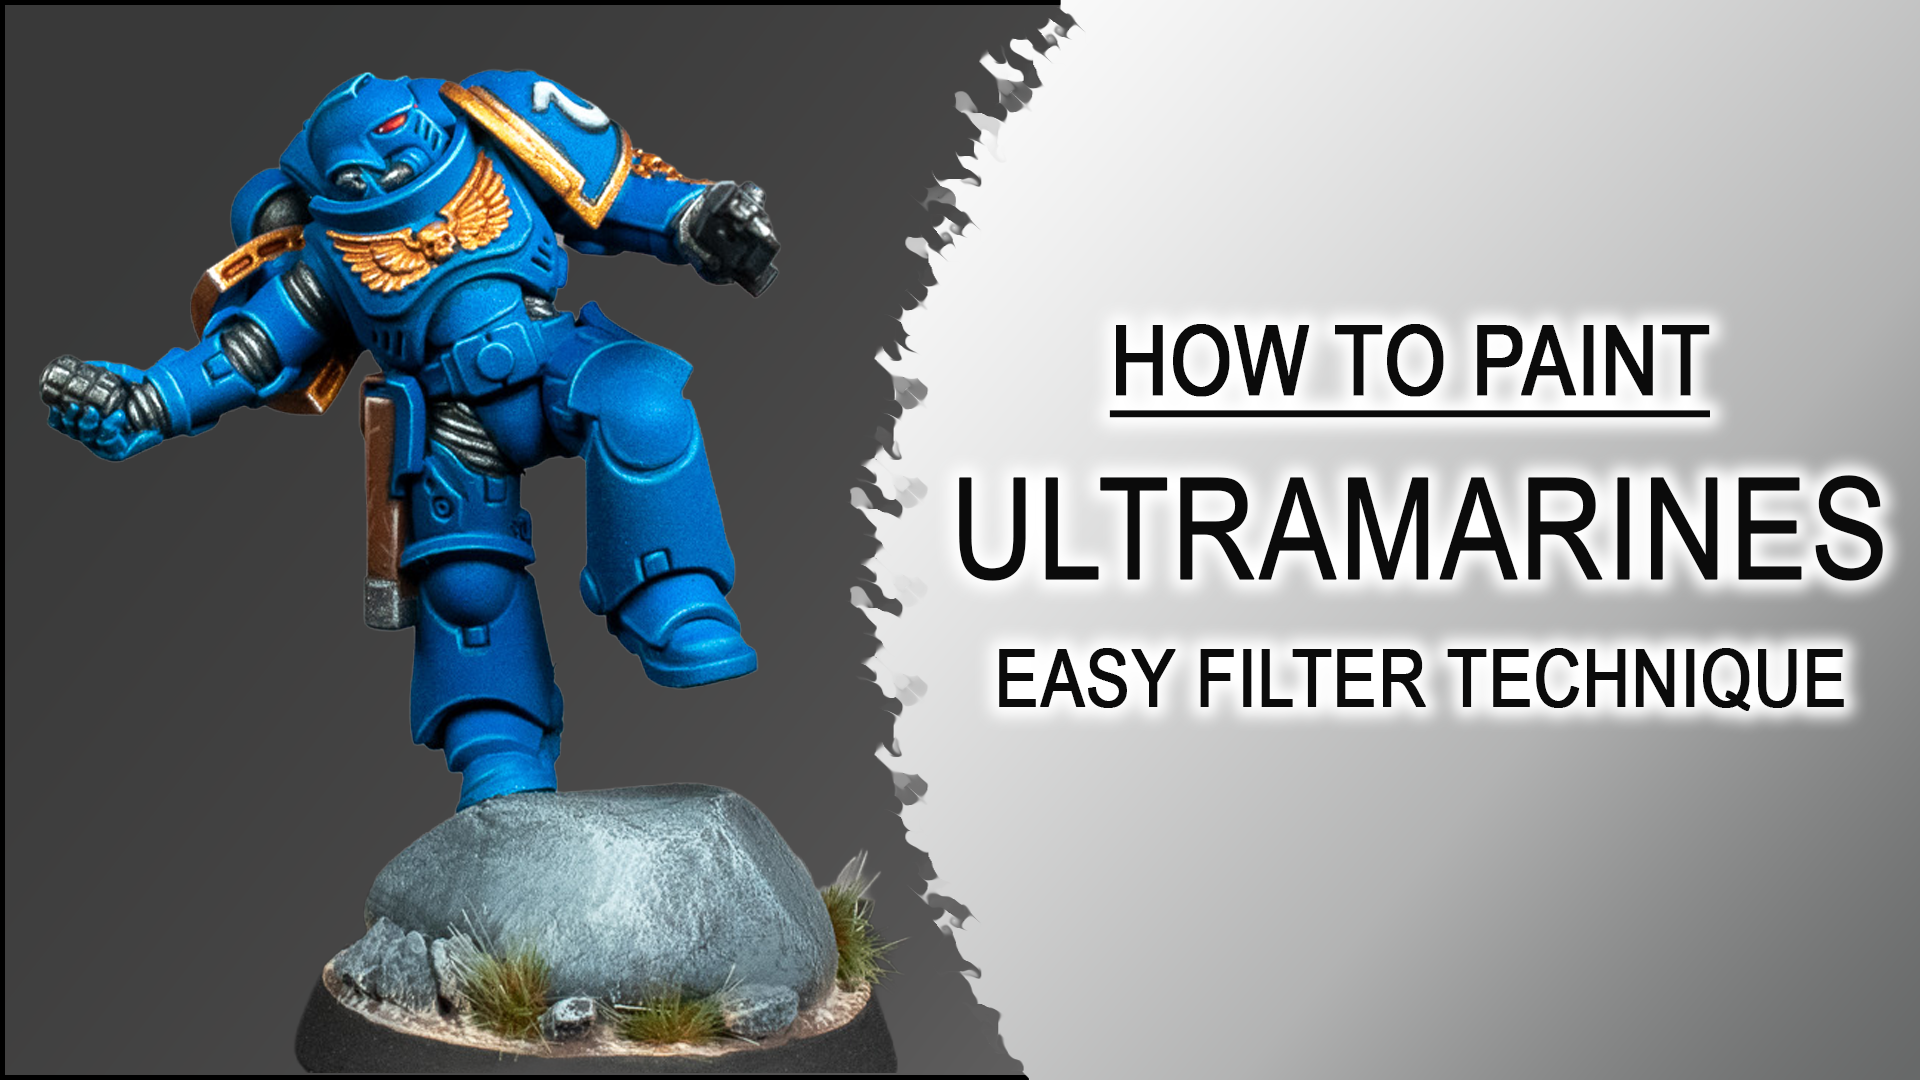
Creating vibrant Ultramarine armor is one of the most popular goals for Warhammer 40K painters, yet achieving smooth transitions, rich color depth, and clean highlights can often feel time‑consuming. In this step‑by‑step Ultramarine painting guide, I demonstrate a fast and efficient airbrush filtering technique that produces intense blue armor with professional results. This method is ideal for anyone looking to improve their airbrush skills, enhance color modulation, or speed up their Space Marine painting workflow.
This tutorial revisits my very first Ultramarine from 2020 – a miniature that originally took over forty hours to complete (Lack of skill and practice!). With six years of additional experience, refined techniques, and a more optimized workflow, I set myself the challenge of recreating the same model in just four hours. The result is a highly saturated, smooth, and visually striking Ultramarine armor finish that can be replicated on any Space Marine or power‑armored miniature.
| Brand | Name |
|---|---|
| Artis Opus | Series D – Brush Set, Series S – Brush Set GET 5% Discount on Artis Opus Brushes ! Discount Code: PLAGUENARR |
| Citadel | Guilliman Flesh, Caledor Sky, Teclis Blue, Mephiston Red, Black Templar |
| Monument Hobbies Pro Acryl | Pro Acryl Base Set, Pro Acryl Expansion Set Metallics, Pro Acryl Expansion Set Transparents GET 5% Discount on Monument Hobbies products! Discount Code: PLAGUENARR |
| Vallejo | Gunmetal GreyPale Grey Blue, Basalt Grey |
| P3 | Morrow White |
| Gaahleri | Premium Series GHPM-Mobius 0.2mm Airbrush GET 10% Discount on Gaahleri products! Discount Code: Plaguenarr |
Step 1 – Black Primer
Prime the entire miniature with Citadel Chaos Black or Green Stuff World Matt Surface Primer Black. A smooth black primer provides the perfect foundation for the filtering technique and creates maximum depth in the finished shadows.
Step 2 – Zenithal Underpainting
Mix 1 part Monument Hobbies Pro Acryl Bold Titanium White with 2 parts Airbrush Thinner and apply a large zenithal highlight with the airbrush. Use short, controlled bursts to avoid pooling and gradually build up the opacity. Aim for bright white on the upward-facing surfaces while leaving the shadow side in a medium grey. This high-contrast underpainting determines the final lighting of the model.
Step 3 – Transparent Green Filter
Mix 1 part Monument Hobbies Pro Acryl Transparent Green with 1 part Airbrush Thinner. Spray several thin coats, beginning in the shadowed areas before gradually working upward into the highlights. This creates a deep turquoise foundation that gives the final blue significantly more richness than painting blue directly over white.
Step 4 – Second Zenithal Highlight
Using the same 1:2 mix of Bold Titanium White and Airbrush Thinner, reinforce only the surfaces facing the light. Leave the lower portions of the armor slightly turquoise, even on the illuminated side, to preserve the color variation created by the previous filter.
Step 5 – Transparent Blue Filter
Mix 1 part Monument Hobbies Pro Acryl Transparent Blue with 1 part Airbrush Thinner. Apply multiple thin filter coats over the entire armor, again working from the shadows toward the highlights. Allow each coat to dry before applying the next until the armor reaches a rich Ultramarines blue while maintaining smooth transitions and deep blue shadows.
Step 6 – Silver Metallic Basecoat
Basecoat all silver metallic areas with Vallejo Model Air Gunmetal Grey 77.720. Apply two thin coats where necessary to achieve an even metallic finish without obscuring detail.
Step 7 – Gold Metallic Basecoat
Mix 1 part Monument Hobbies Pro Acryl Rich Gold with 1 part Airbrush Thinner and basecoat all gold trim, ornaments, and decorative details. Thin metallic layers produce a much smoother finish than a single heavy application.
Step 8 – Black Details
Basecoat the chainsword casing and the Ultramarines chapter icon with Monument Hobbies Pro Acryl Coal Black, thinned slightly with water. Apply smooth, controlled coats to create a solid foundation for later highlights.
Step 9 – Red Details
Basecoat the eye lenses and squad markings with Citadel Mephiston Red, thinned 1:1 with Water. Apply two to three thin coats until the colour is fully opaque while preserving all sculpted detail.
Step 10 – Gold Shading
Mix 1 part Citadel Guilliman Flesh with 1 part Water and shade all gold metallic areas. Allow the wash to collect naturally in recesses while keeping raised surfaces brighter. The warm reddish shadows create a strong complementary contrast against the cool blue armor.
Step 11 – Silver Shading
Mix 1 part Citadel Black Templar Contrast with 1 part Water and apply it over every silver metallic surface. This deepens the recesses while preserving the reflective metallic finish.
Step 12 – Blue Recess Shading
Create a recess shade using Monument Hobbies Pro Acryl Transparent Blue, Glaze & Wash Medium, and a small amount of Water to improve flow. Carefully run the mixture into all armor panel lines and deeper recesses. On larger armor plates, lightly glaze the mixture into selected shadow areas to increase depth without creating harsh transitions.
Step 13 – First Armor Edge Highlights
Using Citadel Caledor Sky thinned slightly with water, apply broad edge highlights across every armor panel. Focus particularly on edges within the darker shadow areas, as these thicker highlights help define the armor and clean up any imperfections left from the recess shading.
Step 14 – Second Armor Edge Highlights
Using Citadel Teclis Blue, paint thinner, sharper highlights inside the previous Caledor Sky highlights. Restrict these highlights to the most exposed edges and corners to create significantly higher contrast and a crisp, clean finish.
Step 15 – Gold Highlights
Mix Monument Hobbies Pro Acryl Rich Gold with Airbrush Thinner in a 1:1 ratio and apply bright highlights to the raised edges and light-facing surfaces of every gold detail. Leave the Guilliman Flesh shading visible within the recesses to preserve the warm shadow tone and maximise contrast.