
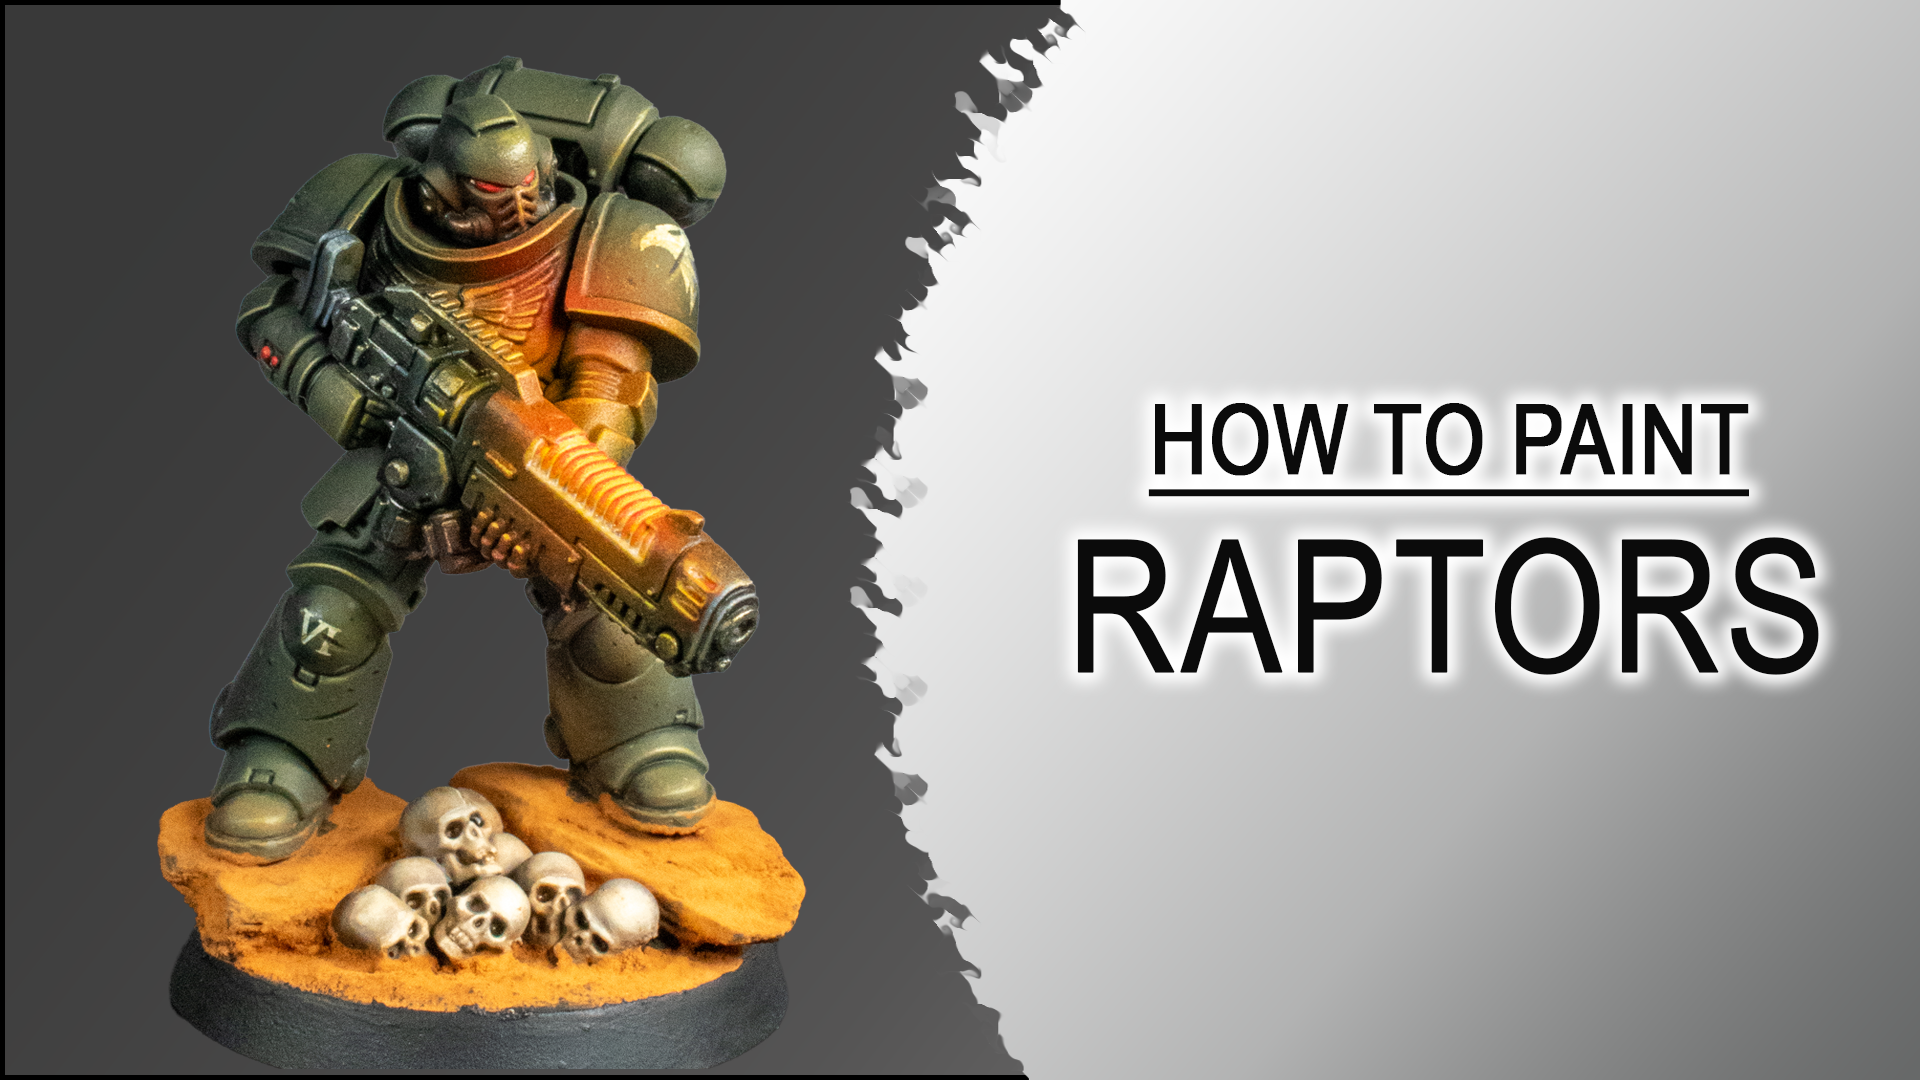
In this step-by-step Raptors Chapter painting tutorial, I’ll show you how to paint a high-contrast Raptors Space Marine power armor scheme starting from a black primer. The method combines airbrush volumetric highlights, controlled edge highlighting, dark recess shading, metallics, decals, scratches, and battle damage to create the distinctive muted grey and black appearance of the Raptors Chapter.
The key to this Raptors Chapter power armor painting guide is establishing the lighting from the very beginning. Using a simple lighting reference, we’ll build the armor highlights layer by layer, then push the contrast with selective edge highlights and bright reflection points. Finally, we’ll add metallic highlights, integrate the decals, and finish the armor with scratches and chipping for a worn battlefield look.
Whether you’re looking for a Raptors Space Marine painting tutorial or want to improve your volumetric highlighting, edge highlighting, and miniature weathering, this guide covers the complete painting process from black primer to the finished model.
| Brand | Name |
|---|---|
| Artis Opus | Series D – Brush Set, Series S – Brush Set GET 5% Discount on Artis Opus Brushes ! Discount Code: PLAGUENARR |
| Citadel | Abaddon Black, Black Templar, Ogryn Camo |
| Vallejo | Gunmetal Grey, Pale Grey Blue, Basalt Grey, Neutral Grey, Heavy Grey, Airbrush Thinner |
| Monument Hobbies Pro Acryl | Pro Acryl Base Set, Pro Acryl Expansion Set Metallics GET 5% Discount on Monument Hobbies products! Discount Code: PLAGUENARR |
| Gaahleri | Premium Series GHPM-Mobius 0.2mm Airbrush GET 10% Discount on Gaahleri products! Discount Code: Plaguenarr |
Brush Alternative
The same general process can also be completed with a brush instead of an airbrush. When adapting the technique for brushwork, use approximately twice as much Water as the amount of Airbrush Thinner used in the airbrush mixes.
For Steps 1 and 2, use the colors and mixes specified in this guide. If you prefer to apply these highlights with a brush instead of an airbrush, use the Raven Guard painting guide as a reference for the brush technique.
Step 1 – Black Primer and First Volumetric Highlights
Start with the miniature primed black.
Before applying the highlights, take a photograph of the miniature under your painting lamp and use it to simulate the light source from the angle you prefer. Keep this reference image open on a tablet throughout the painting process.
Use the reference to determine exactly where each highlight should fall and how strong it should be. Build the transition gradually between the black primer and Heavy Grey by using multiple short bursts rather than applying large amounts of paint at once.
For the first volumetric highlight layer, use a 1:1 mix of Vallejo Game Color – Heavy Grey and Airbrush Thinner. Thin the paint to a very fluid consistency and apply it with an airbrush using short, controlled bursts.
Repeat the same process on the rear of the miniature, but keep the highlights slightly darker than those on the front.
Step 2 – Second Volumetric Highlight
For the second volumetric highlight, use a 1:1:1 mix of Vallejo Game Color – Heavy Grey, Citadel – Ogryn Camo and Airbrush Thinner.
Apply this highlight more selectively than the previous layer. Concentrate the paint only on the areas where the light is strongest according to your reference image.
This second layer should reinforce the existing volumetric highlights rather than covering them completely. Keep the darker Heavy Grey transitions visible so the armor maintains a strong gradient from black through grey into the brighter highlight areas.
Step 3 – Black Base Coats
Once the volumetric highlights are complete, set the airbrush aside and move to a brush.
Base coat the following areas with a 1:1 mix of Citadel – Abaddon Black and Water:
- Weapon casing
- Sub-suit
- Waist bags
Apply the black carefully and maintain clean boundaries around the highlighted power armor.
Step 4 – Metallic Base Coat
Base coat all metallic areas with pure Vallejo – Gunmetal Grey.
Apply the metallic paint to the relevant metal components while keeping the surrounding armor clean.
The silver metallic areas provide an important contrast against the otherwise dark and muted armor scheme, particularly on the chest eagle.
Step 5 – Metallic and Recess Shading
Shade the metallic areas and add recessed shadows to the armor using Citadel – Black Templar Contrast thinned with 2 parts Water.
Use the mixture to darken the metallic surfaces while also reinforcing the recesses between armor panels.
Work carefully during this stage and aim for clean, controlled shadows. The dark shading helps separate individual armor panels and strengthens the contrast between the black armor, grey highlights, and metallic details.
Step 6 – Apply the Decals
Apply the decals before beginning the main edge-highlighting stages.
Cover the area where the decal will be placed with Micro Sol, then position the decal on top of the solution.
Once the decal is positioned, apply another coat of Micro Sol over the top.
Allow the Micro Sol to almost completely dry. As the decal softens, gently dab the surface so the decal conforms to the shape of the armor.
This helps the decal follow curved and irregular surfaces instead of appearing completely flat on top of the miniature.
Step 7 – First Armor Edge Highlight
For the first edge-highlight stage, use a 1:1 mix of Vallejo Game Color – Heavy Grey and Water.
Highlight essentially all of the armor edges, including edges located in the darker areas and on the rear of the miniature.
At this stage, do not be overly selective. The purpose of the first edge highlight is to establish a strong overall contrast across the entire armor of the model.
Make sure to highlight all armor edges, including those in the darkest areas and on the backside of the miniature. This broad coverage is essential for pushing the overall contrast and creating the distinctive high-contrast appearance of the Raptors Chapter armor scheme.
Step 8 – Armor Variation and Chipping
Continue using the 1:1 mix of Vallejo Game Color – Heavy Grey and Water to add variation to the darker armor areas.
Use the paint to create small areas of armor chipping and surface variation. Keep the marks irregular rather than making every panel look identical.
These additional marks begin to break up the large dark armor surfaces and introduce more visual variation before the brighter highlights are added.
Step 9 – Second Armor Edge Highlight
For the second edge highlight, use a 1:1:1 mix of Vallejo Game Color – Heavy Grey, Citadel – Ogryn Camo and Water.
For the second edge highlight, become more selective and focus only on the light-facing edges indicated by your reference image. At this stage, stop highlighting edges in the shadowed areas. This selective highlight placement increases the contrast between the illuminated and shadowed areas while reinforcing the direction of the light across the armor.
Step 10 – Additional Scratches and Chipping
Use the same 1:1:1 mix of Vallejo Game Color – Heavy Grey, Citadel – Ogryn Camo and Water to add additional scratches, variation, and armor chipping.
Use the brighter highlight mix to add a few extra scratches, chips, and little bits of wear to the armor. Keep the damage fairly random and concentrate it in selected areas rather than putting the same amount of chipping on every panel. Make sure the placement still follows the direction of your light source so the weathering works with the highlights rather than fighting against them.
Step 11 – Refine the Shadows
Return to the Citadel – Black Templar Contrast mix and use it to define a few soft shadows across the armor.
Use the Black Templar mix to reinforce a few of the deeper shadows and recesses. Apply it selectively to deepen the areas that need more definition, while leaving your existing highlights untouched.
Step 12 – Integrate the Decals
Use the Citadel – Black Templar Contrast mix to glaze over the decals and blend them more naturally into the surrounding shadows.
You can also use the highlight color over selected parts of the decals to tie them into the volumetric highlights and make them feel more like part of the armor.
Step 13 – Black Scratches and Battle Damage
Before the final highlight stages, use pure Citadel – Abaddon Black to add additional scratches and chips across the armor panels.
Feel free to paint some of the damage over the decals as well, which helps tie them into the weathered armor. Vary the size and placement of the scratches and chips to keep the damage looking natural and avoid a repetitive pattern.
Step 14 – Reflection Highlights
Add the next level of reflection highlights using a 1:1 mix of Citadel – Ogryn Camo and Water.
Return to the lighting reference and identify the armor edges that receive the strongest reflected light.
Apply the Ogryn Camo selectively to these areas rather than treating every edge equally. The strongest reflection highlights should remain concentrated around the areas indicated by the lighting reference.
Step 15 – Add Depth to the Armor Damage
Use Citadel – Ogryn Camo to add small highlights underneath the Abaddon Black scratches and chips.
Place these small marks directly beneath selected areas of dark damage. This creates additional depth and helps the scratches and chips read as part of the three-dimensional armor surface rather than as flat black lines.
Keep these highlights small and controlled so they remain secondary to the main armor highlights.
Step 16 – Sub-Suit Highlights
Move on to the sub-suit using a 1:1 mix of Basalt Grey and Water.
Apply the mixture to all raised areas of the sub-suit, following the sculpted forms and folds.
The transcript does not specify a manufacturer for Basalt Grey, so no manufacturer is assigned here.
Step 17 – Refine the Sub-Suit
Apply a smaller and more selective version of the previous highlight using a 1:1 mix of Neutral Grey and Water.
Concentrate the Neutral Grey on the more prominent raised areas of the sub-suit, leaving the previous Basalt Grey layer visible around the transitions.
This creates a second level of contrast without flattening the texture.
Step 18 – Final Sub-Suit Reflections
Finish the sub-suit with small reflection highlights using a 1:1 mix of Pale Grey Blue and Water.
Apply these highlights selectively to the areas catching the strongest light. Keep the marks small so they function as final reflections rather than another broad layer of coverage.
Step 19 – Final Metallic Highlights
Highlight the metallic areas with a 1:1 mix of Monument Hobbies Pro Acryl – Silver and Airbrush Thinner.
Focus the brightest silver on the raised metal surfaces, sharp edges, and bolts.
Concentrating the silver on these areas creates stronger reflective contrast while leaving the darker Gunmetal Grey and Black Templar shading visible underneath.
Step 20 – Final Details
Finish the miniature by painting the eye lenses and completing the remaining details.
Final Result
The finished Raptors Chapter scheme combines a predominantly black armor foundation with controlled grey volumetric highlights, selective grey-green edge highlights, strong metallic contrast, and layered battle damage.
The most important part of the process is maintaining a consistent lighting direction. Use the reference image throughout the painting process to determine where the volumetric highlights, selective edge highlights, reflection highlights, and final surface details should be placed.
The result is a muted but highly contrasted power armor scheme with strong definition across both the armor panels and metallic details.